RPI-SDR-TX Version 1.0.0
The RPI-SDR-TX Version 1.0.0 is the first release version. This version includes:
rpitx- Raspberry Pi RF transmission library & core by F5OEOlibusbgx- Linux usb-gadget utilities library by linux-usb-gadgetsgt- Linux usb-gadget configFS command line tools by linux-usb-gadgets- image build script - Custom image build script based on raspberrypi os 12 armhf lite
- 3DP-cases - 3D-printable case designs
ws2812rpi_spi- Control WS2812B NeoPixel via BCM2835-SPI library- Install script - Install RPI-SDR-TX into your raspberrypi os
inih- ws2812rpi_spi config INI parser by Ben Hoyt
Installation
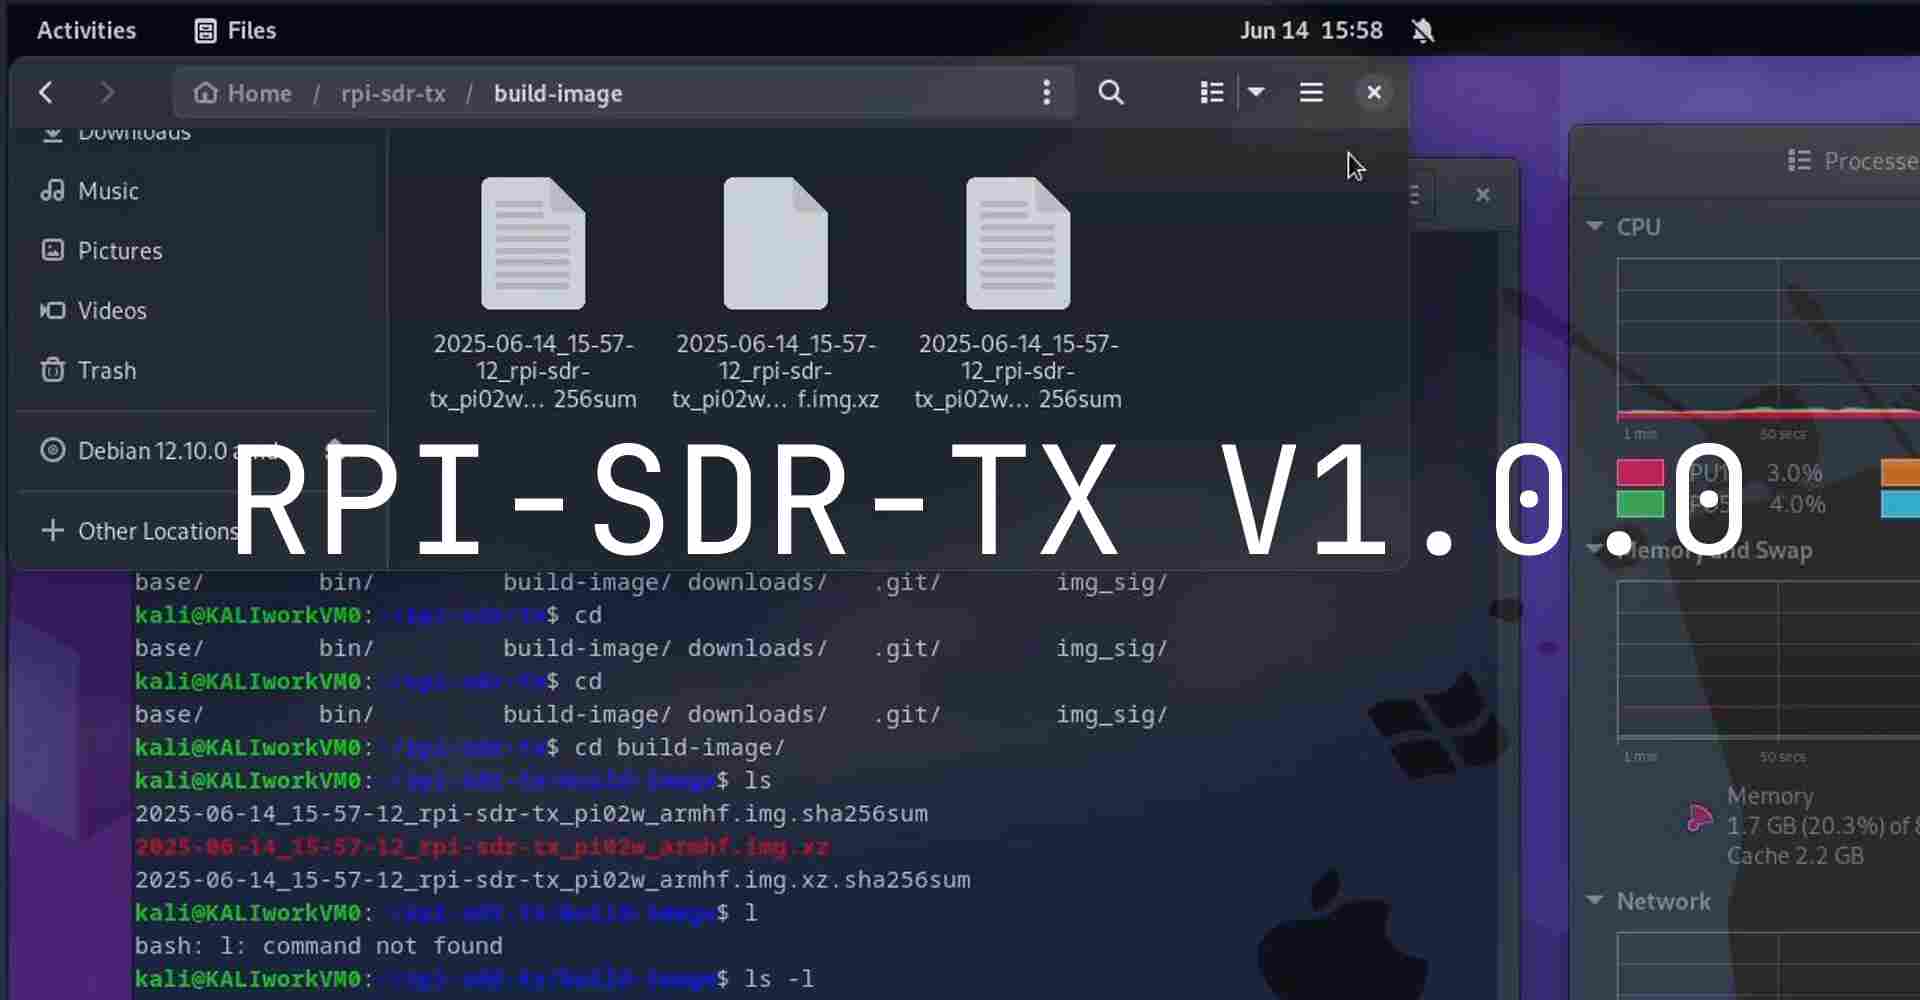
1. Build Image Download Links
https://github.com/KaliAssistant/rpi-sdr-tx/releases/tag/v1.0.0
sha256:
cd8915f197162dd197935948e6bbe3a26b3ab4a4899f4a8a91096816613ee584  v1.0.0_rpi-sdr-tx_rpi02w_armhf.img
1dc4f21c4c13a90595ae12995850212fc533dcb380e27a9f86f83c59267daaa2  v1.0.0_rpi-sdr-tx_rpi02w_armhf.img.xz
2. Using Install script
run:
git clone https://github.com/KaliAssistant/rpi-sdr-tx.git && cd rpi-sdr-txgit checkout a83acabsudo ./install.sh
or
curl -sL https://github.com/KaliAssistant/rpi-sdr-tx/releases/download/v1.0.0/v1.0.0_rpi-sdr-tx_rpi02w_armhf_install.sh | sudo bash
3. Build Your Own Image
Create a Debian-based VM or Docker container
Clone the builder branch:
git clone https://github.com/KaliAssistant/rpi-sdr-tx.git -b builderCheckout to Version 1.0.0
cd rpi-sdr-tx && git checkout c8bc4a5Setup builder config:
cp builder.txt.example builder.txtEdit
builder.txtto set mirror URLs, USB serial, etc.# Your USB gadget serialnumber # Random usb_serial if not set usb_serial="00000000000000000000000000000000" # Free space added to the rootfs in MiB # TODO: free_space set 100, but real free_space is ~500+100 MiB (xz will compress) free_space=100 # USB gadget RNDIS ETHERNET settings rndis_ipv4_address="172.16.48.1/24" rndis_ipv4_gateway="172.16.48.254" rndis_ipv4_dns="1.1.1.1" # If you have your own preferred mirrors, set them here.(when build) #mirror="http://raspbian.raspberrypi.com/raspbian" # If you have your own preferred mirrors, set them here.(after build) #restore_mirror="http://raspbian.raspberrypi.com/raspbian" # Dont change this (stable) #suite="bookworm" # Use packages from the listed components of the archive. #components="main,contrib,non-free,rpi"Run the build script as
root:sudo ./rpi02w.shBuild will take ~1 hour. ☕ Grab a coffee.
After success, check
./build-image/for your image and checksum.
Getting started with RPI-SDR-TX
Full tutorial will in next post. coming soon.