3D Print Cases
This guide explains how to 3D print, prepare, and assemble the official Lichee-Jack enclosure. The case is designed for durability, portability, and daily carry, while remaining fully open-source and easy to reproduce.
All 3DP-related files are maintained in:
Step 0 — Gather Required Parts
| Item | Qty | Link |
|---|---|---|
| M2×0.4 Heat-Set Thread Insert (Ø 3 × H 2 mm) | 10 | Amazon |
| M2×0.4 Ultra-Low Head Torx Screw (3 mm) | 8 | Amazon |
| M2×0.4 Hex Socket Head Cap Screw (6 mm) | 2 | Amazon |
| Plastic Optic Fiber (Ø 1.2 – 1.5 mm) | 1 | Amazon |
Note
Screw lengths are important. Using longer screws may damage the PCB or deform the enclosure.
Step 1 — Print the Case

Supported materials:
- PLA+
- PETG (strongly recommended)
- ABS
Recommended Print Settings
PETG! PETG! PETG!
- Layer height: 0.16 – 0.20 mm
- Infill: 30 – 50 %
- Supports: Only where needed
- Orientation: Flat face down
Warning
Avoid resin / SLA printing. These materials are brittle and not suitable for heat-set inserts or daily mechanical stress.
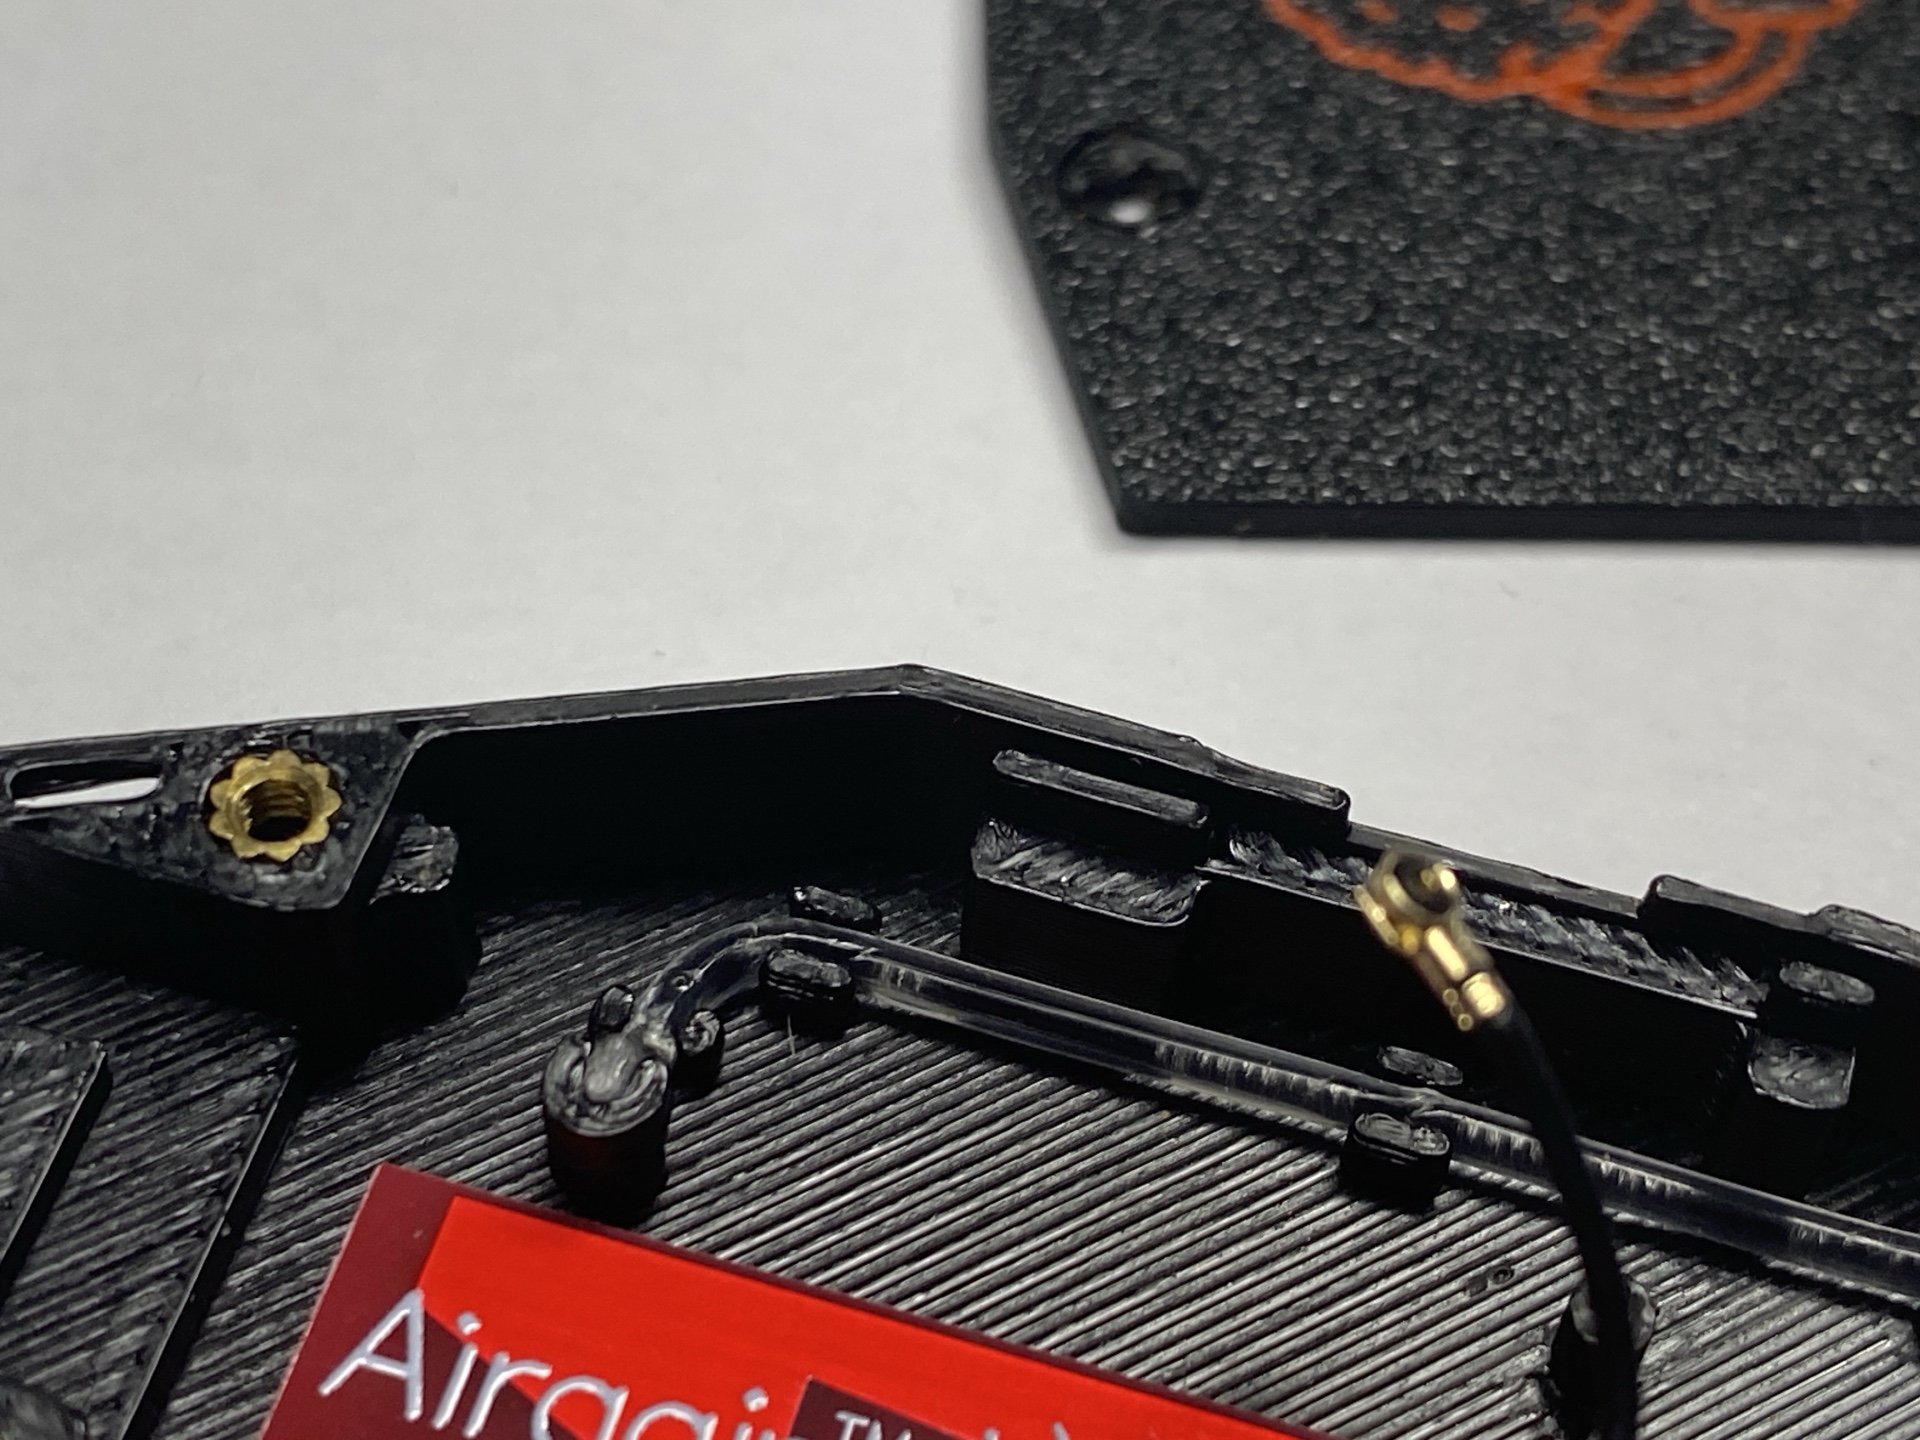
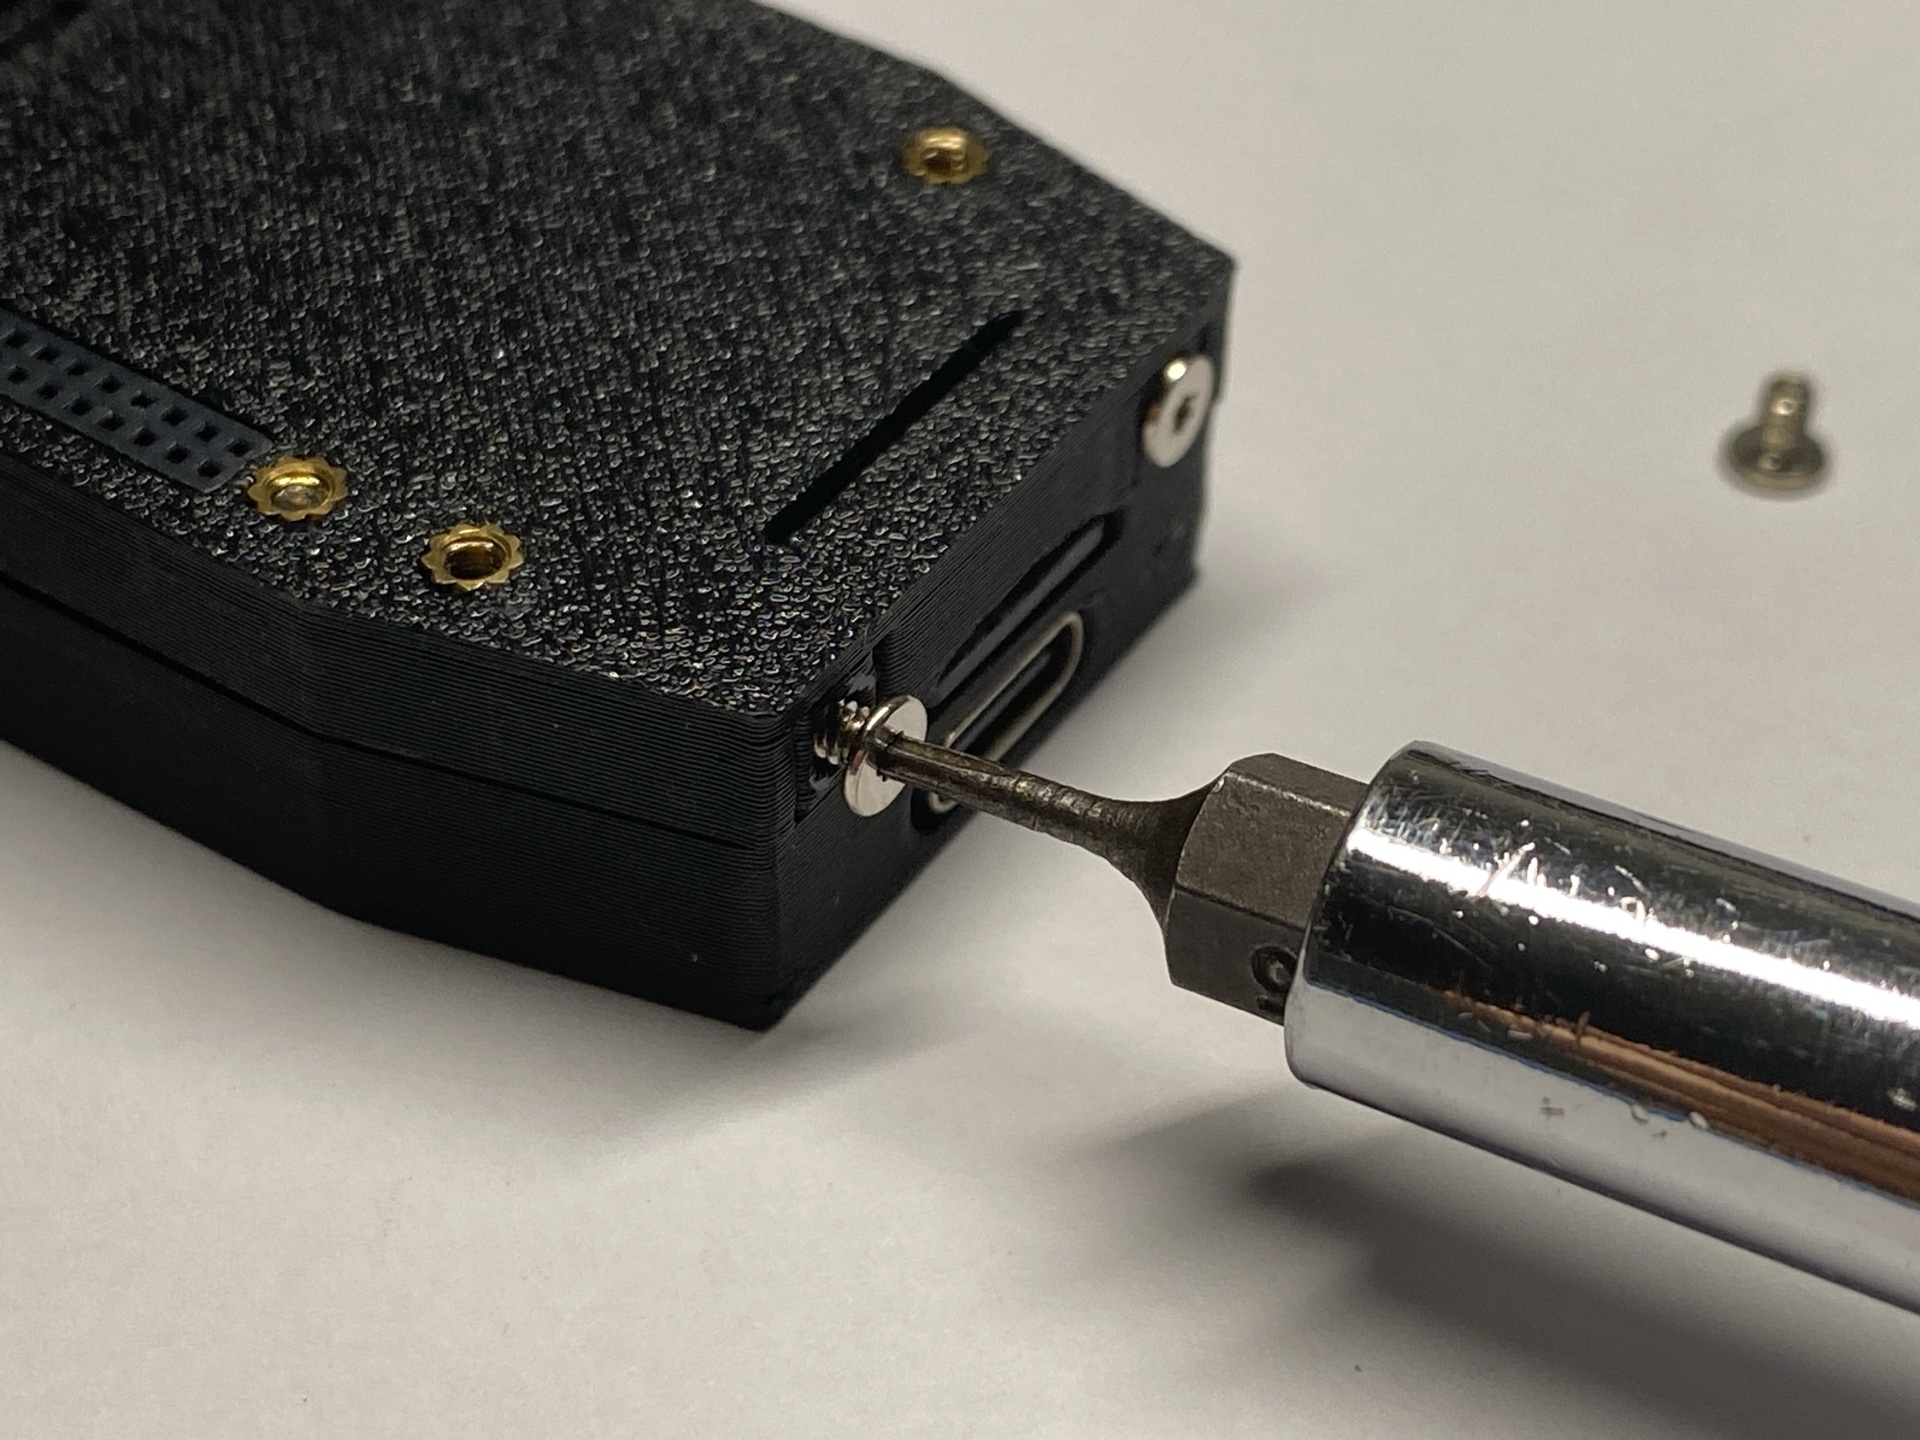
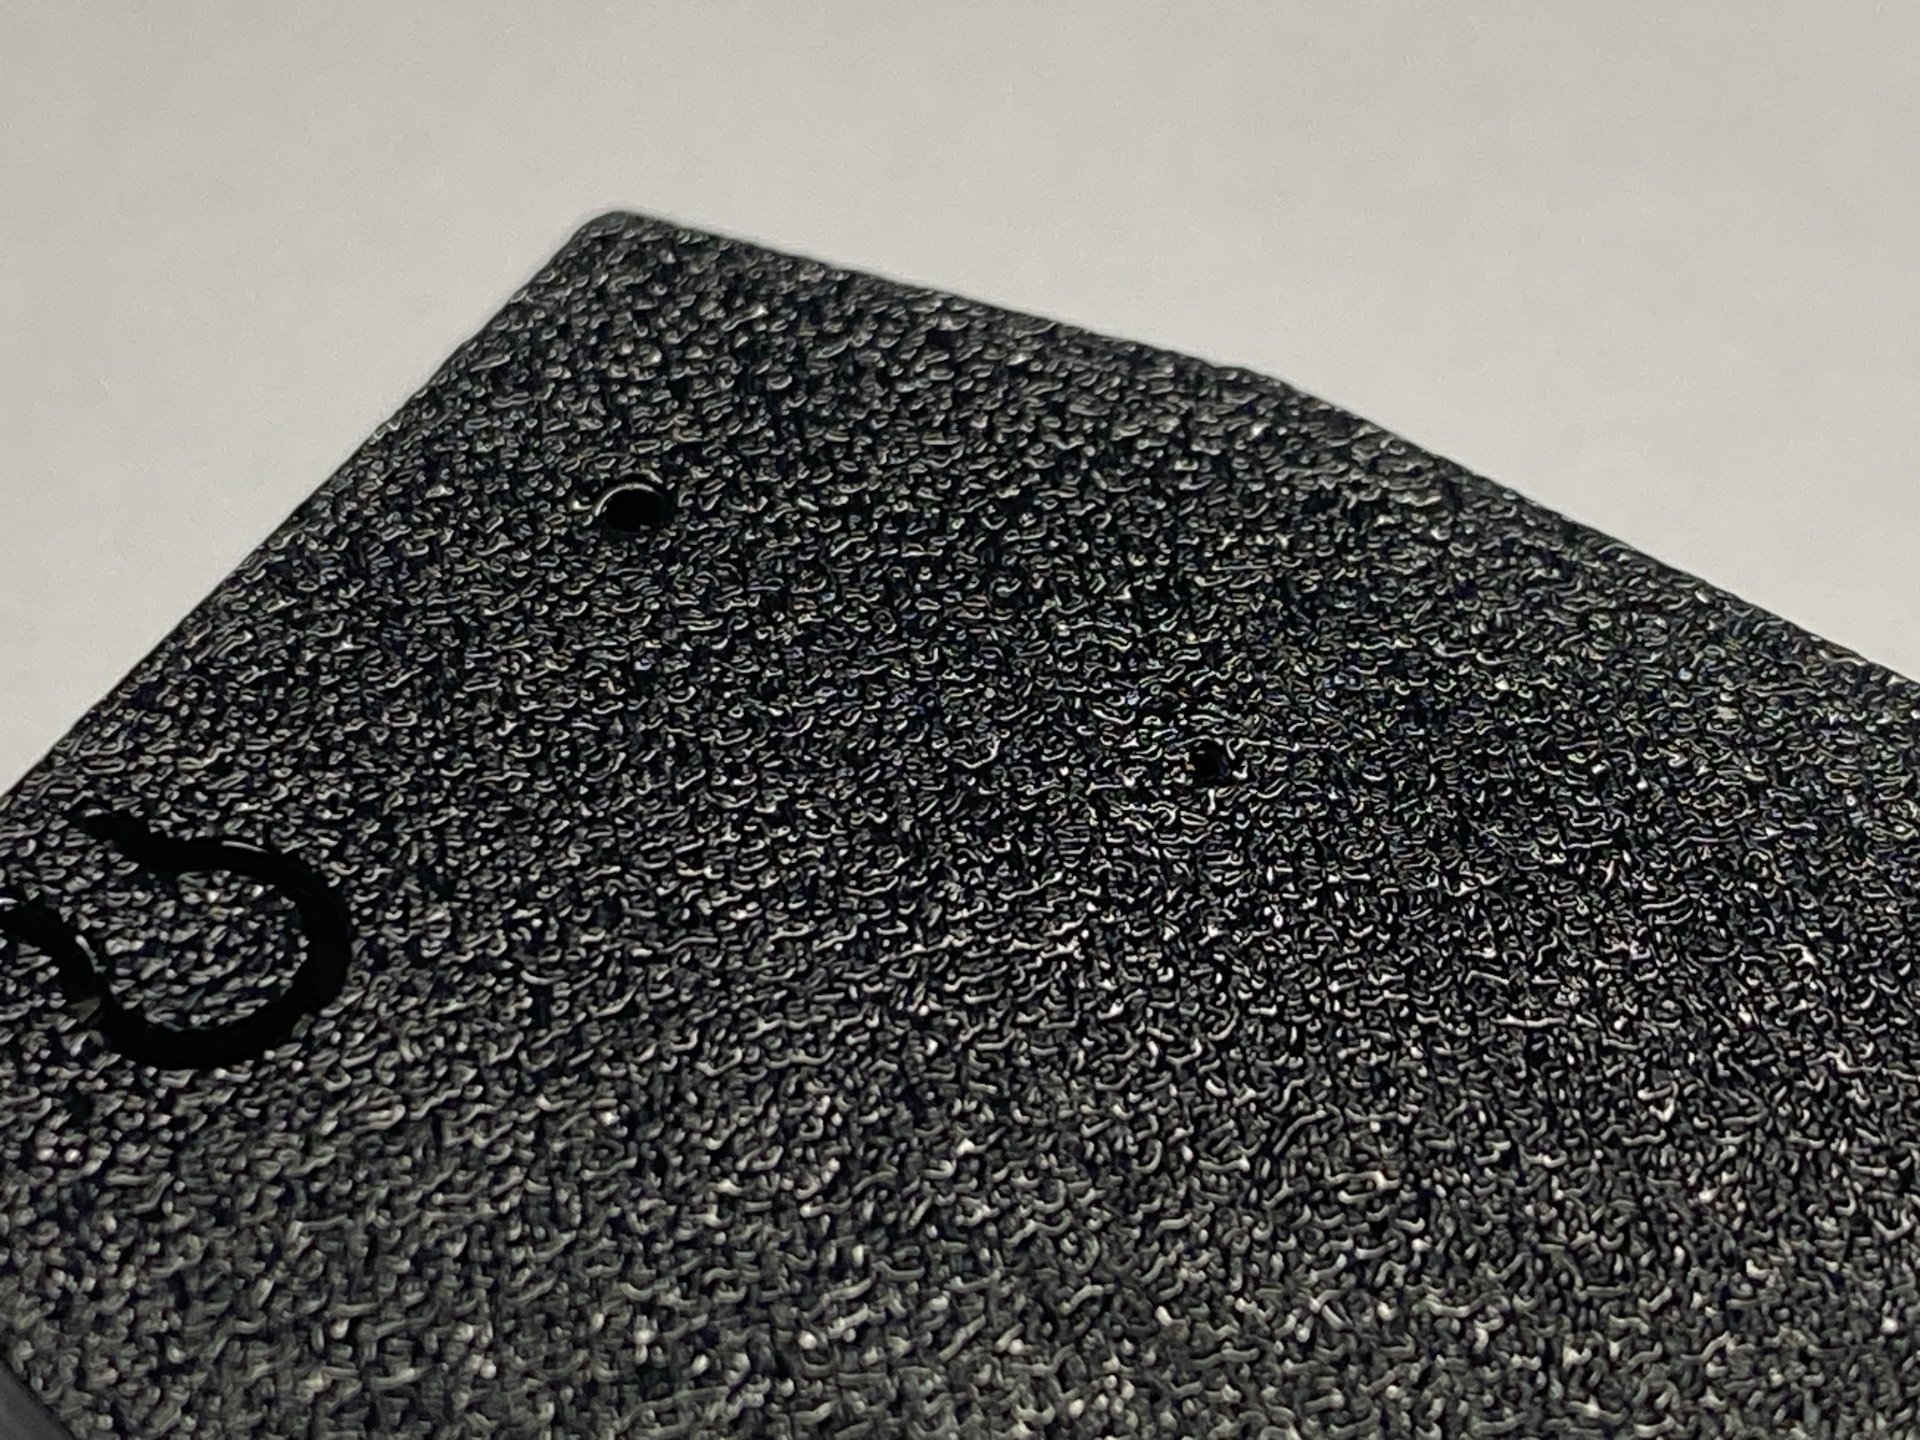
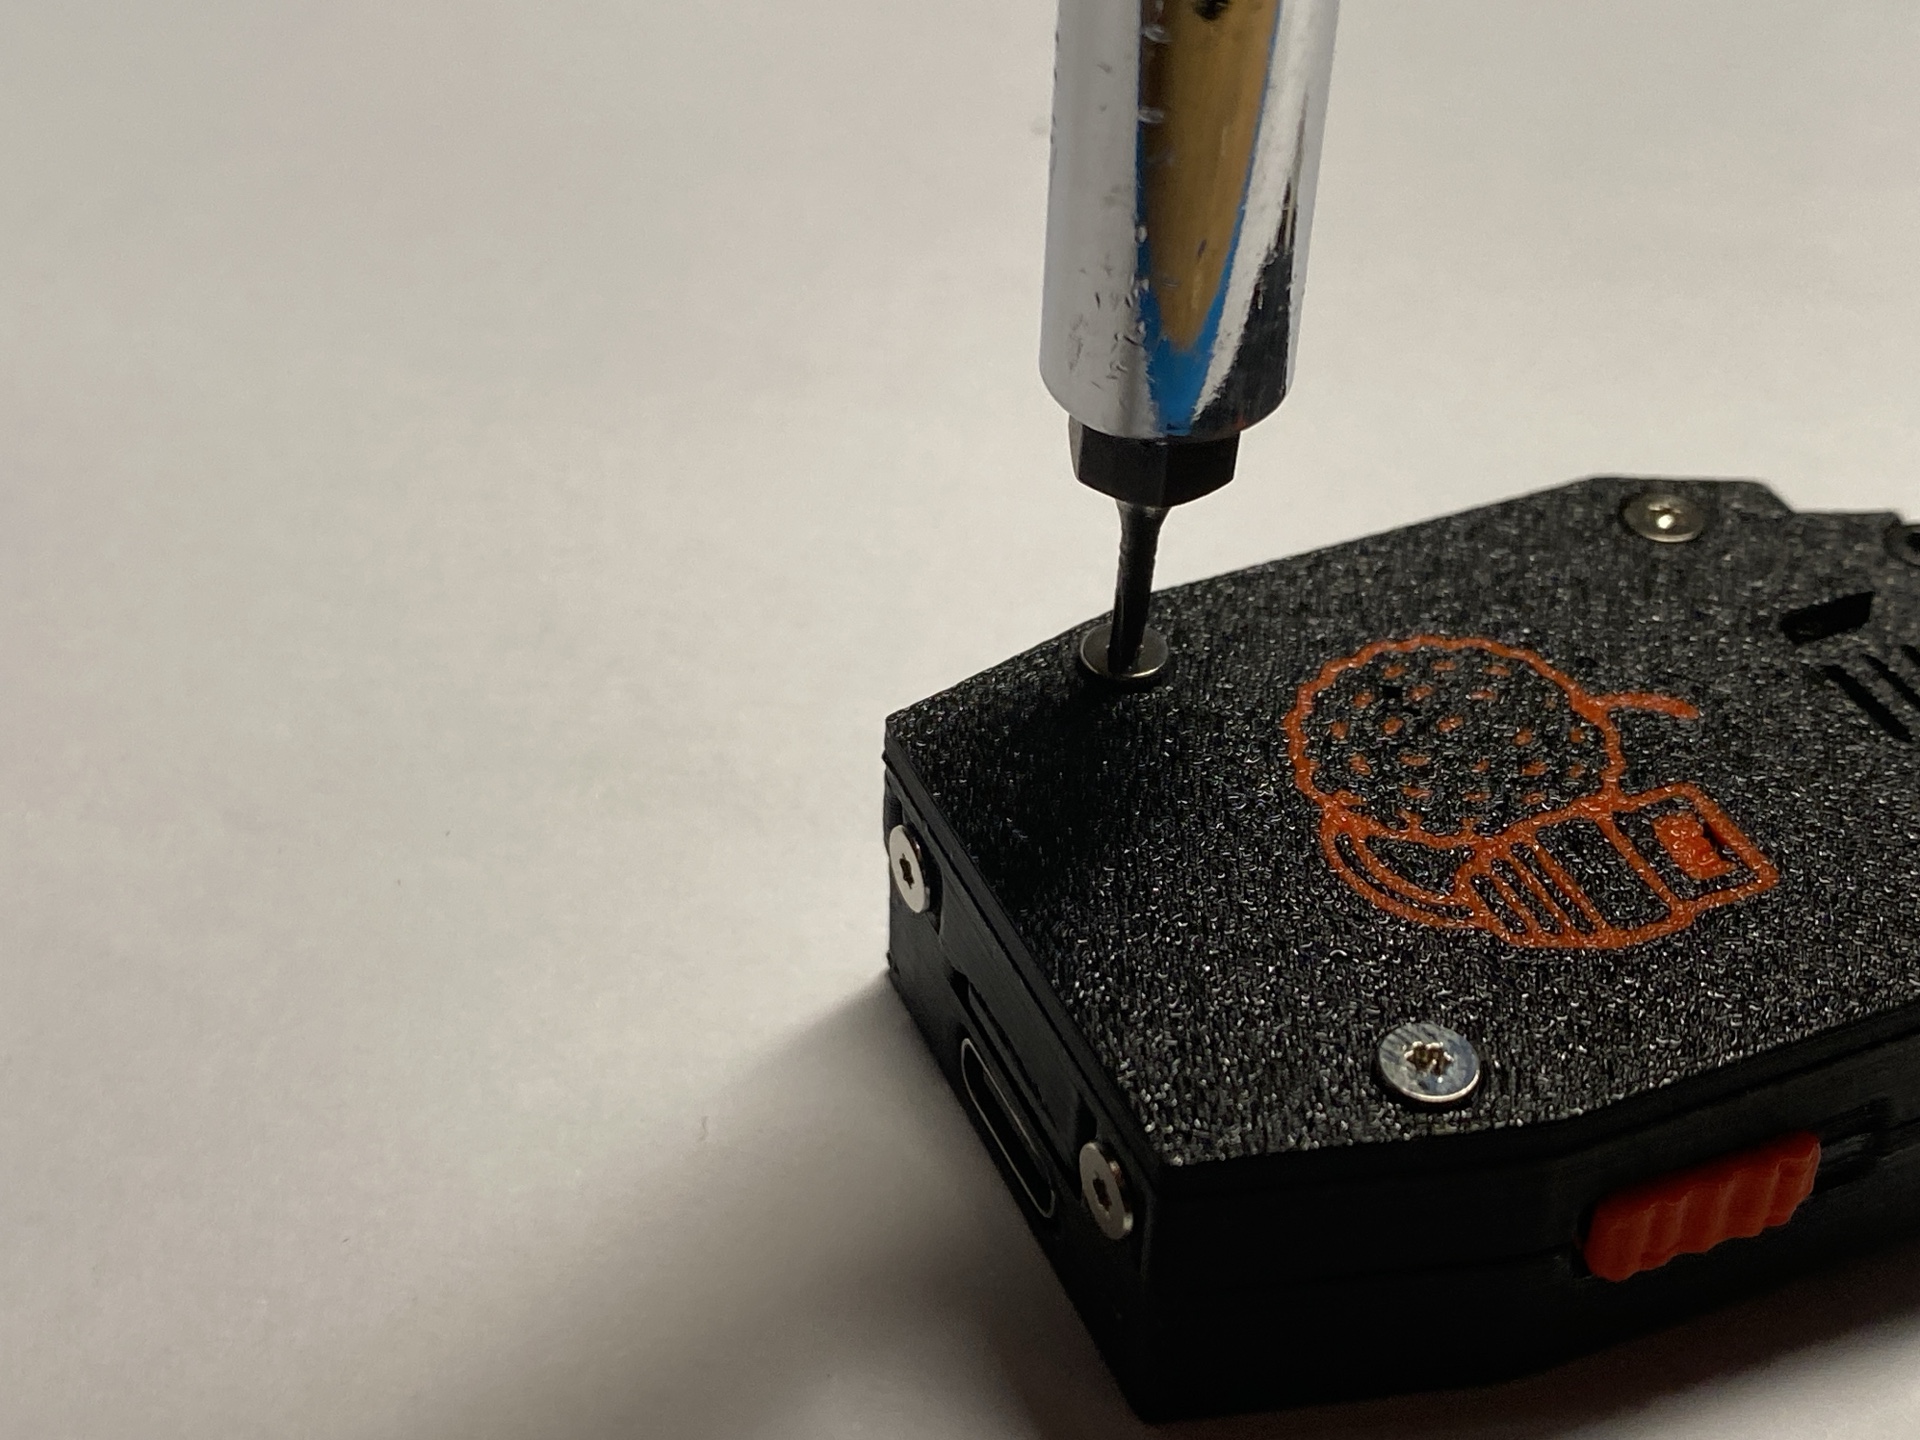
Step 2 — Install Heat-Set Inserts
- Heat your soldering iron to 180 – 200 °C.
- Align the heat-set insert with the hole.
- Press gently while heating until the insert sits flush.
- Allow the plastic to cool completely before installing screws.
Tip
If this is your first time using heat-set inserts, practice on scrap prints first.
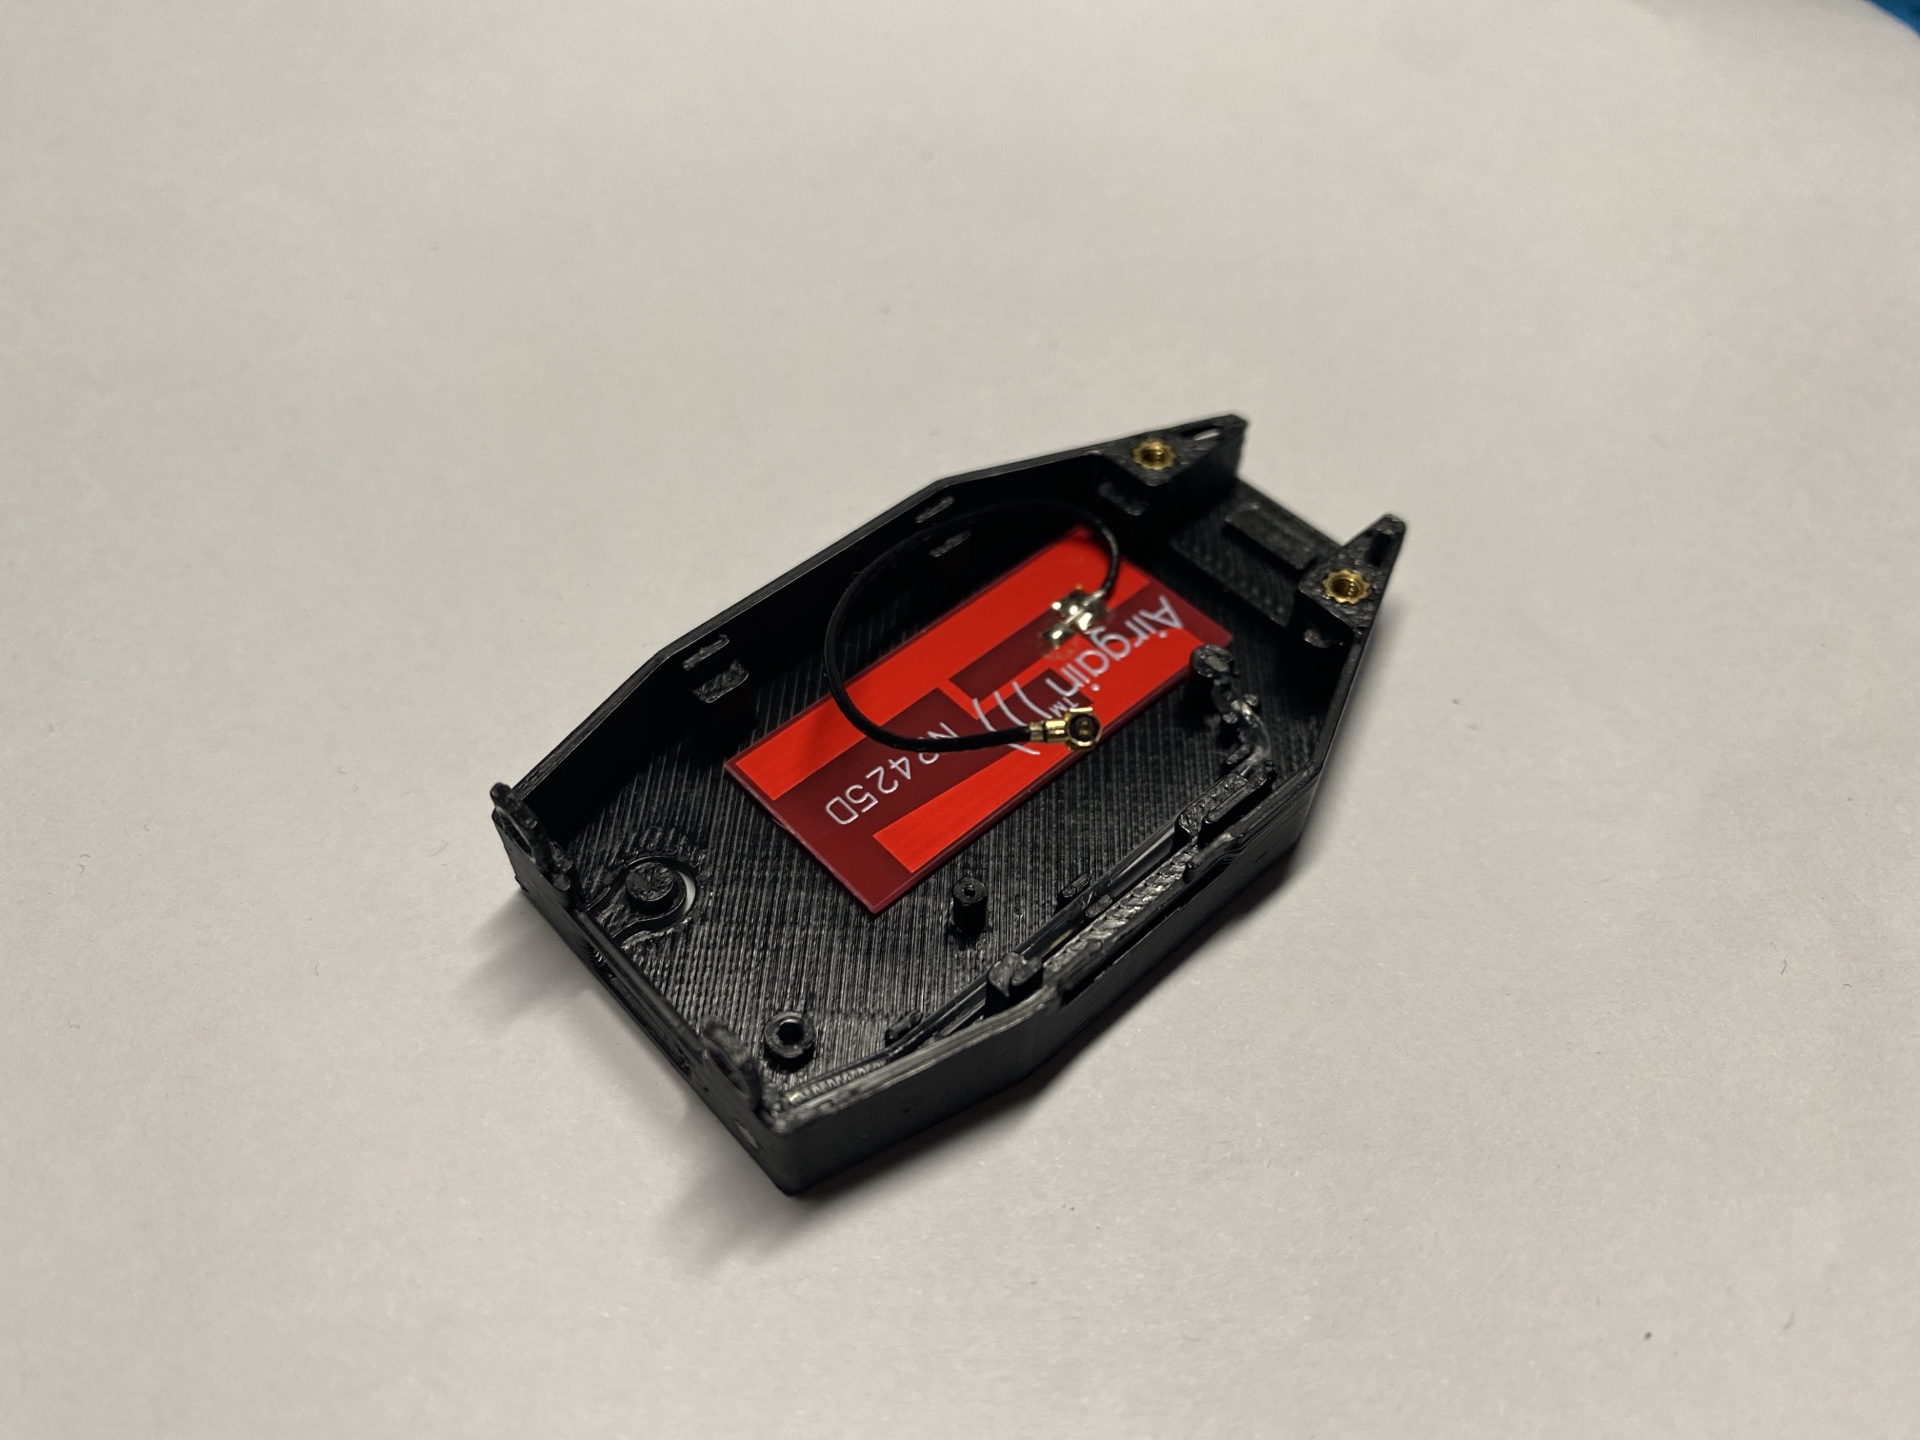
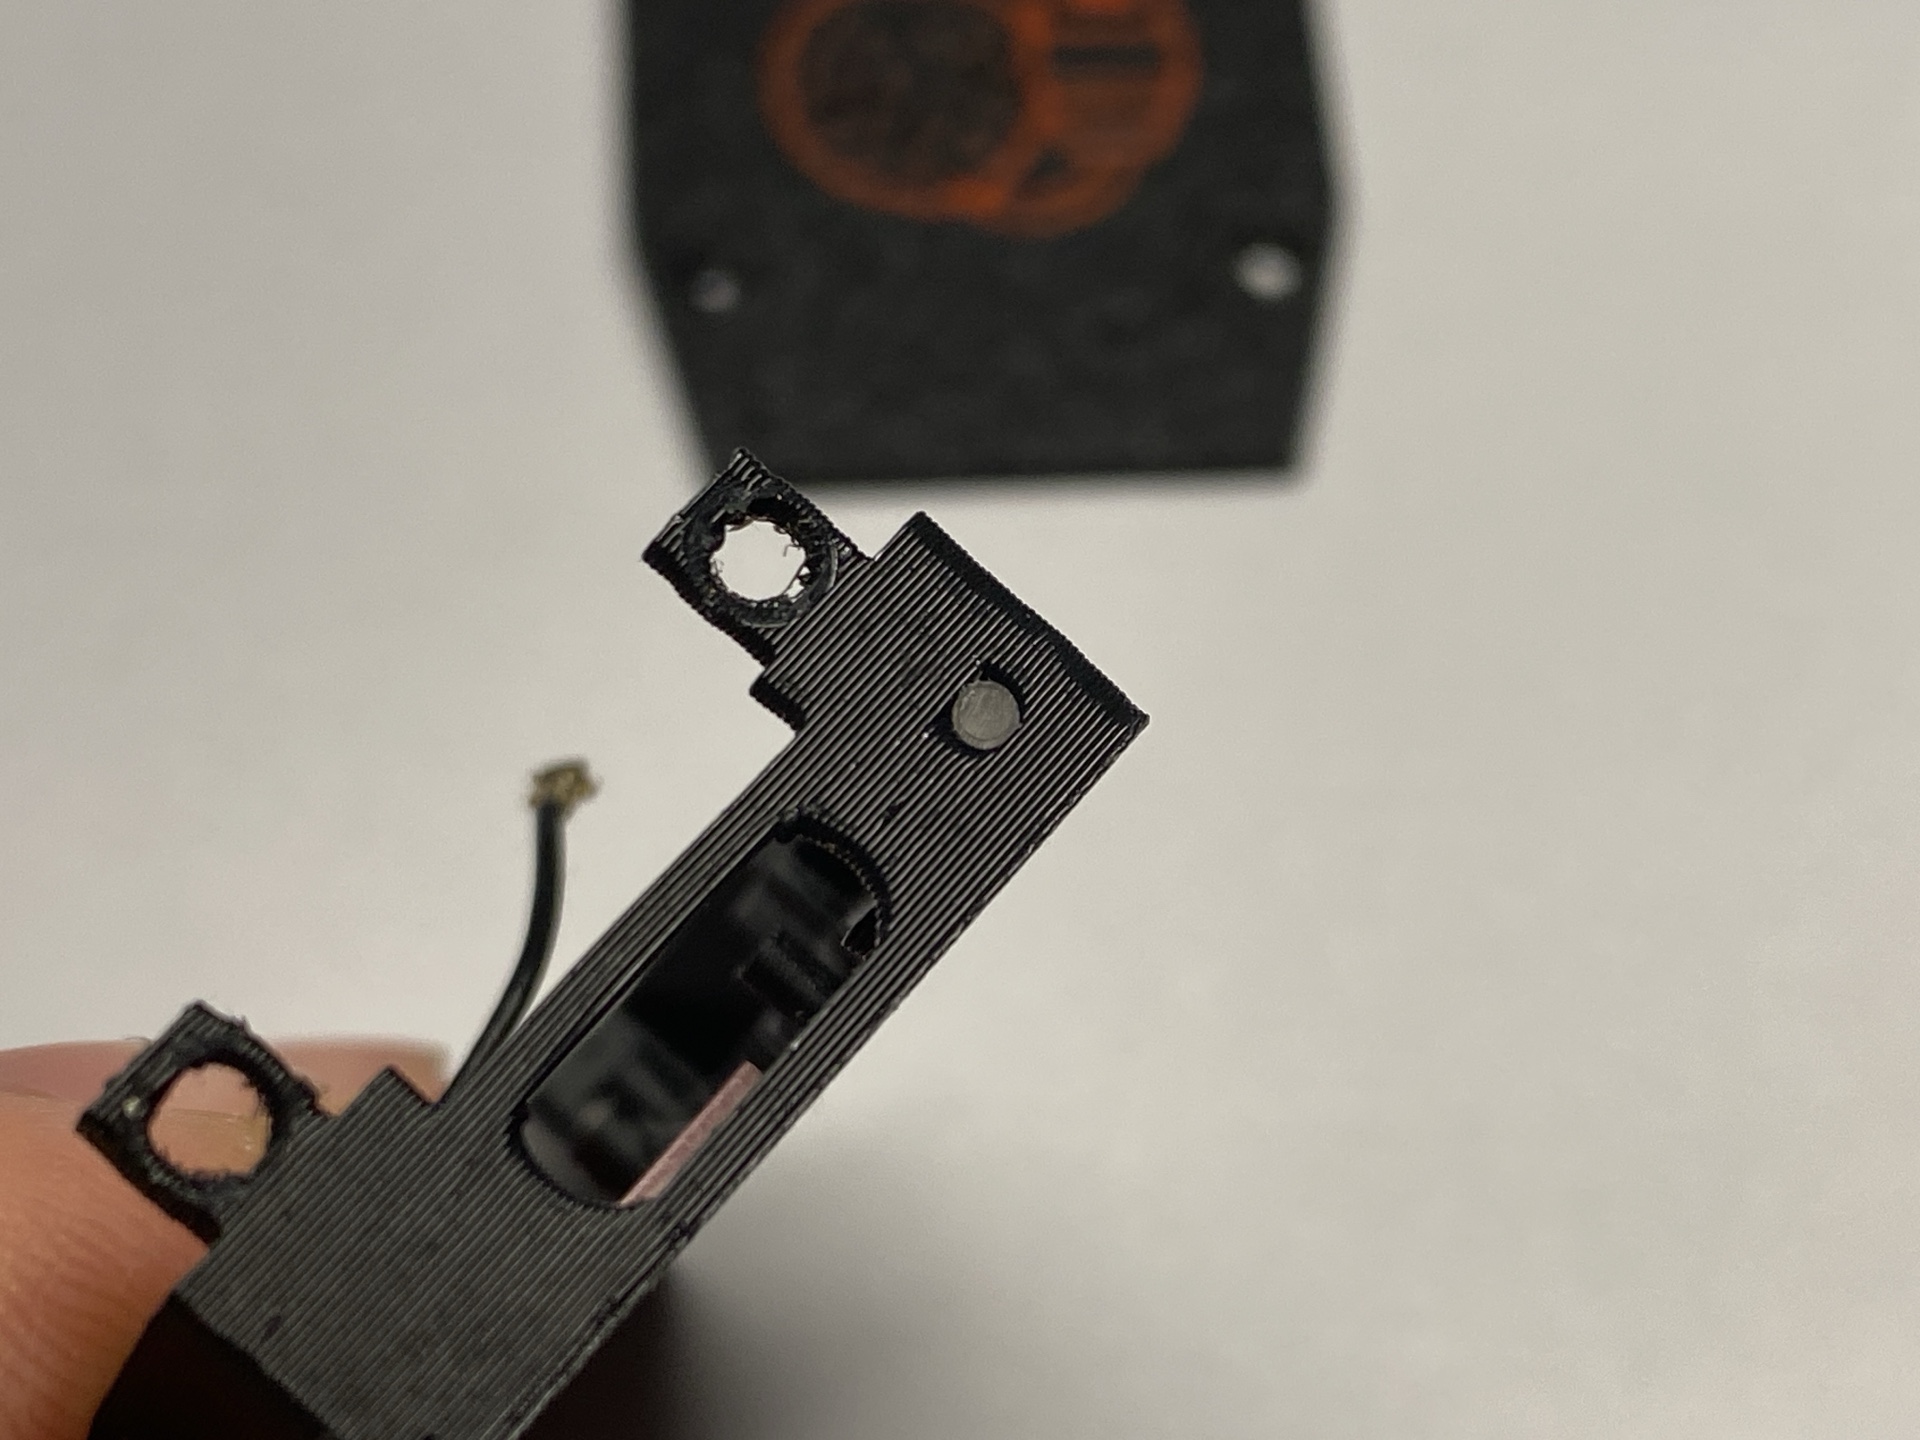
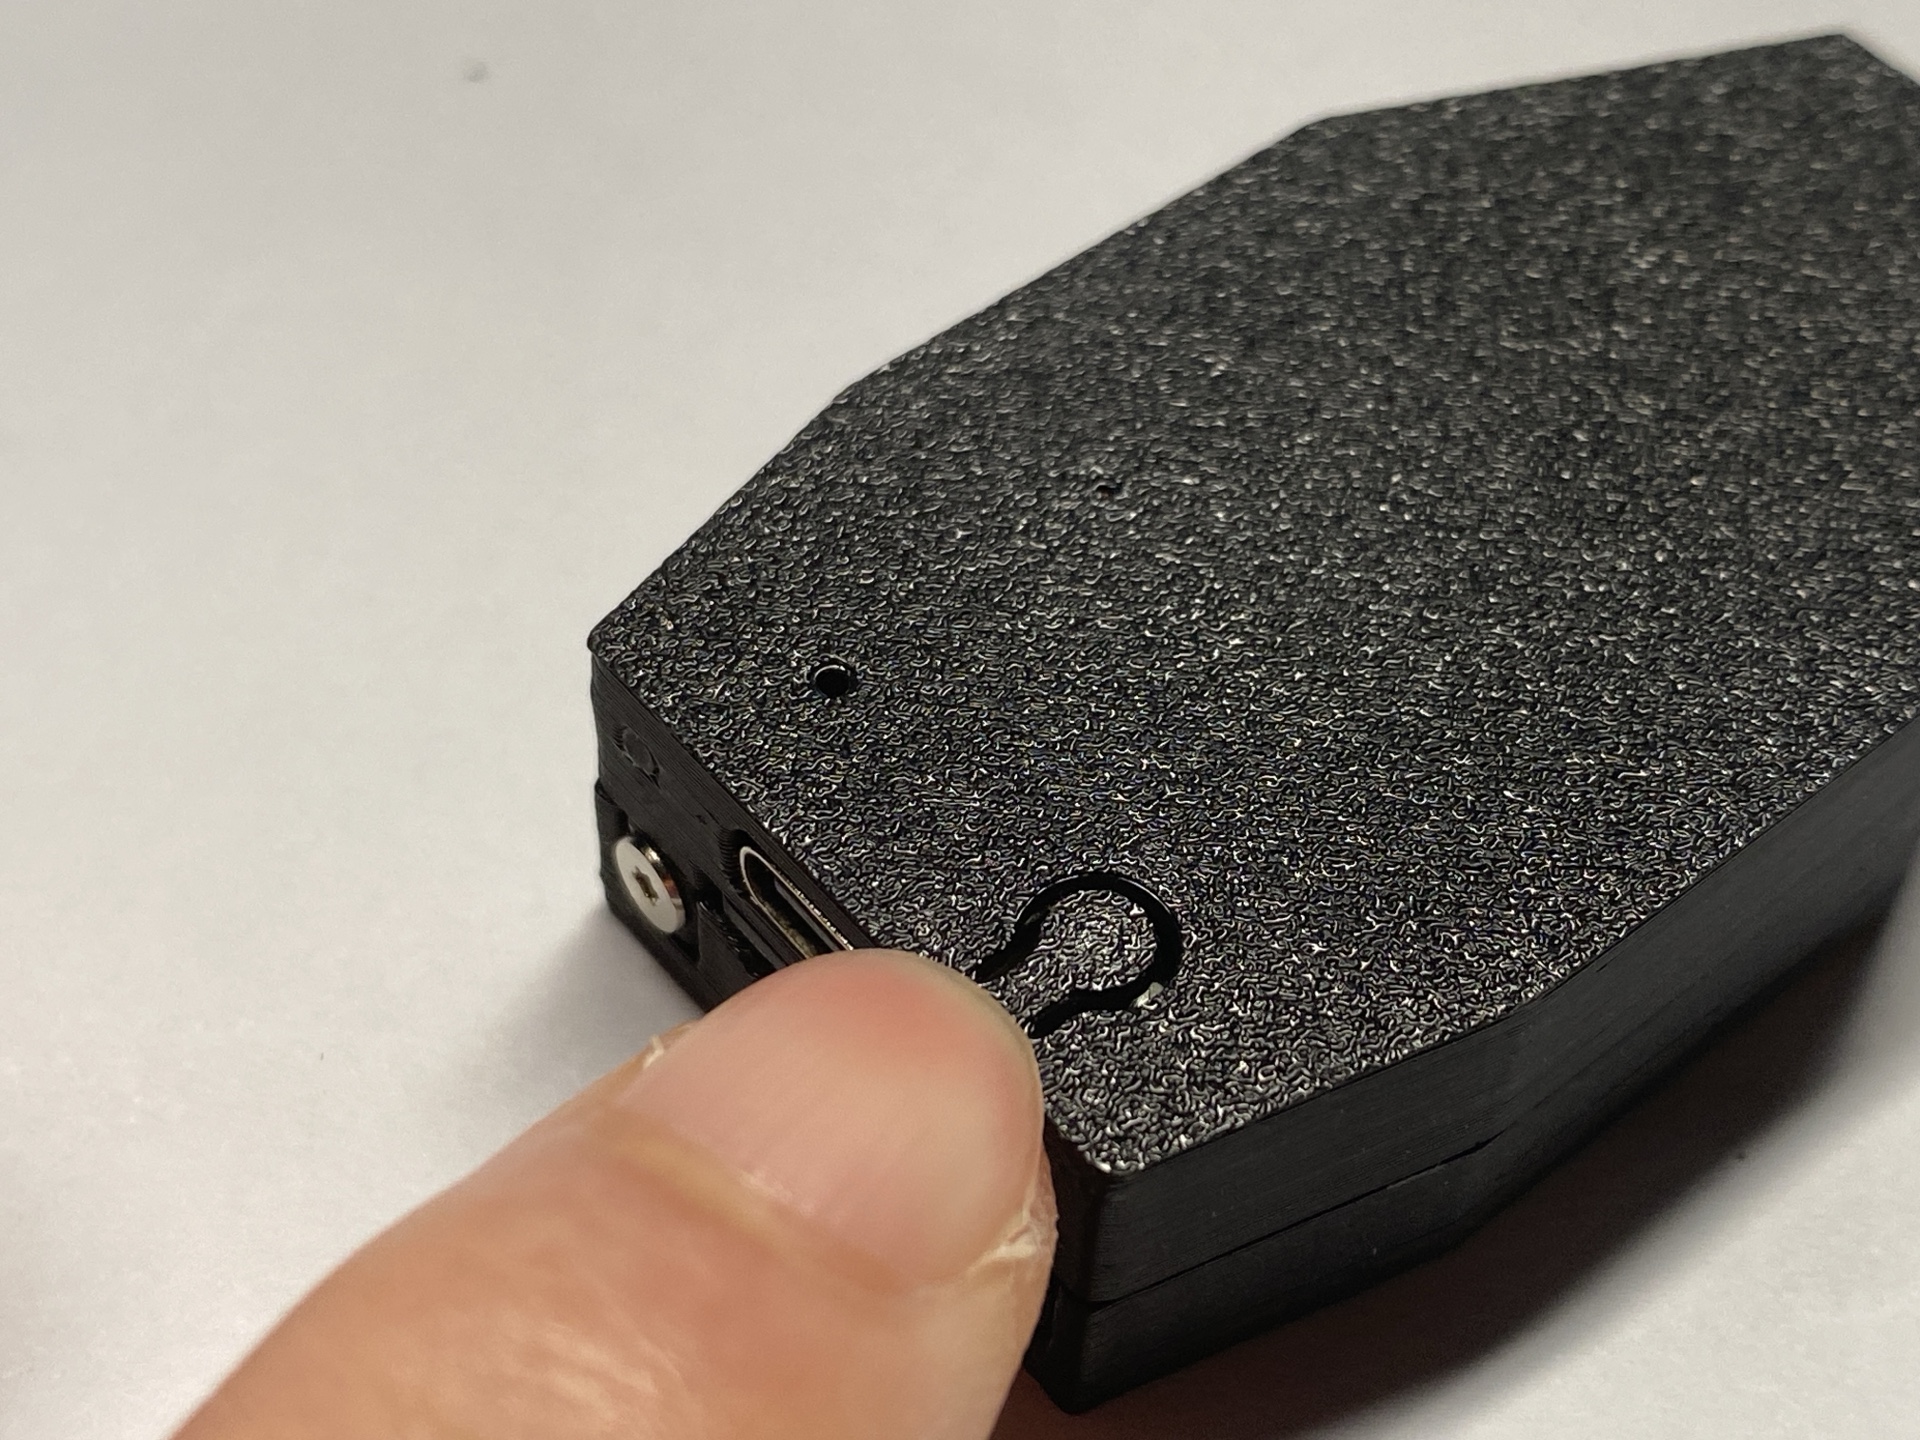
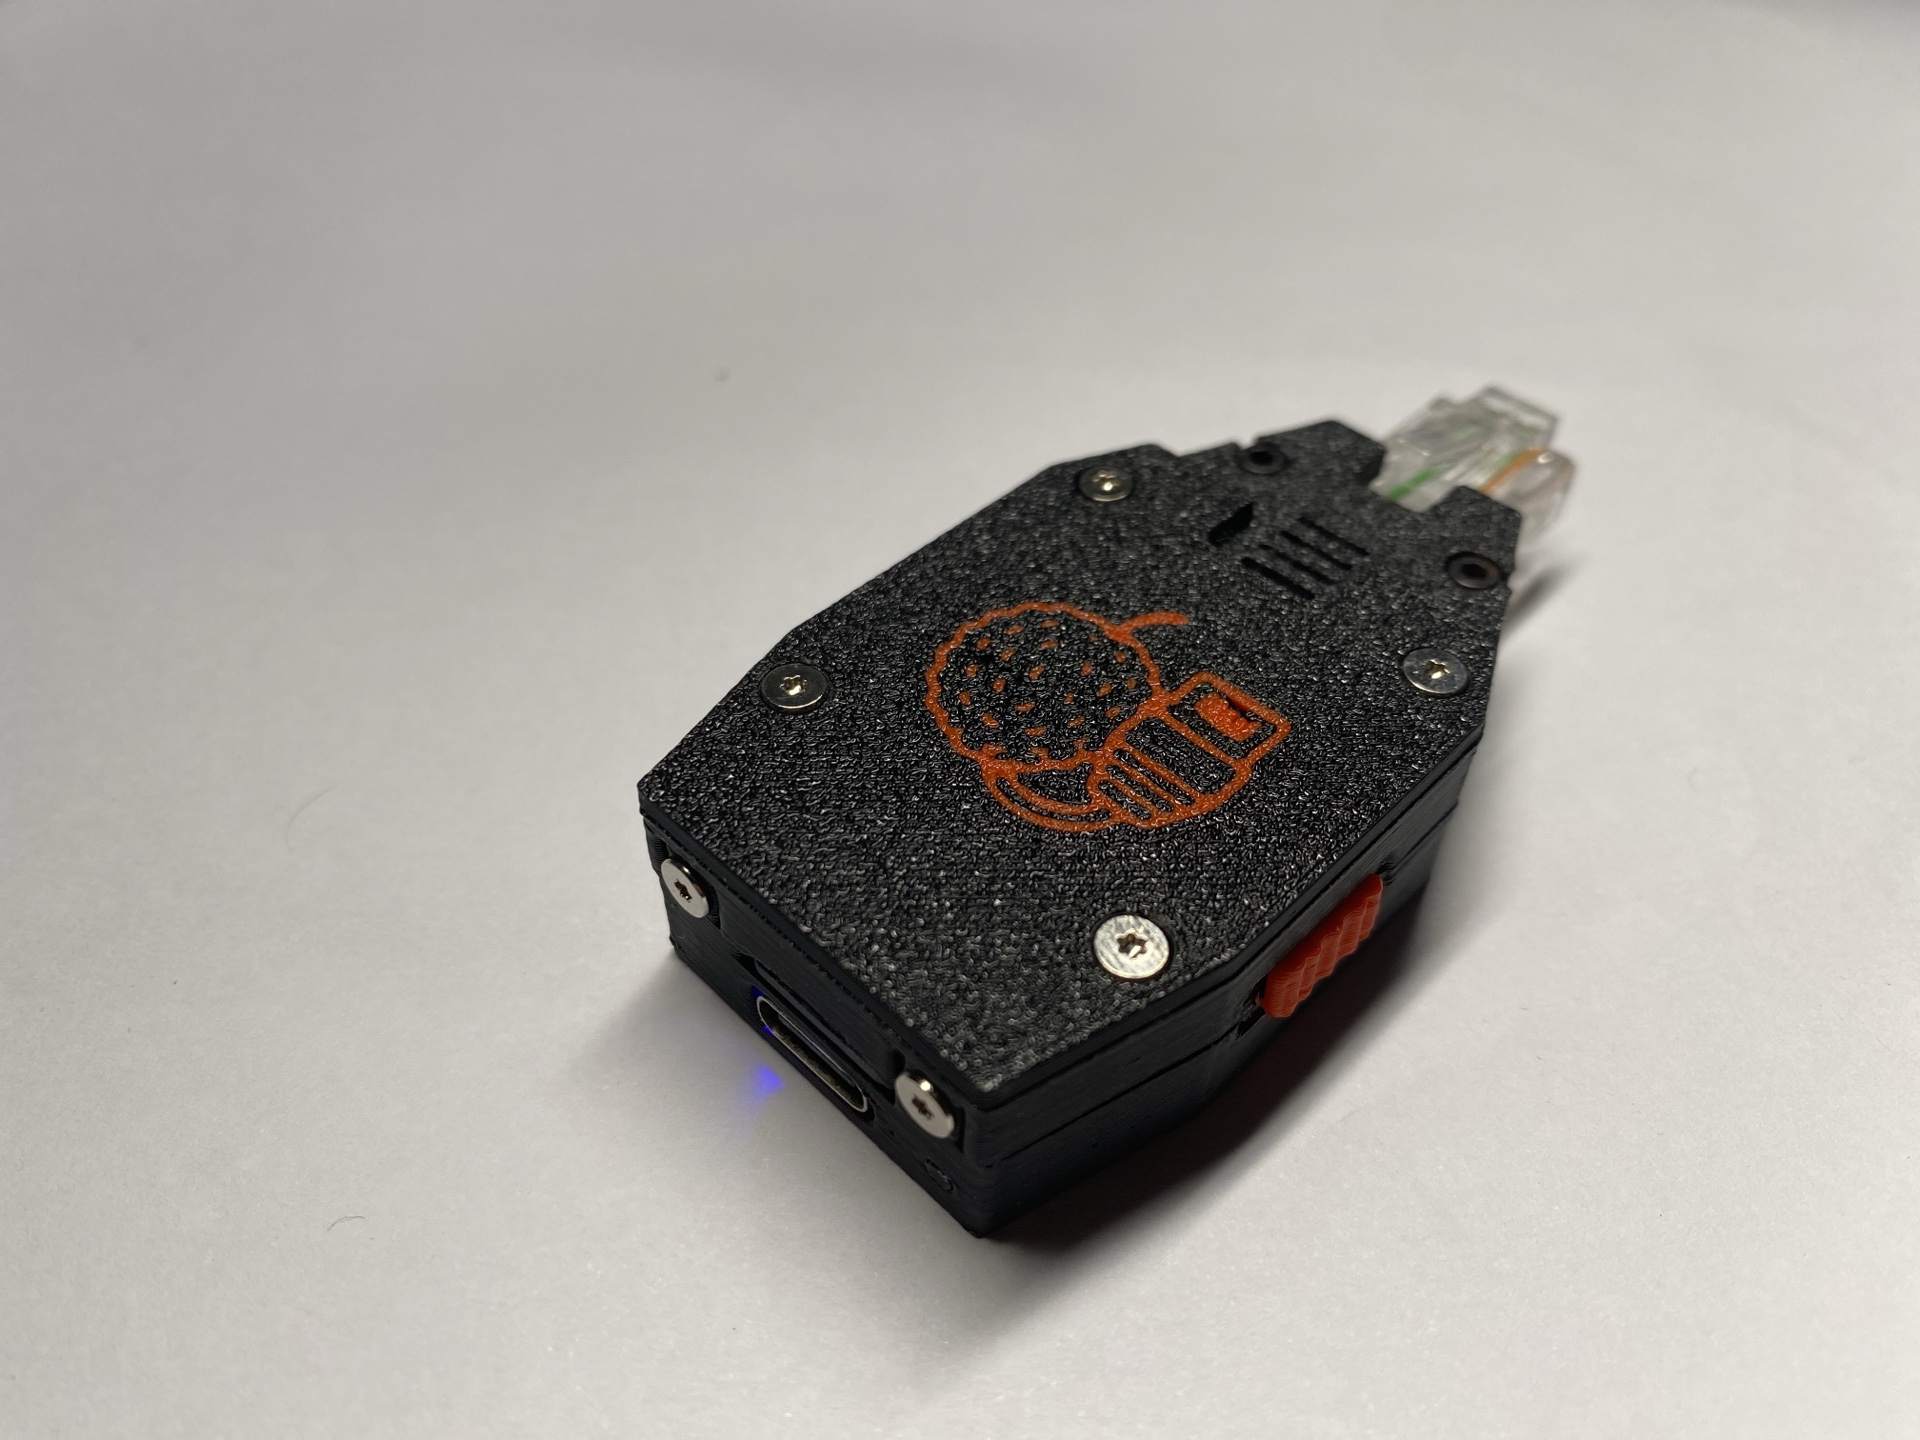
Step 3 — Add Optical Fiber for LED Light Pipe
- Insert plastic optic fiber into the LED holes.
- This diffuses the internal LED into a clean external glow.
- Trim the fiber ends flush with the case surface.
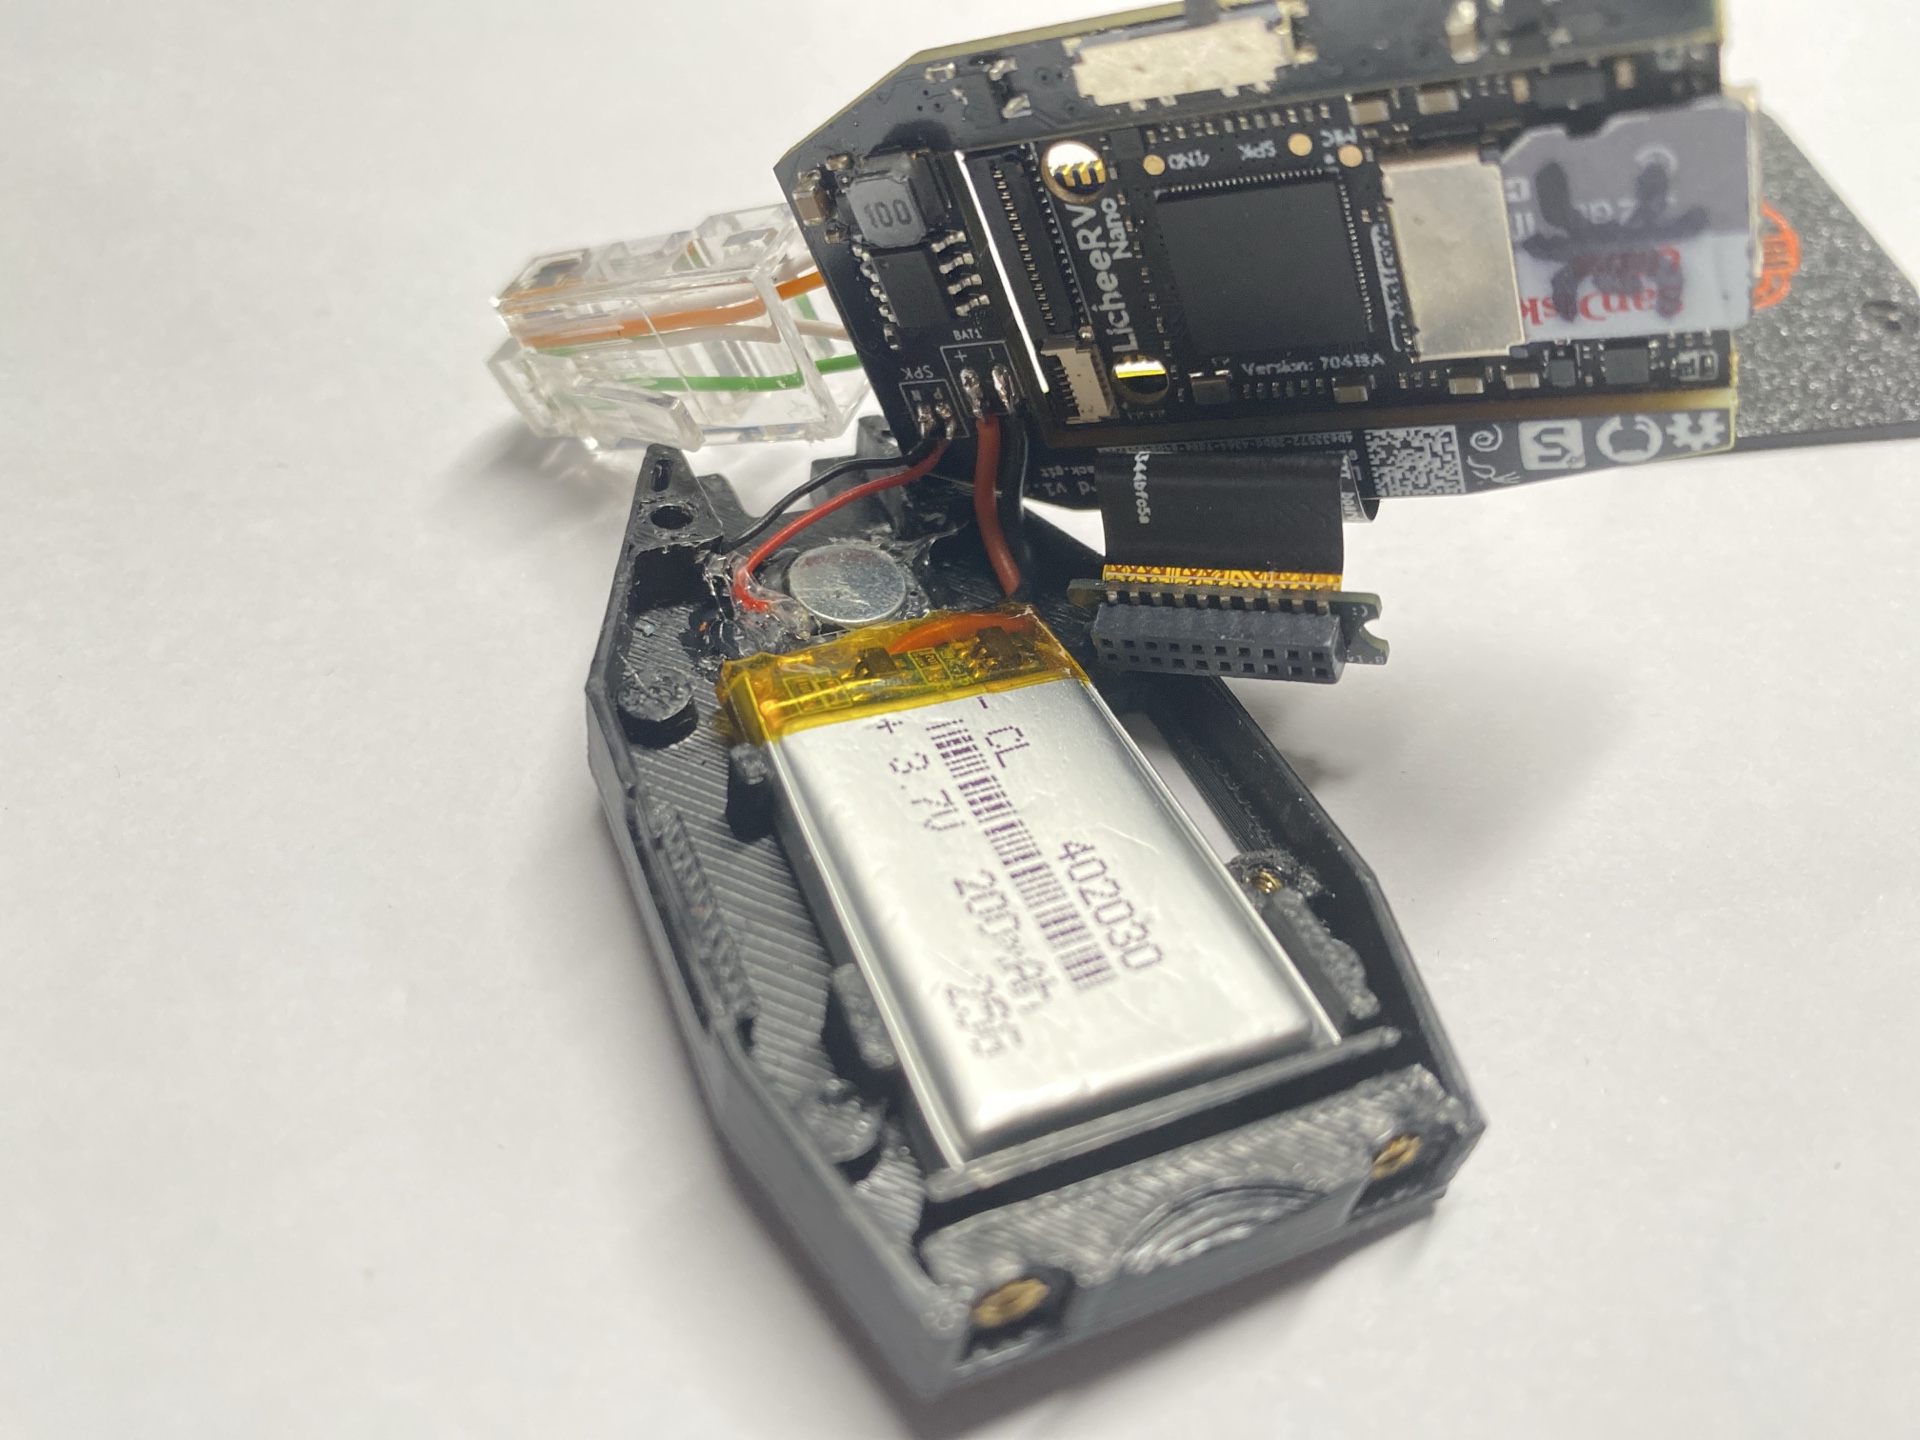
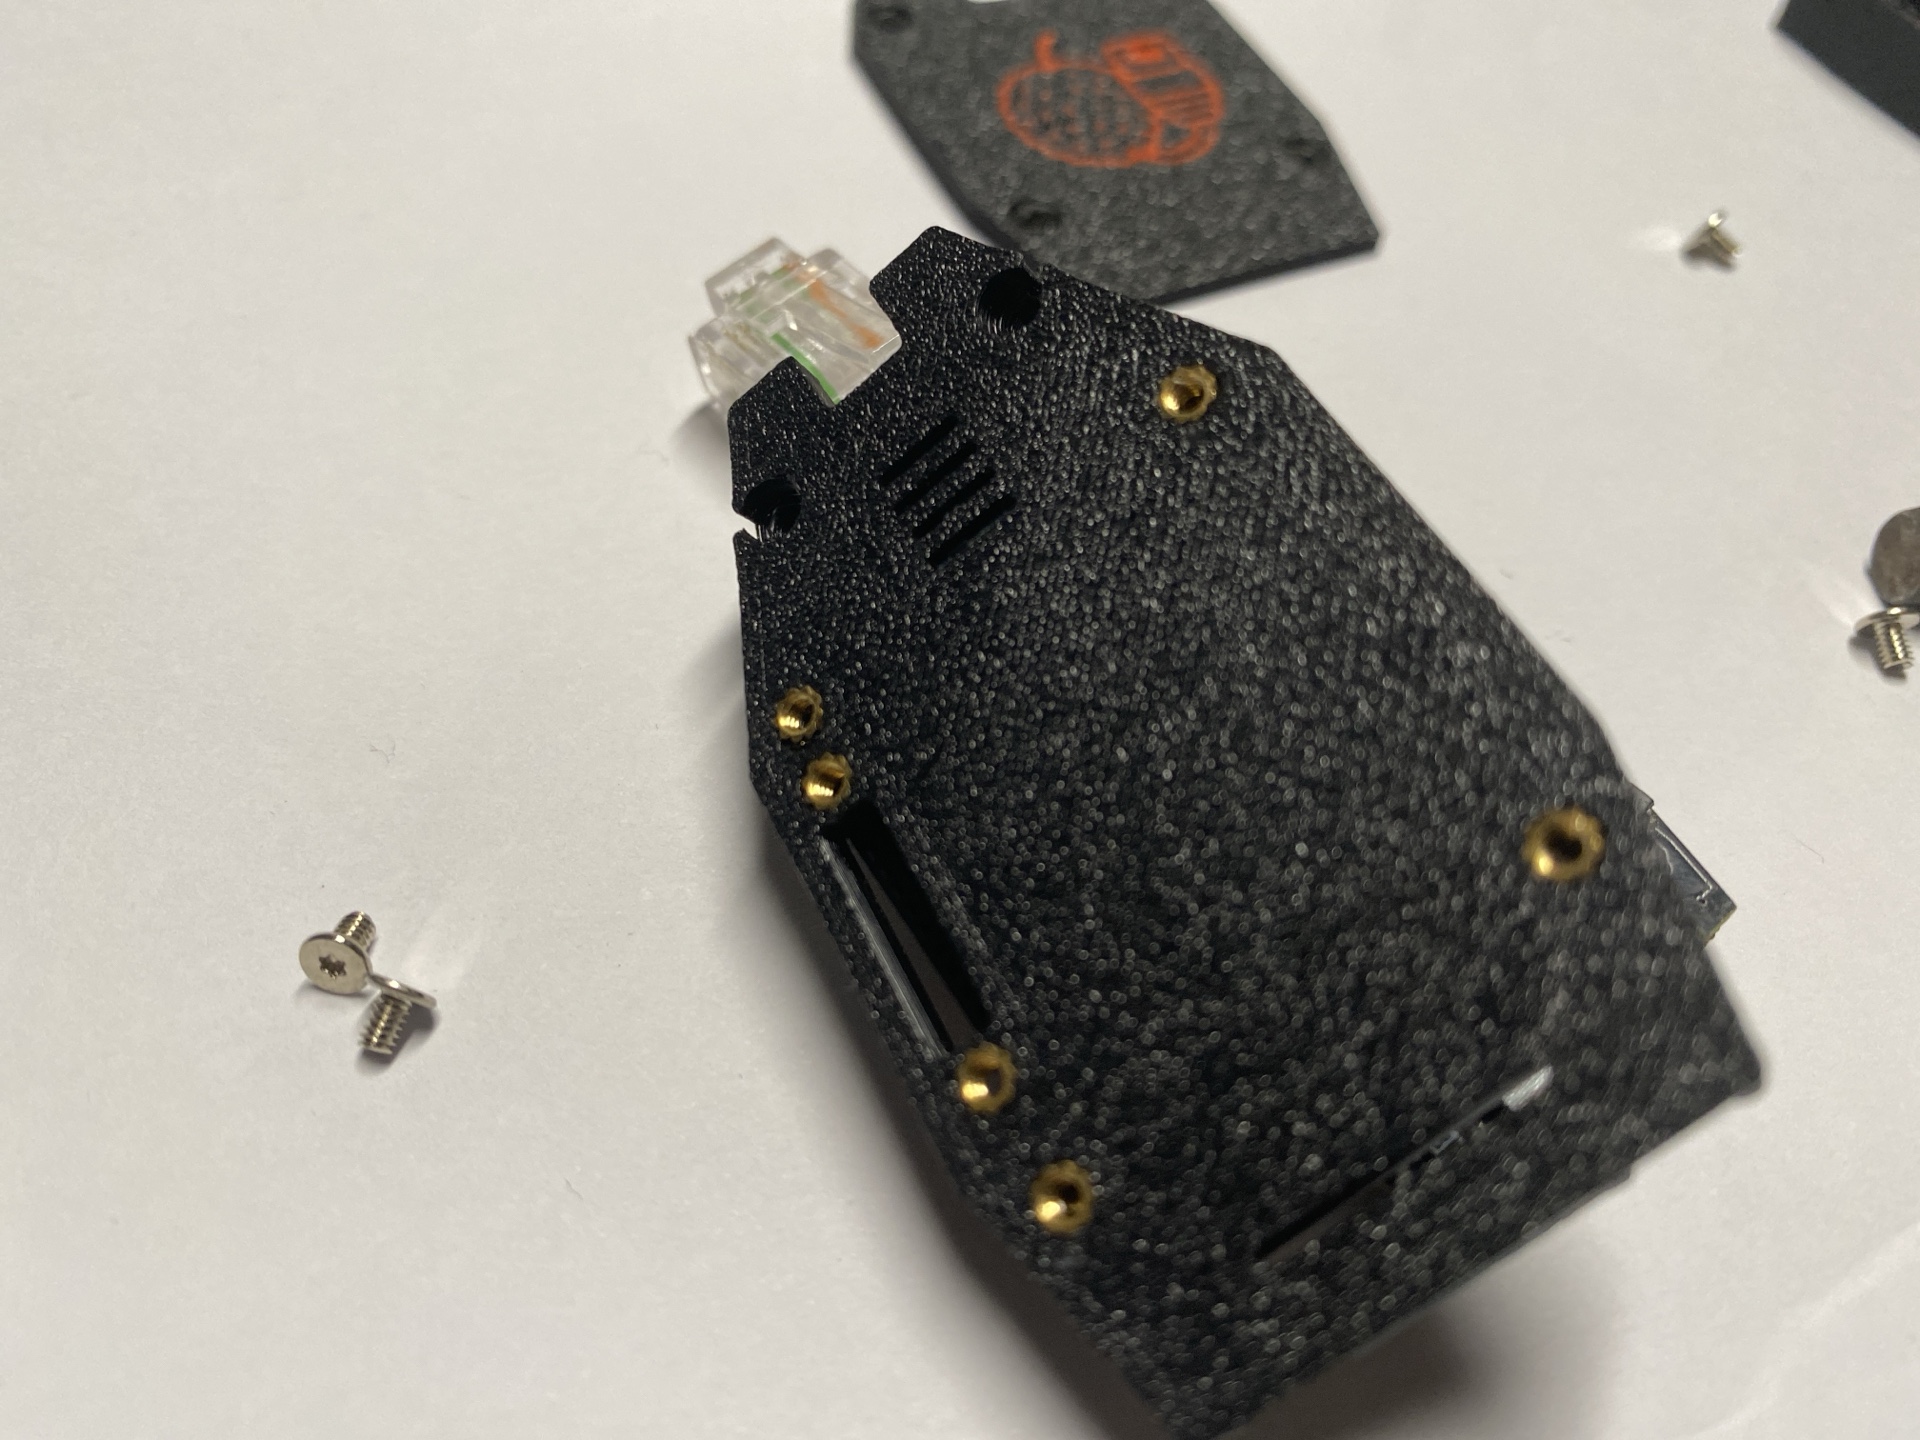
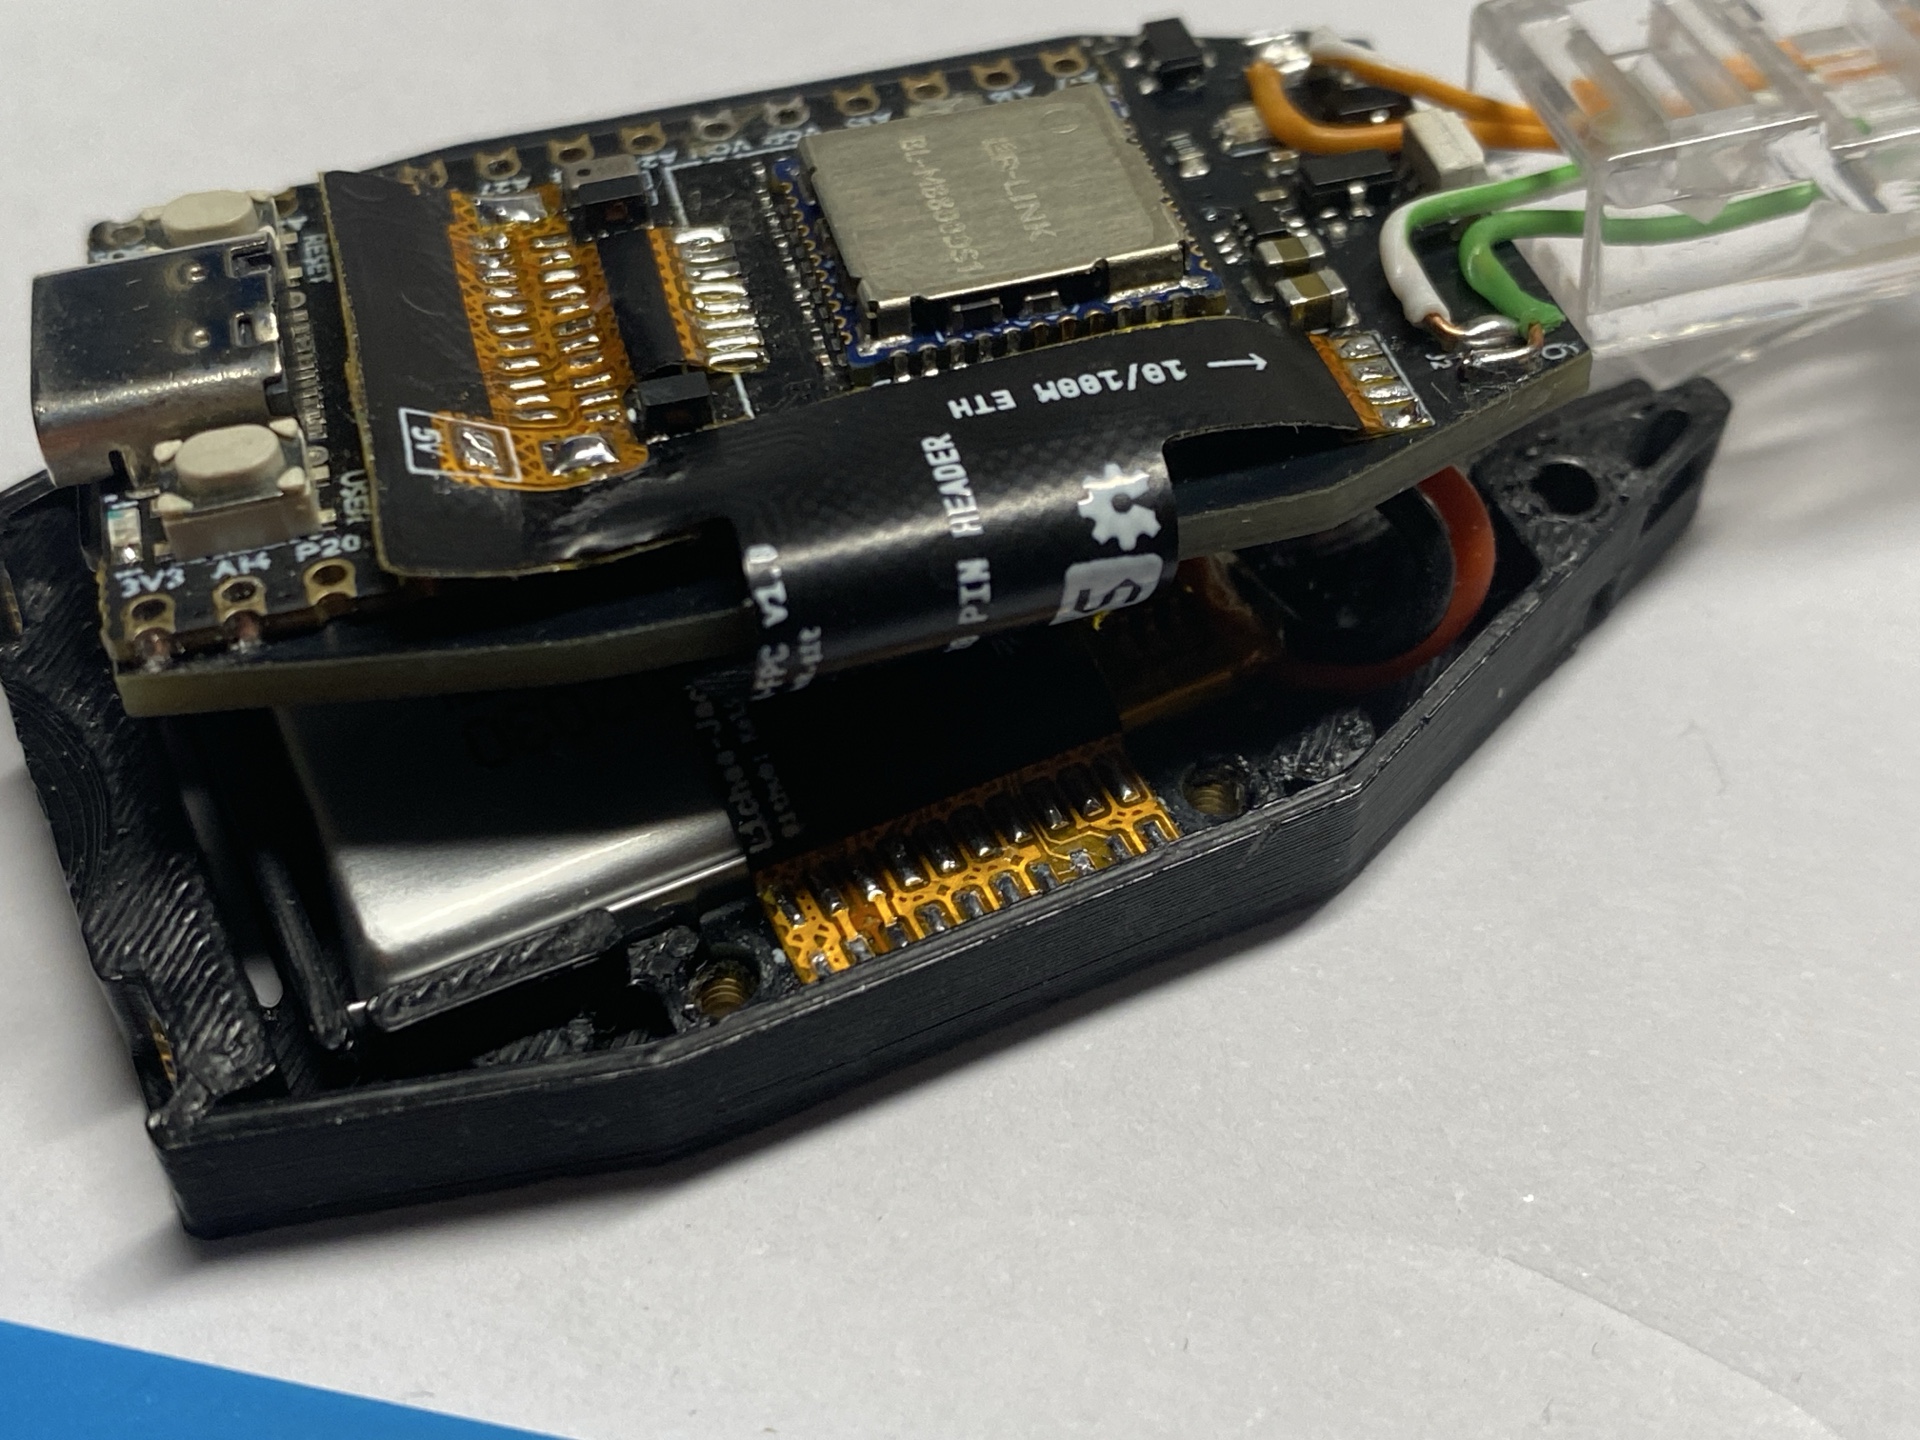
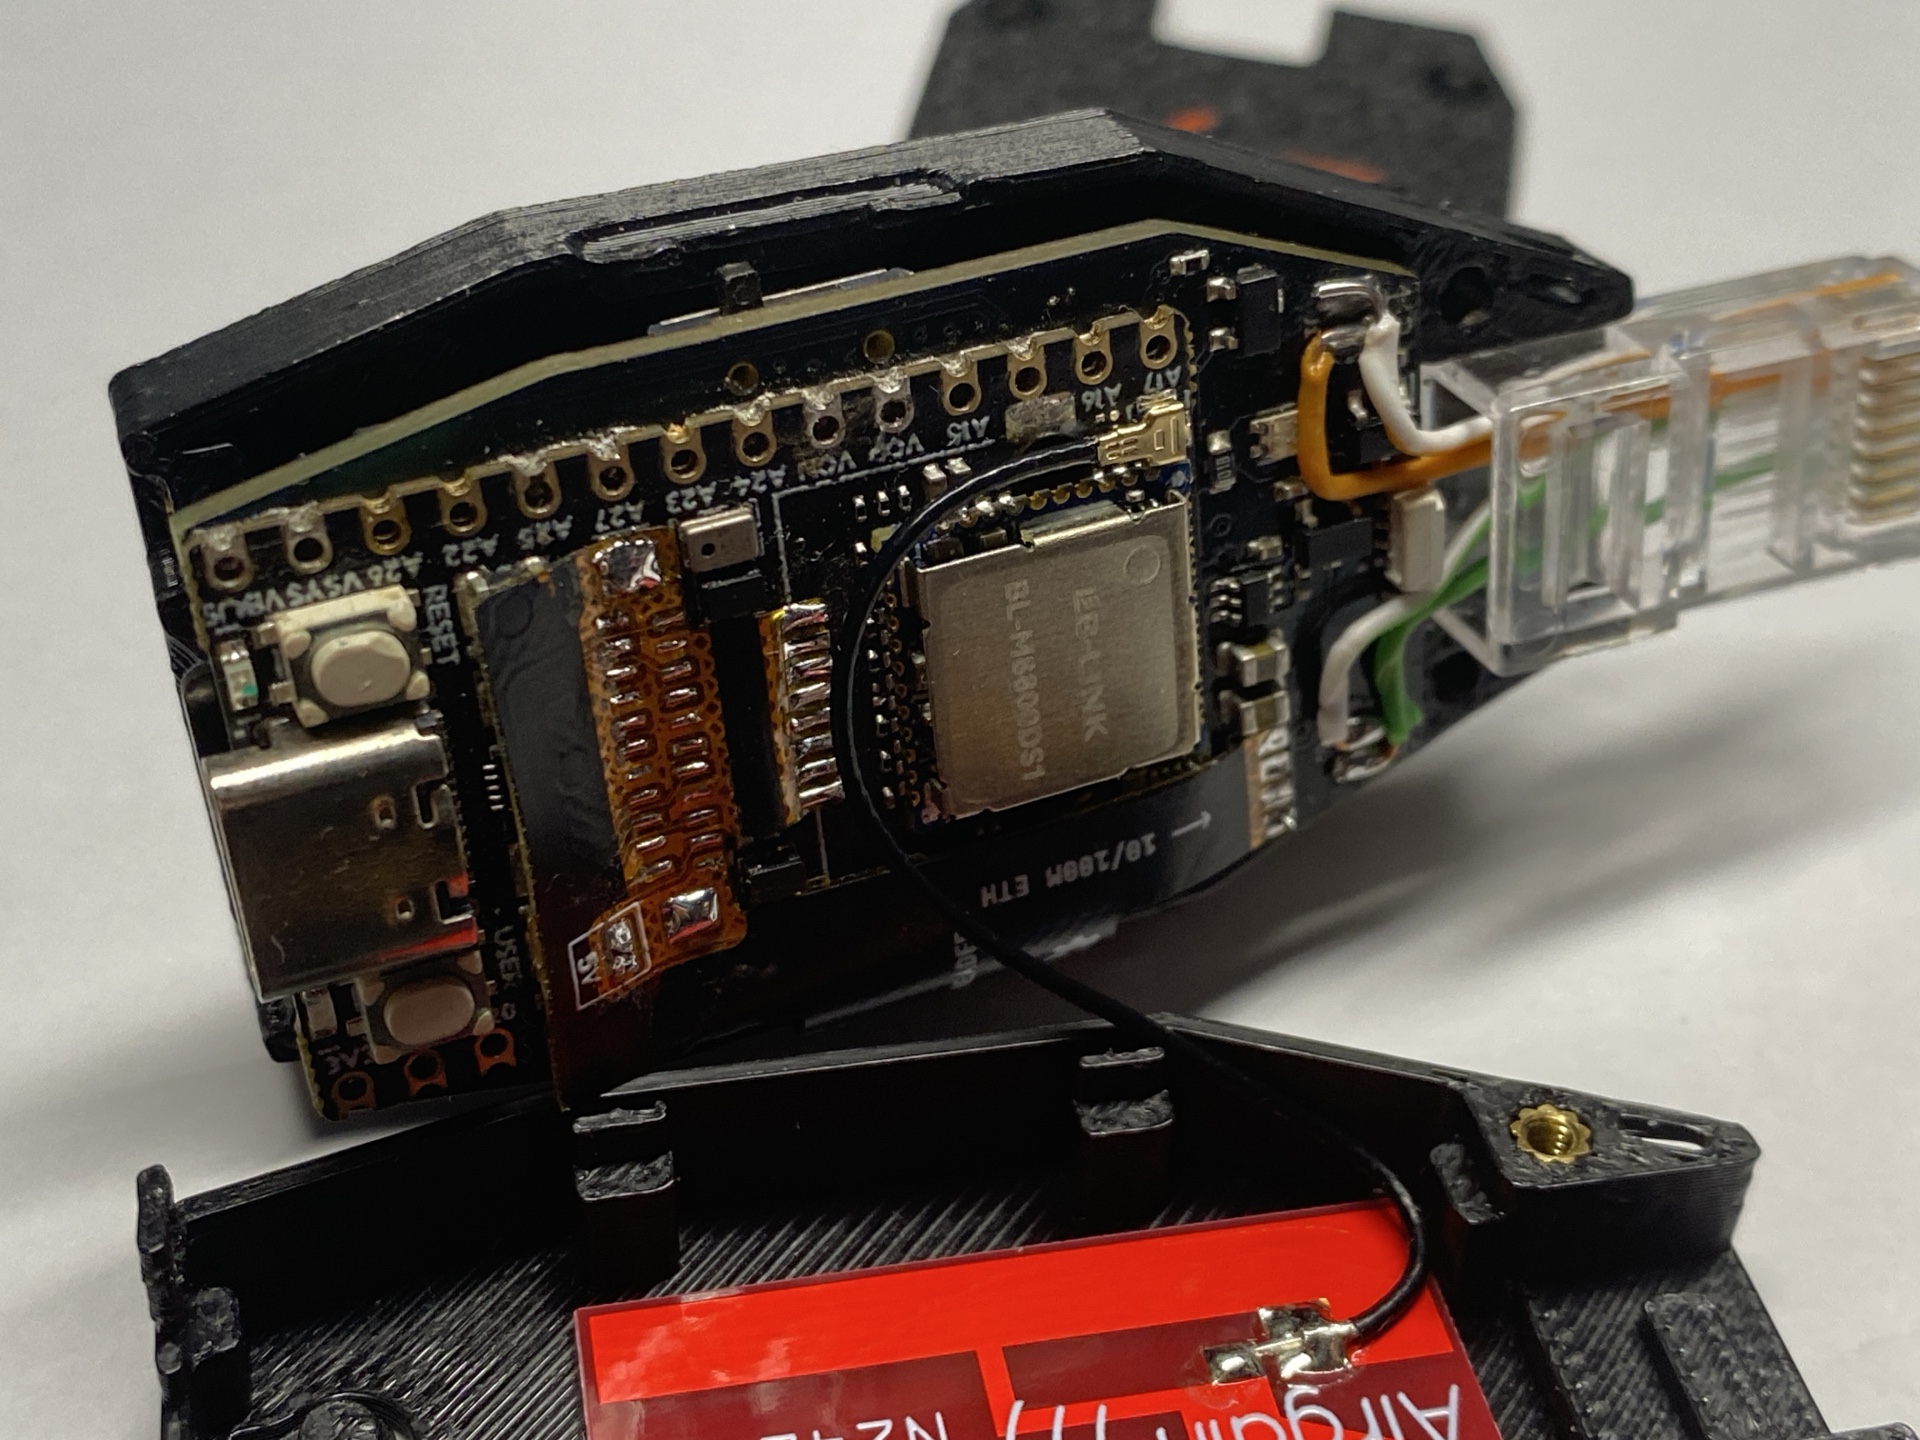
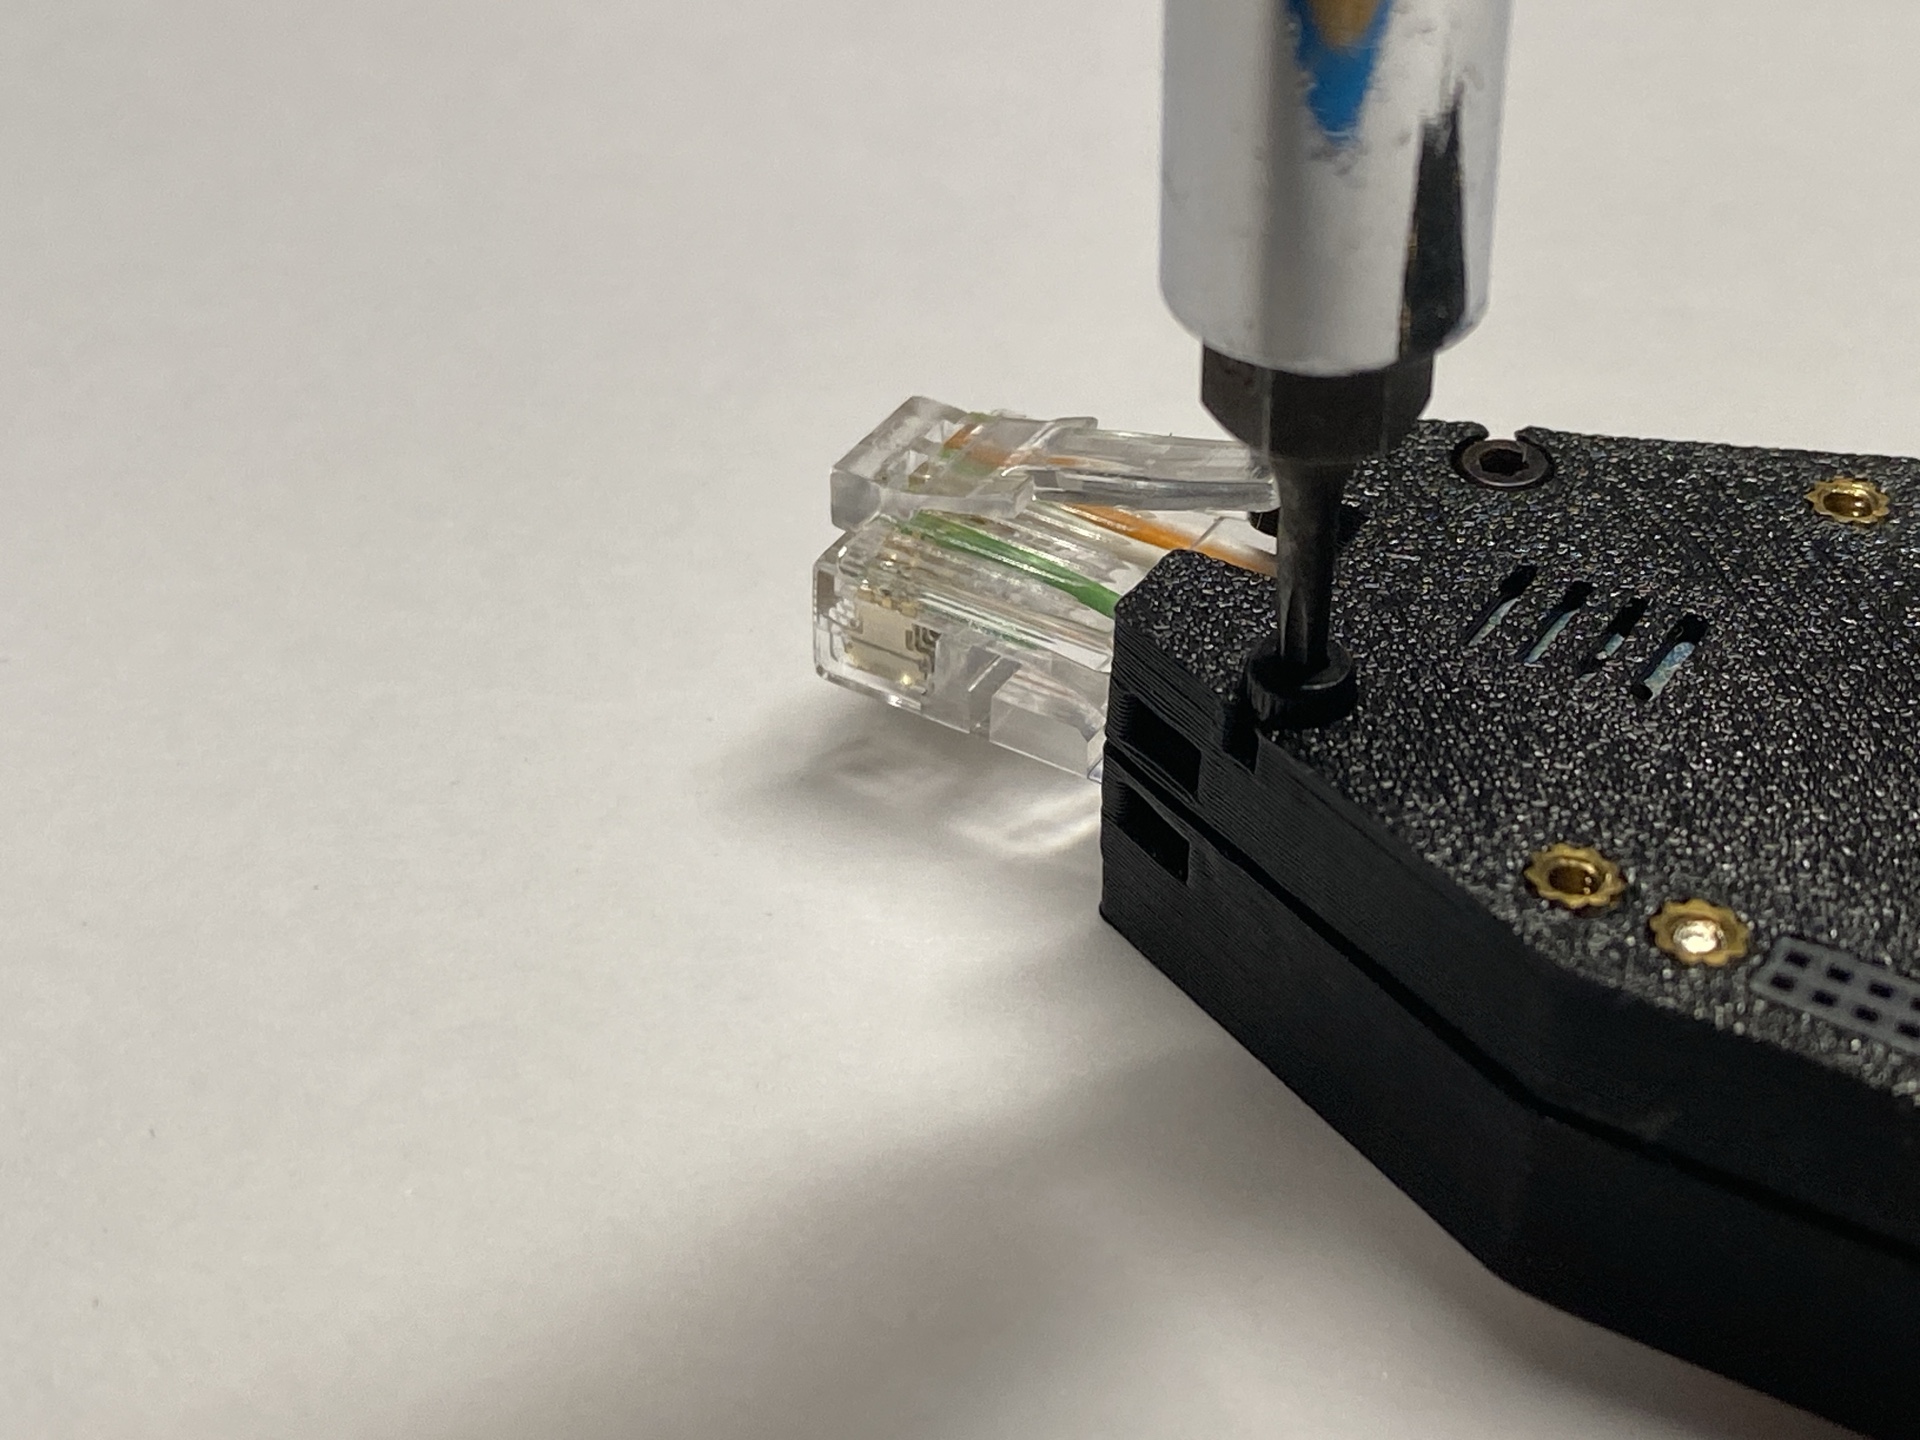
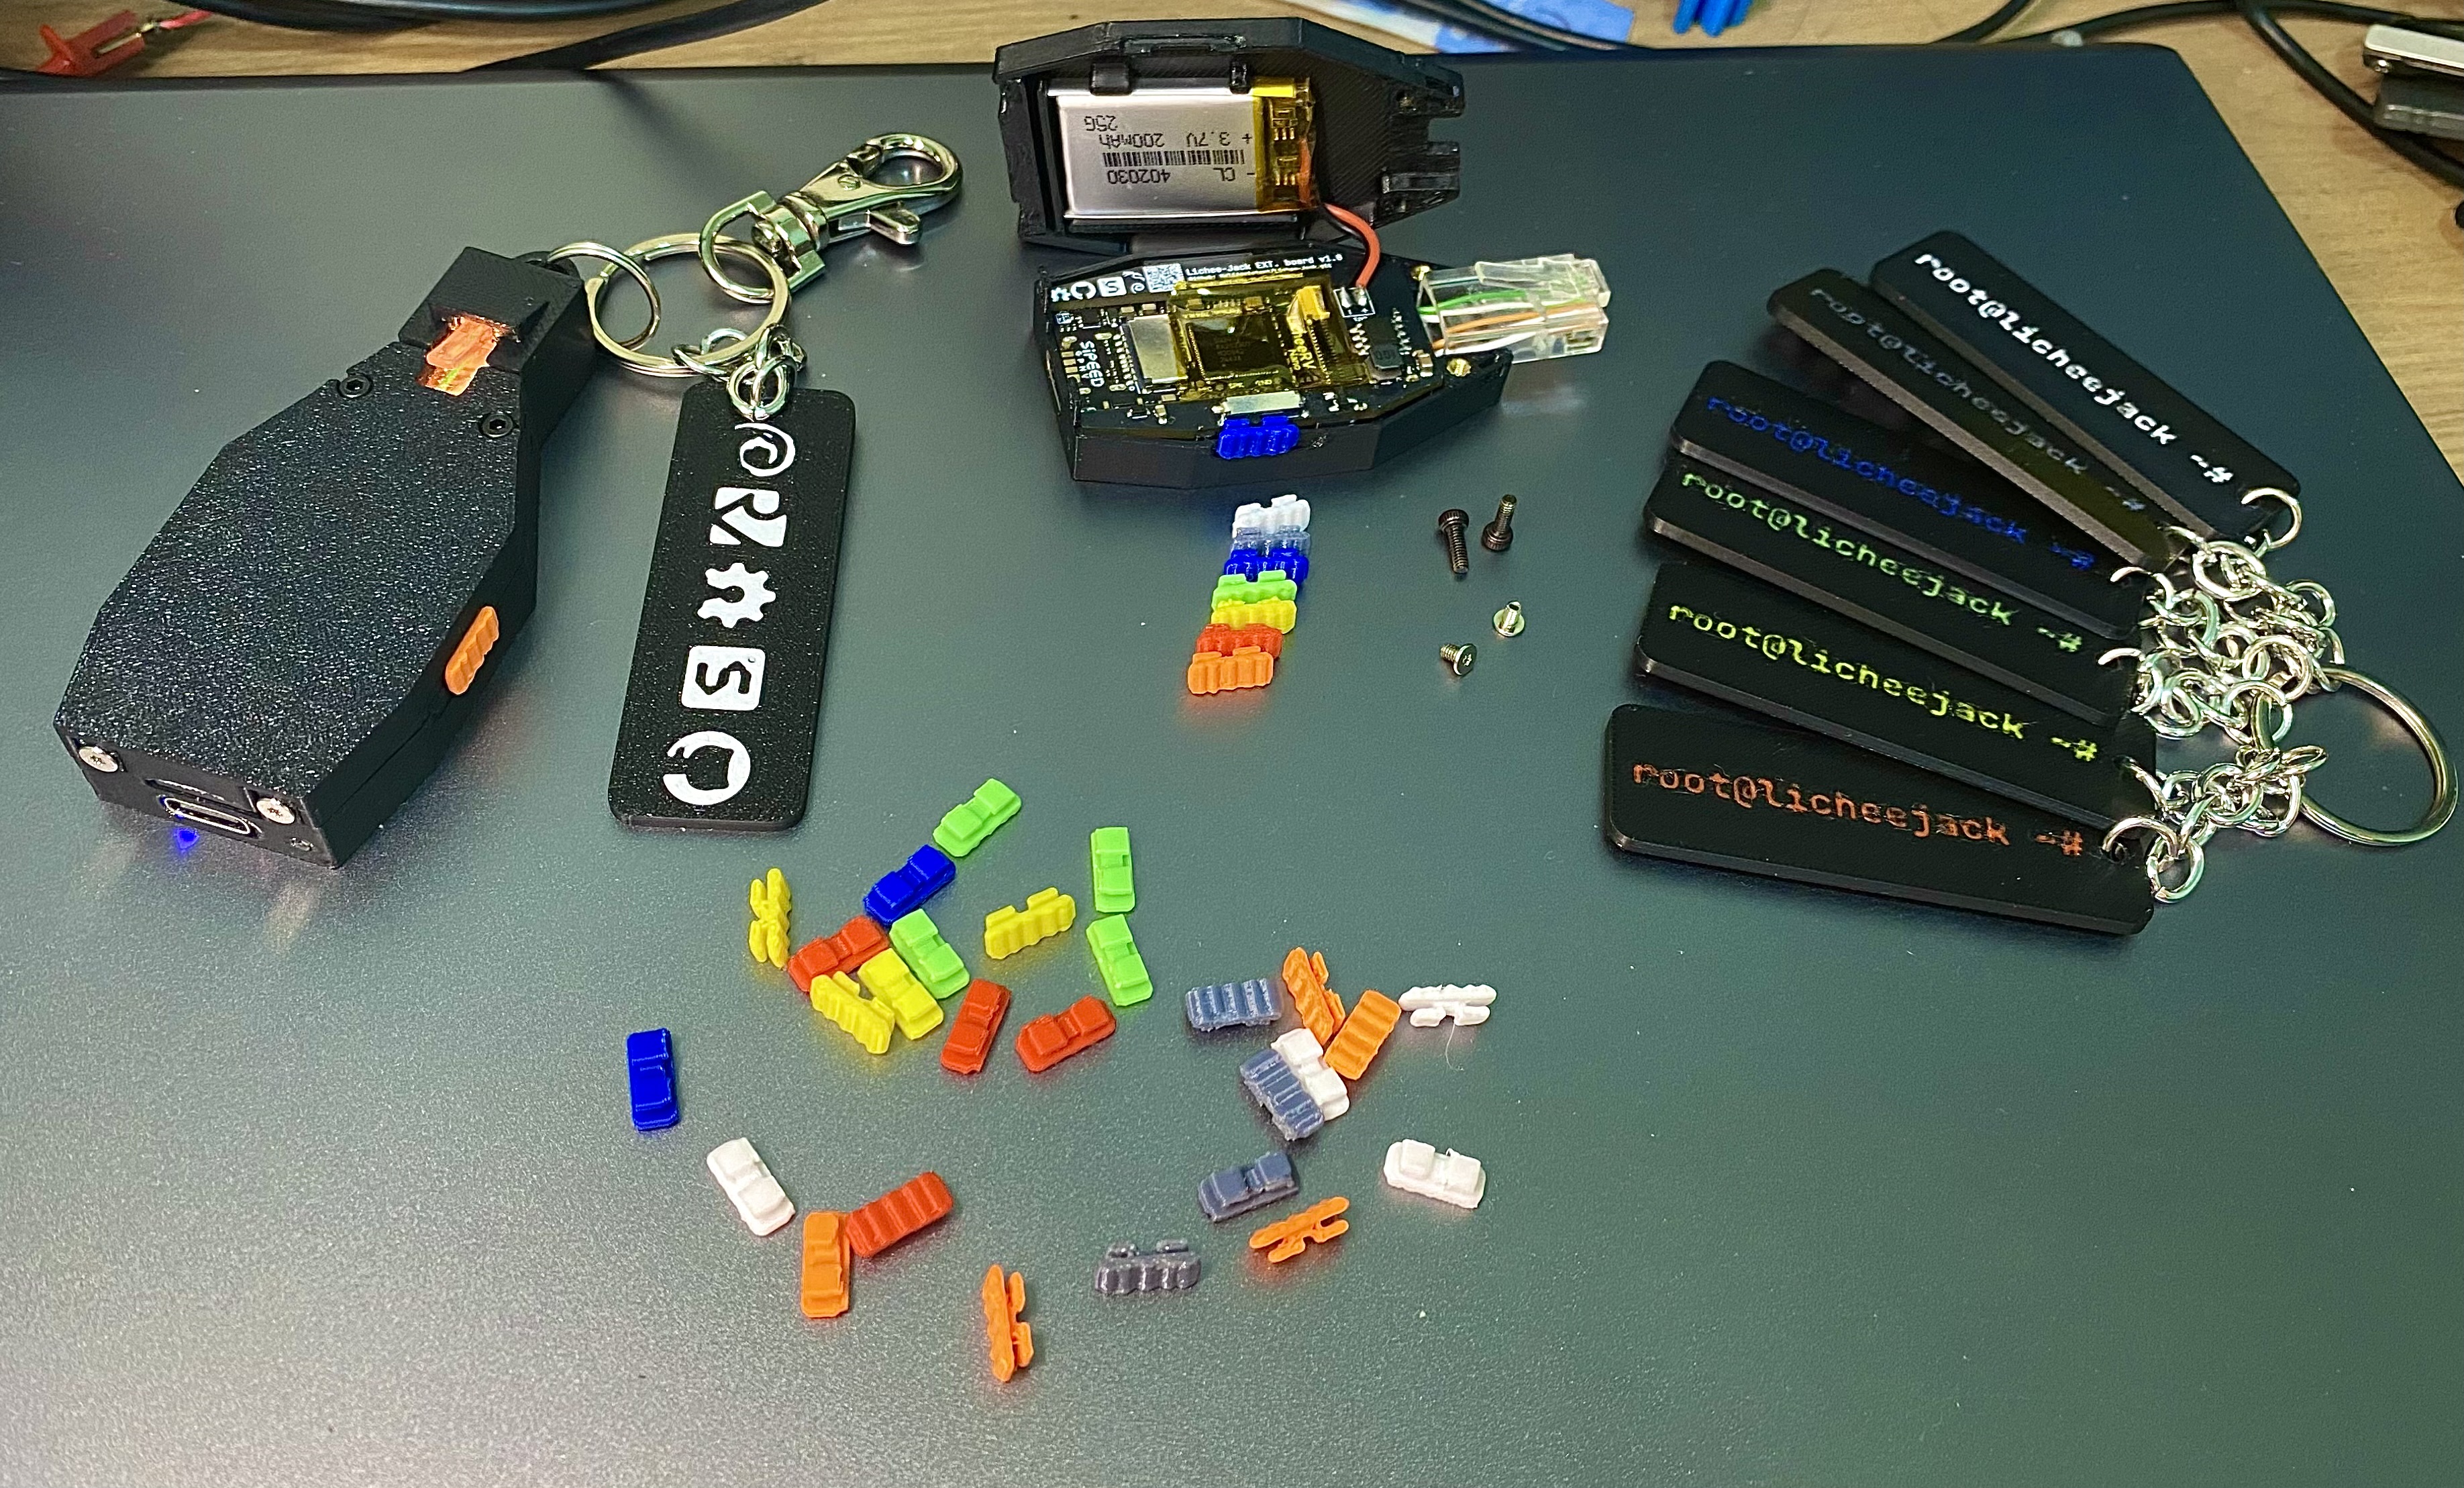
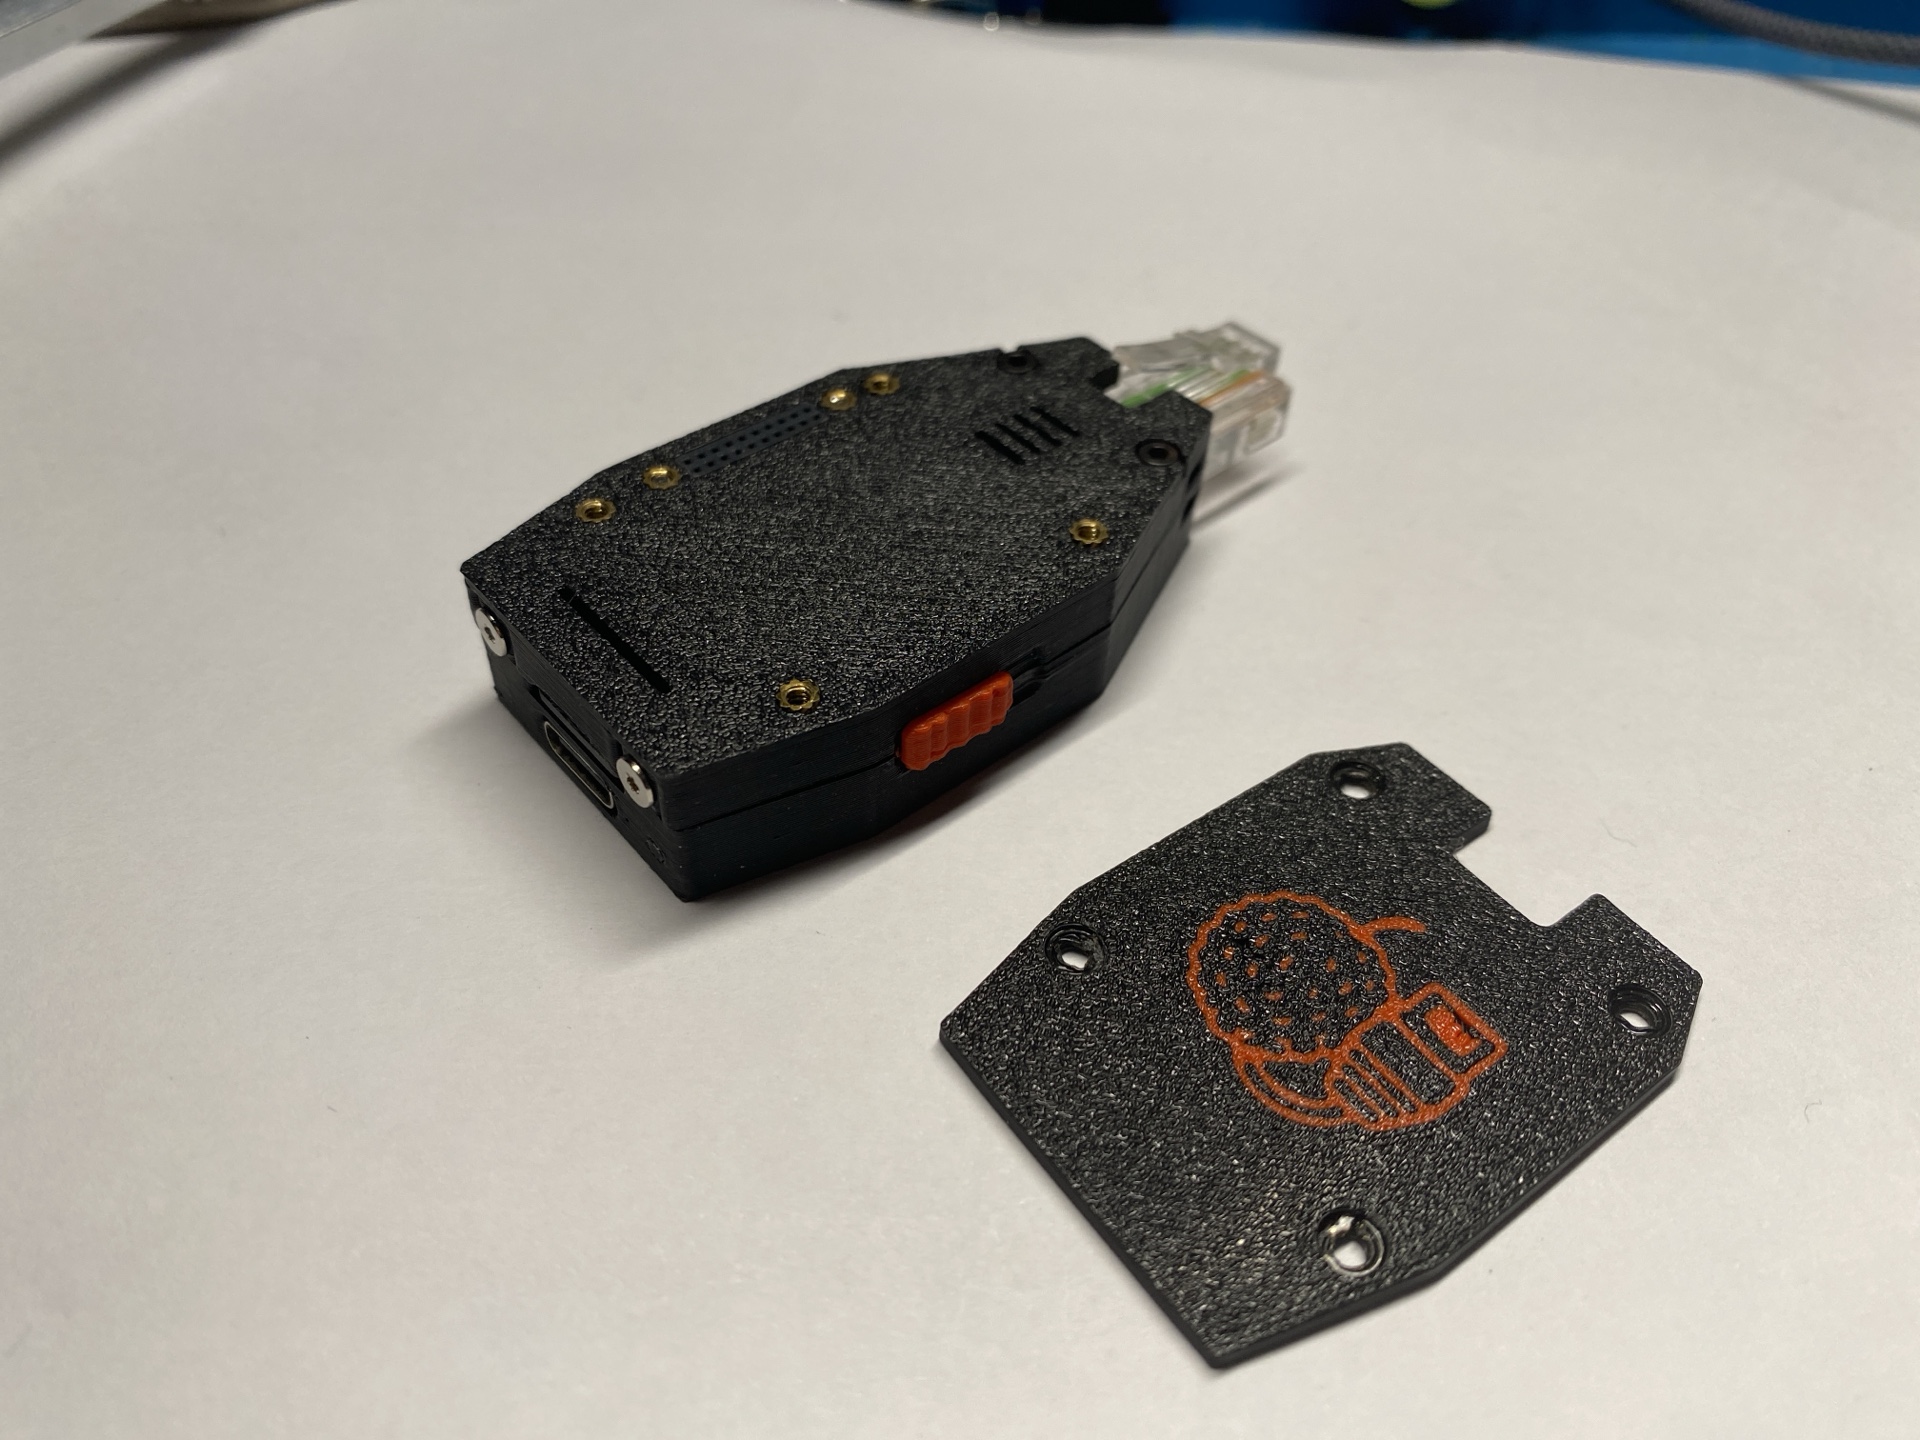
Step 4 — Final Assembly
- Place the PCB assembly into the bottom shell.
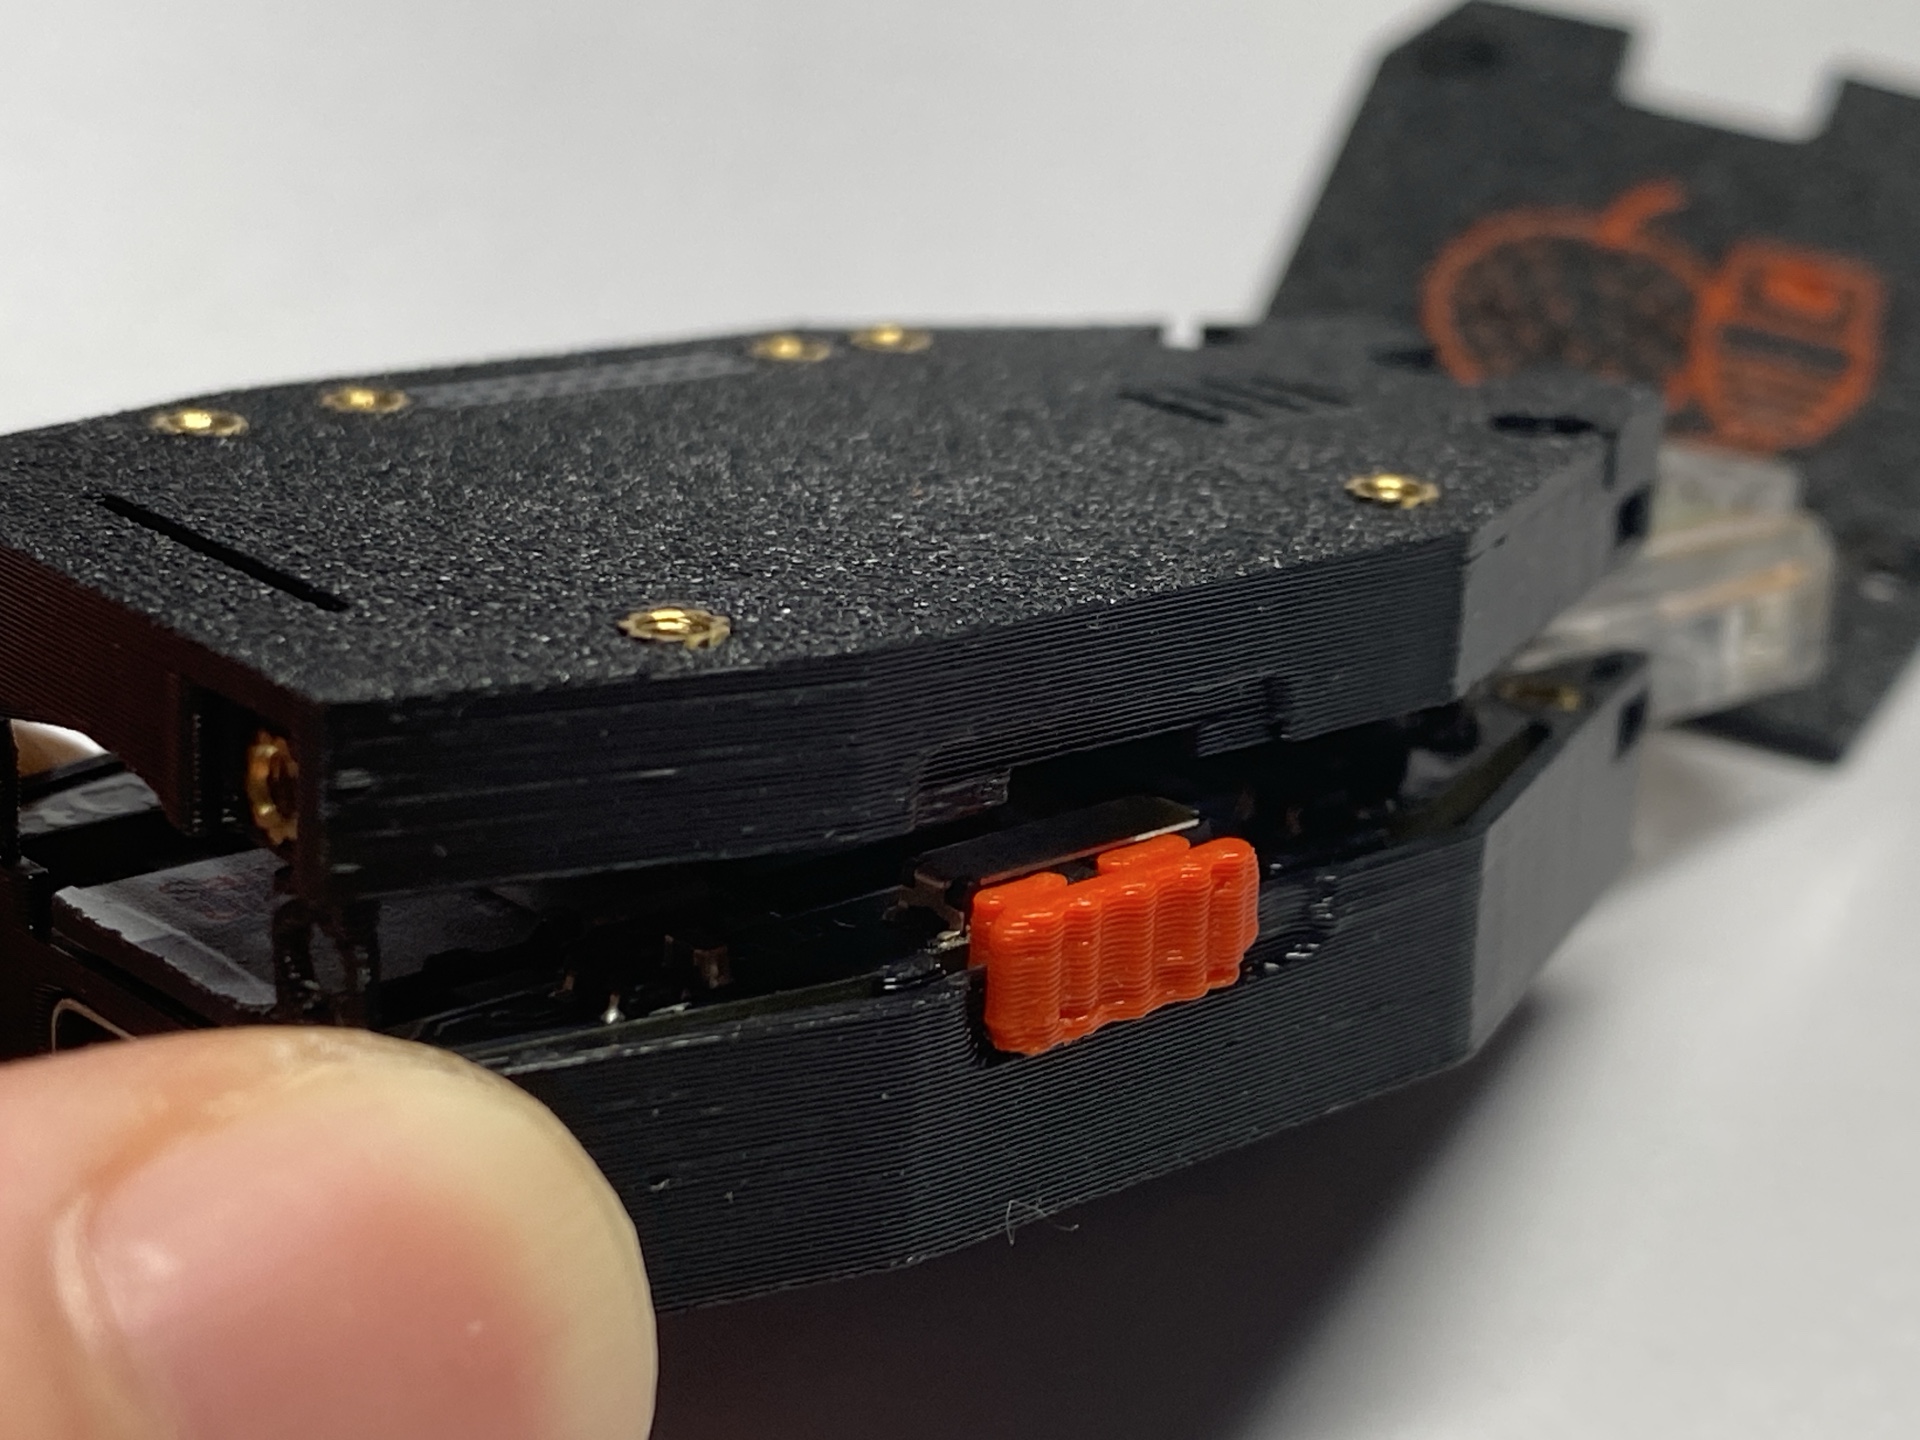
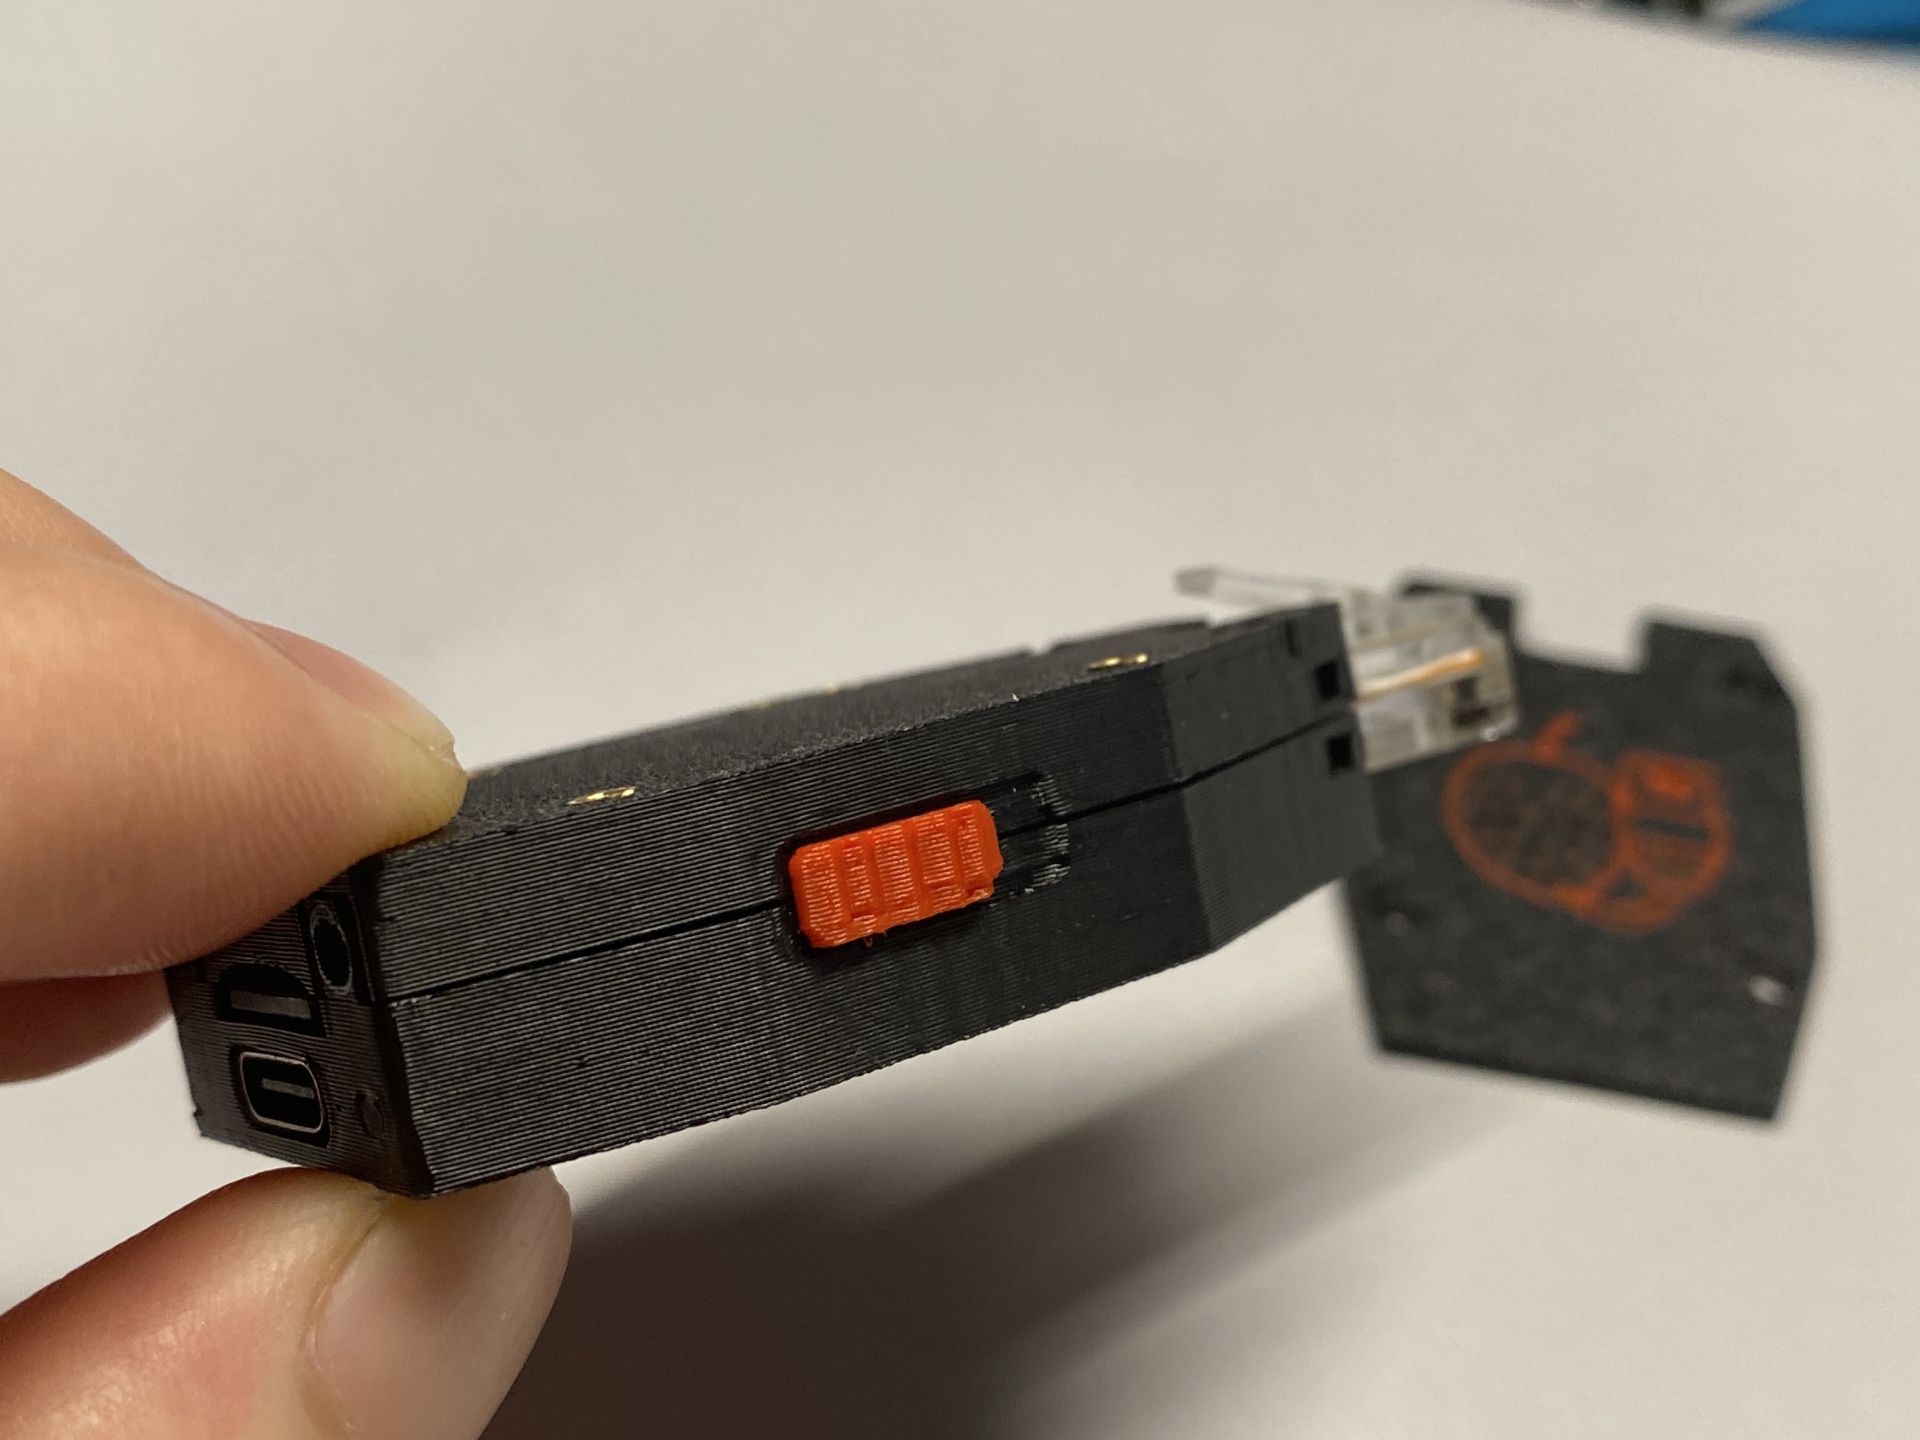
- Insert the switch header into the side slot before closing the case.
- Align the top shell.
- Secure with M2 screws.
- Tighten gently — do not overtighten.

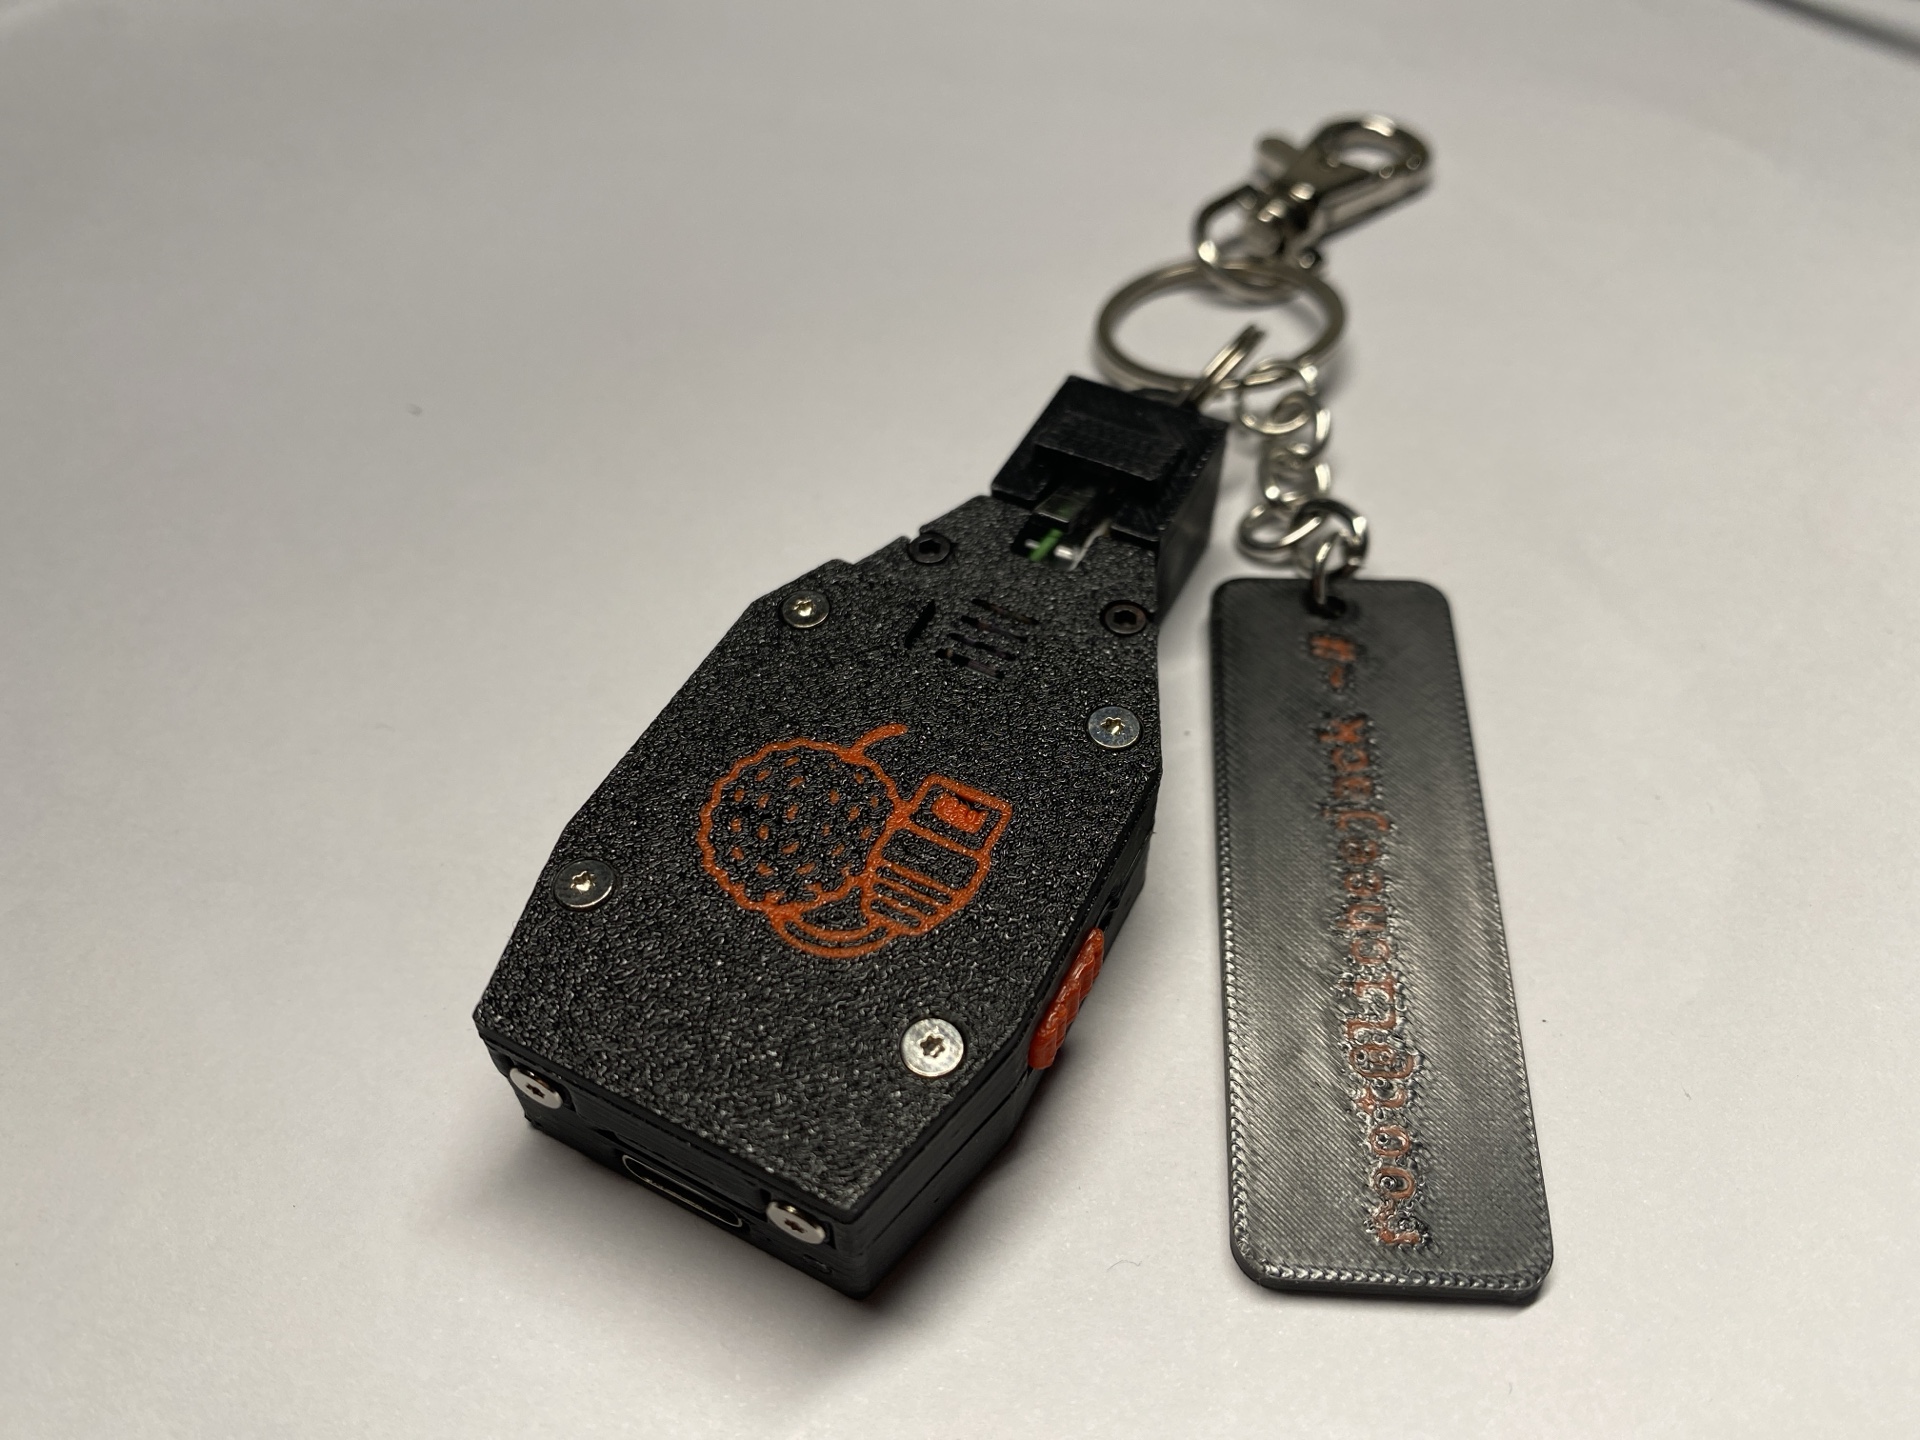
Optional Accessories
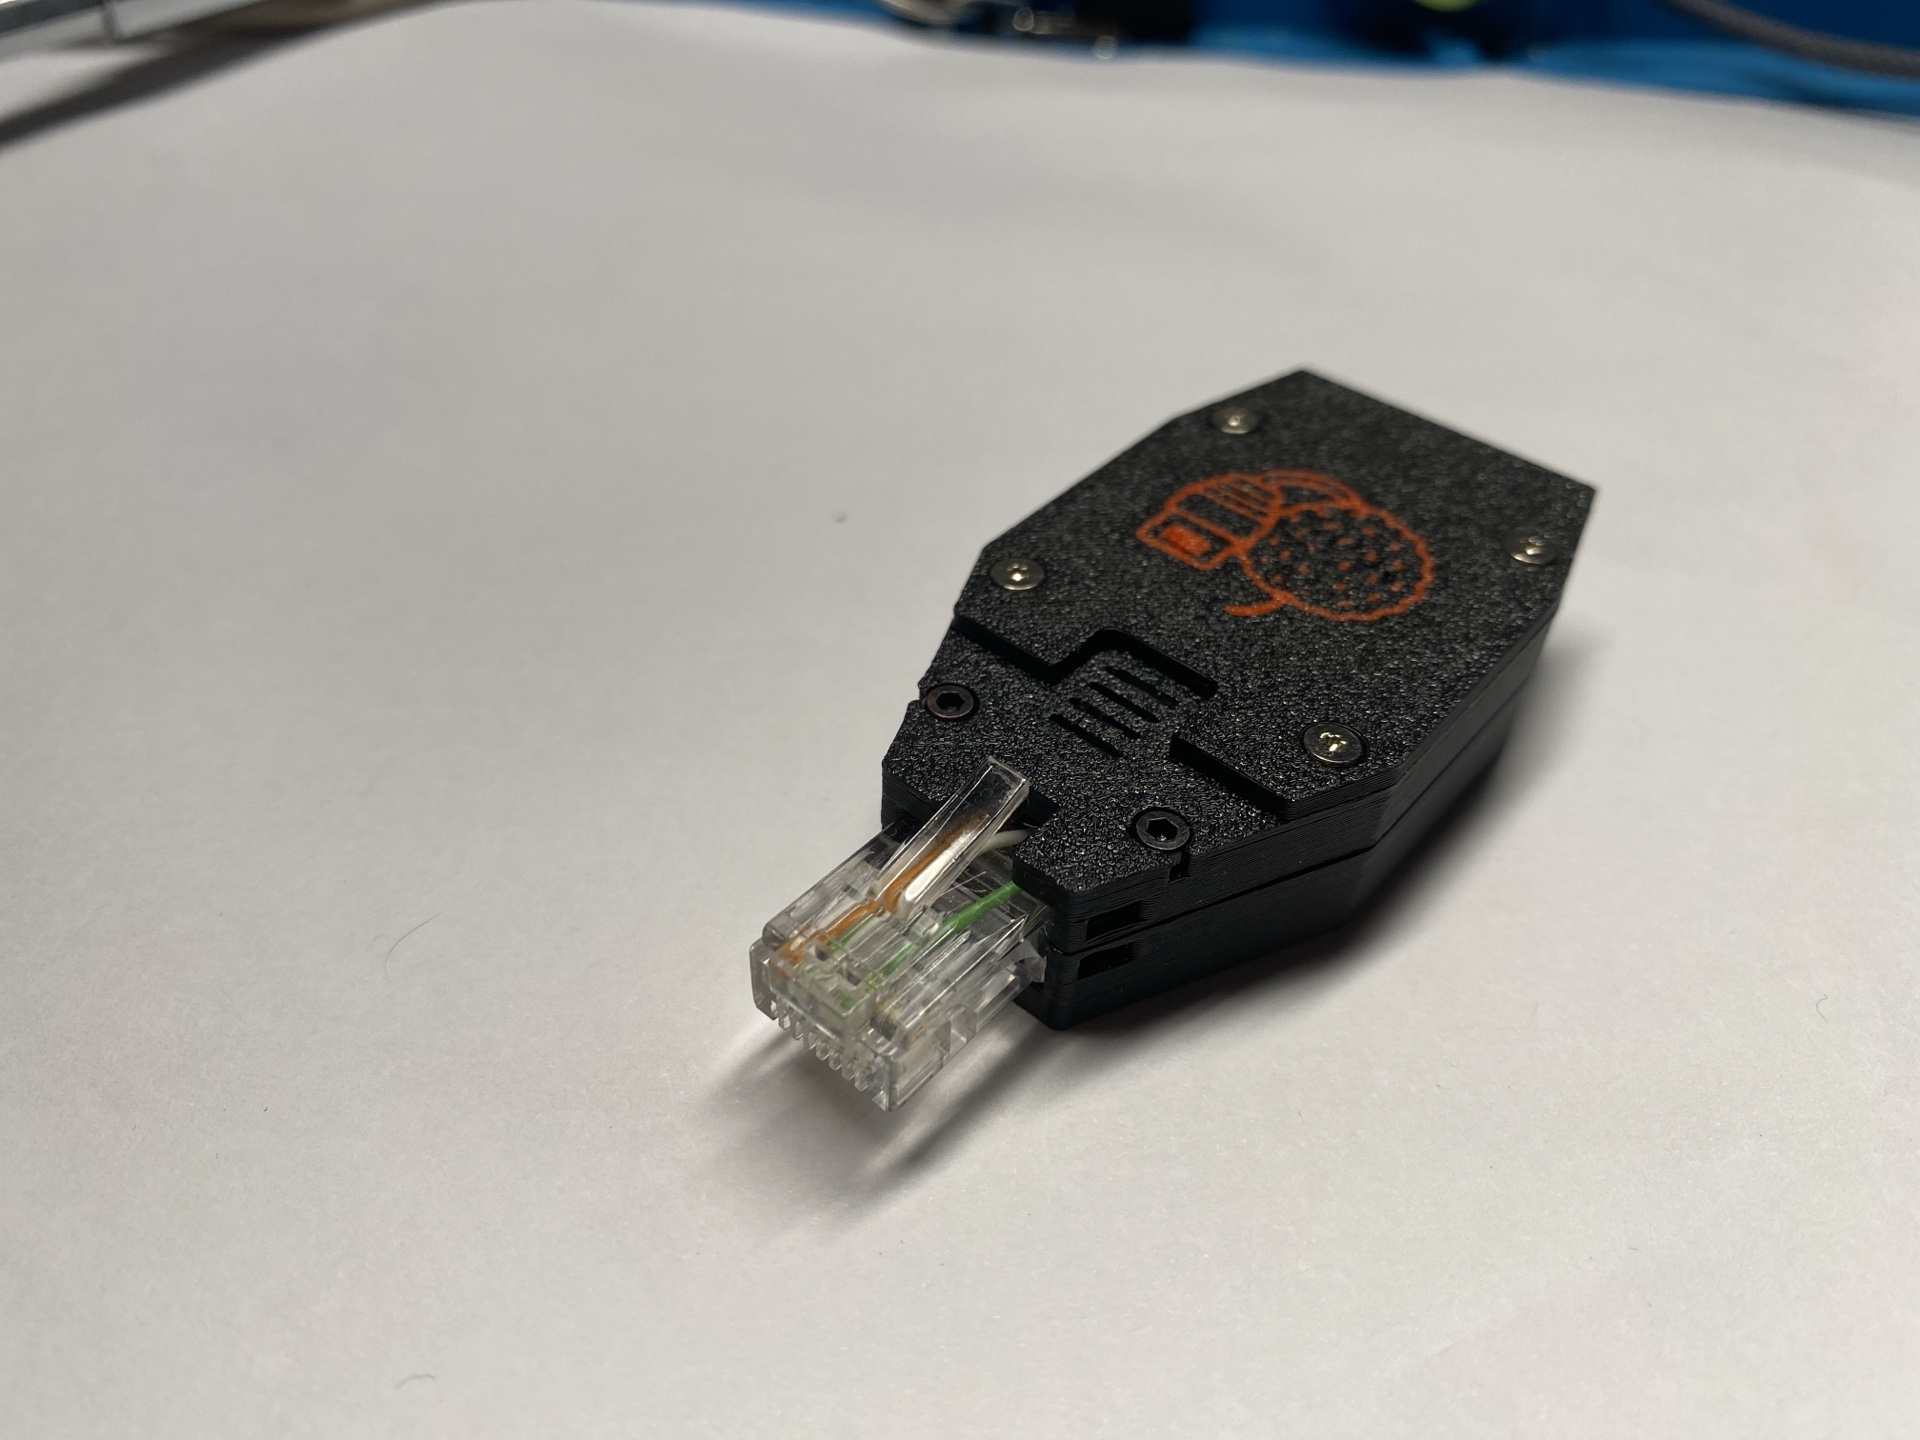
RJ45 Dummy Plug
- Acts as a dust cover for the Ethernet port
- Can also be used as a keychain anchor
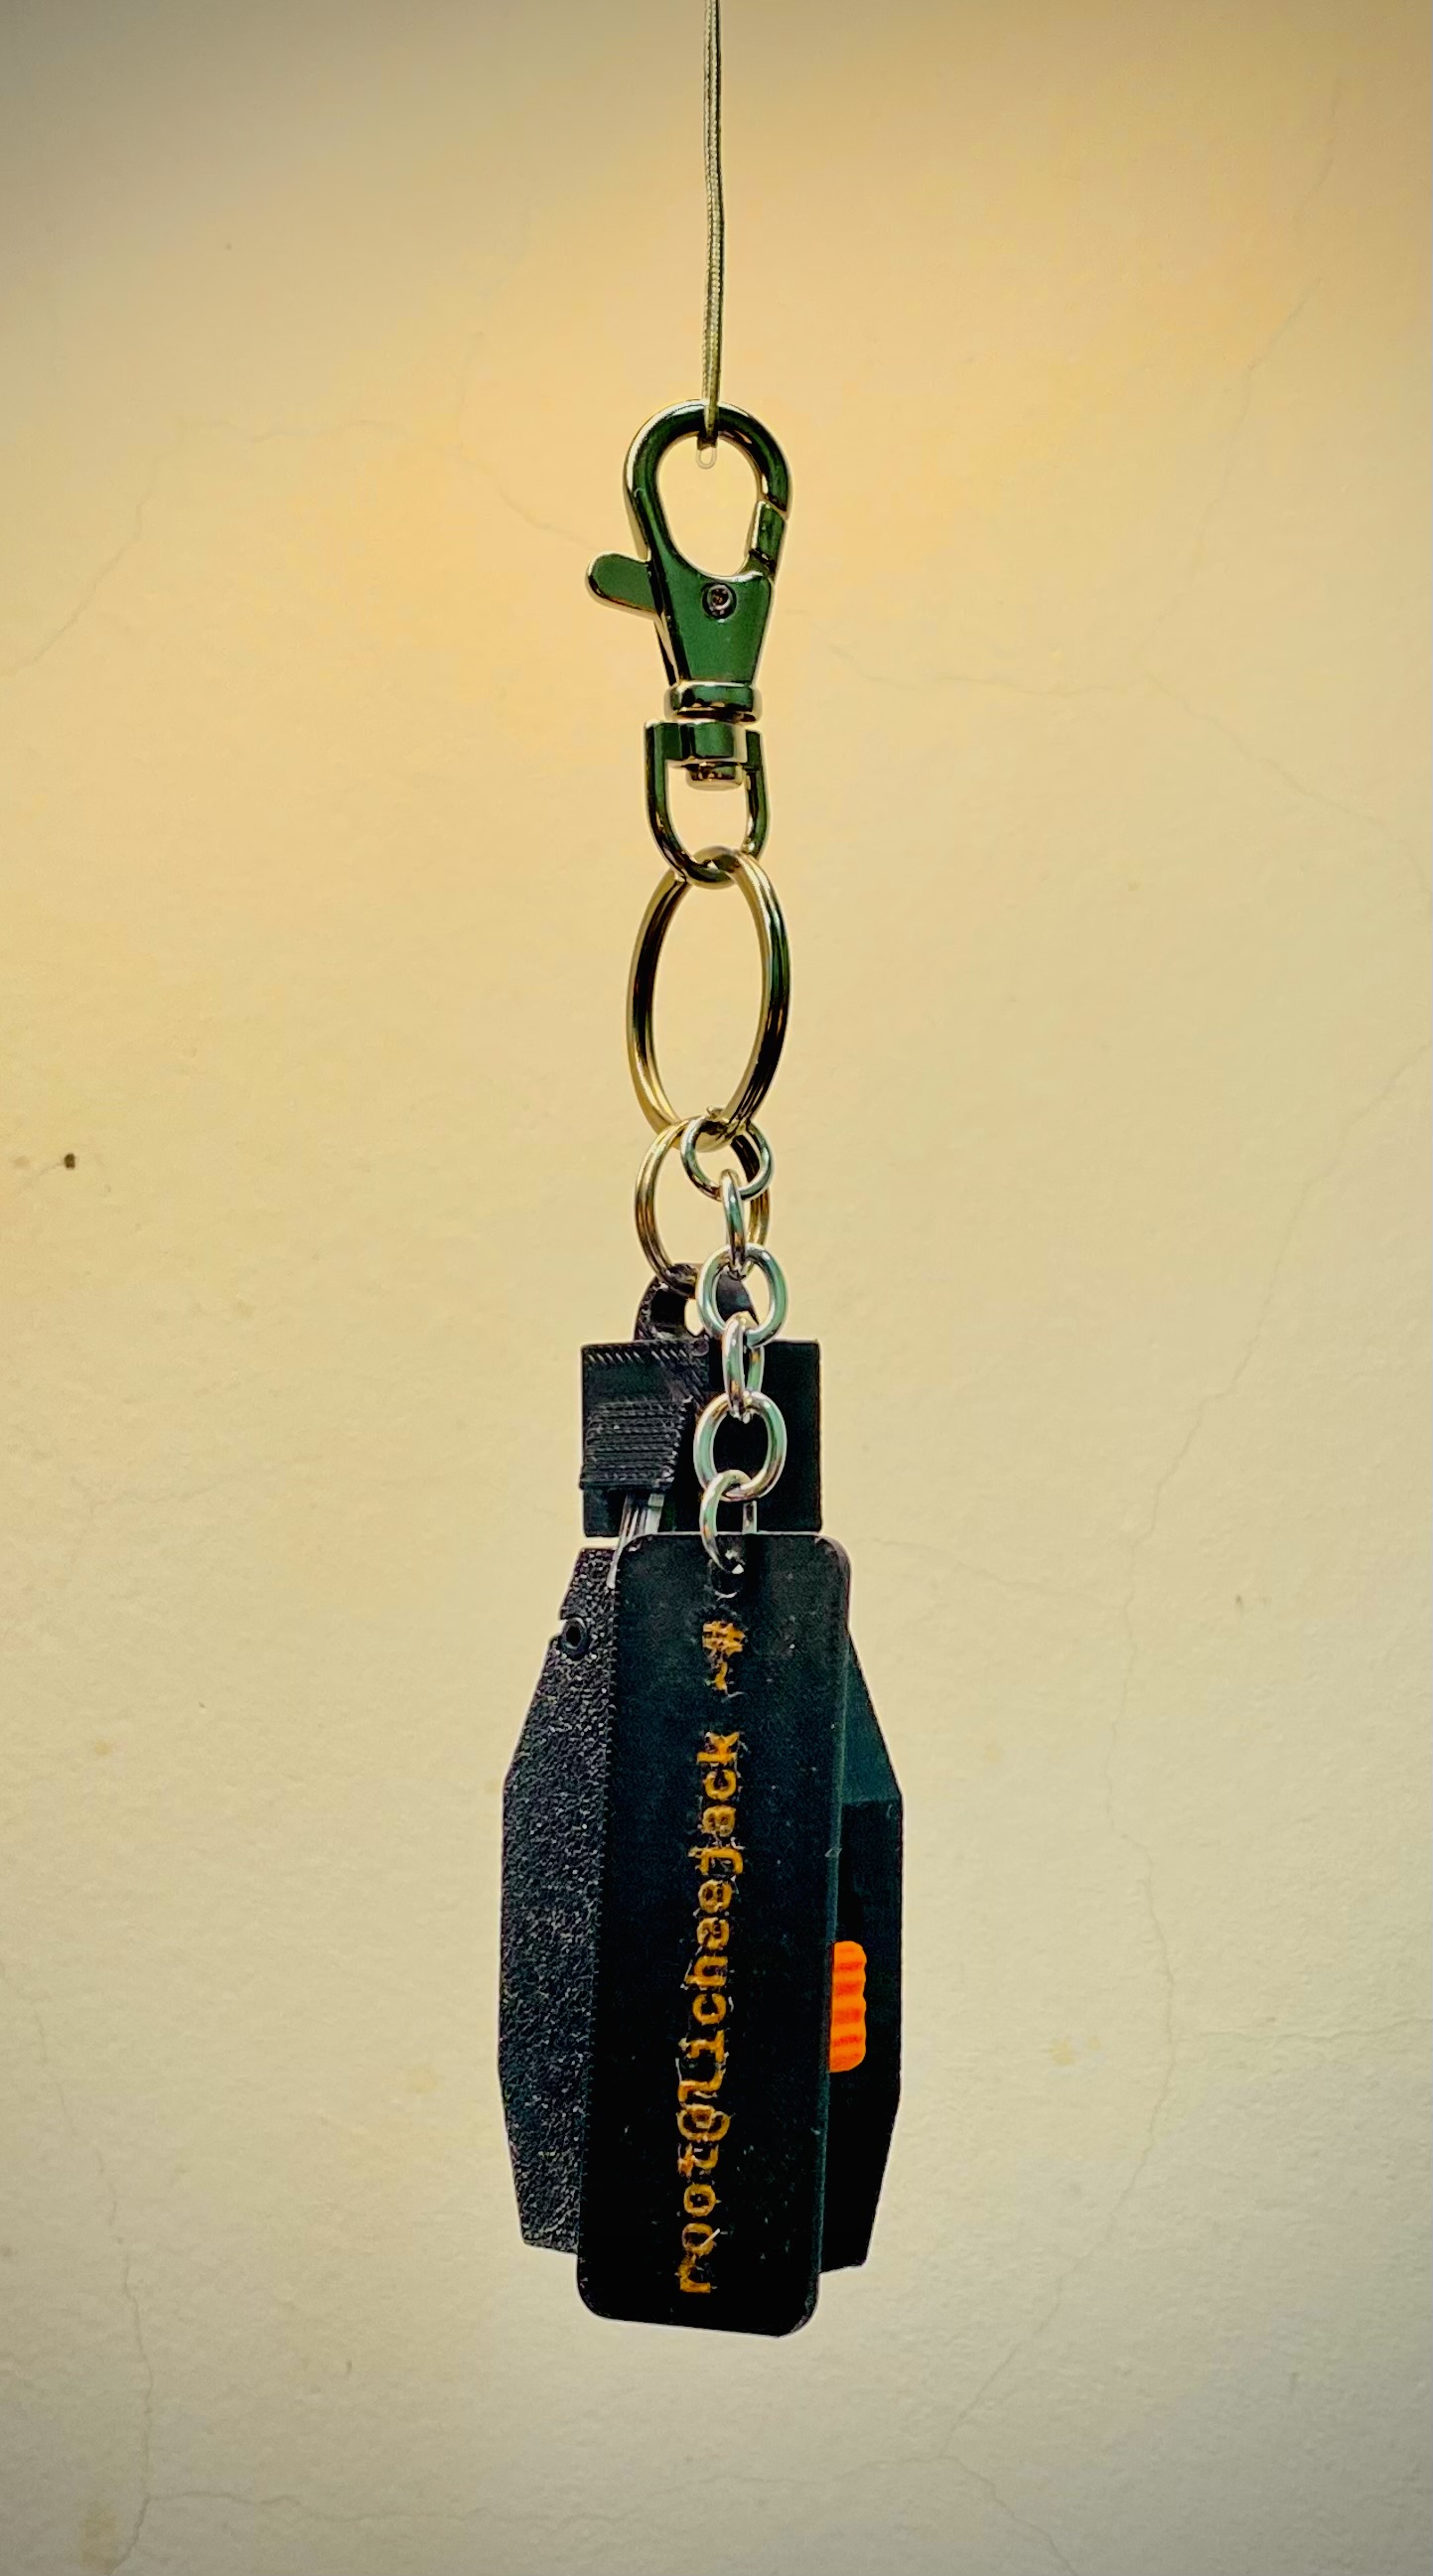
Badge Plate (60 × 20 mm)
- Customizable badge area
- Add logos, callsigns, team names, or project labels

Extension Module Cover Plate
- Protective cover plate for the extension-module opening
- Prevents dust ingress when no EXT module is installed
- Improves structural rigidity and aesthetics
- Optional logo engraving supported
Design Notes
- The enclosure is optimized for daily carry and field use
- Heat-set inserts allow repeated opening without plastic wear
- Optical fiber provides visibility without external LEDs
Enjoy building your custom Lichee-Jack enclosure
If you modify or remix the case, consider sharing it back with the community!
Last updated on