Flash Image
This guide explains how to prepare an SD card and flash the Lichee-Jack system image.
1. Prepare an SD Card
Lichee-Jack boots only from an SD card. It does not use on-board SPI flash or eMMC. This makes the system easy to wipe, reflash, and recover.
SD Card Requirements
- Interface: SD / SDHC
- Speed class: Class 10 (minimum write speed 10 MB/s)
- Capacity: 16–32 GB is sufficient
The main PCB (LicheeRV-Nano board) configures SDIO with a maximum stable frequency of 25 MHz in the device tree. Although 50 MHz may appear to work, it often causes instability or card detection failures.
Recommended Cards
High-end or expensive cards are unnecessary.
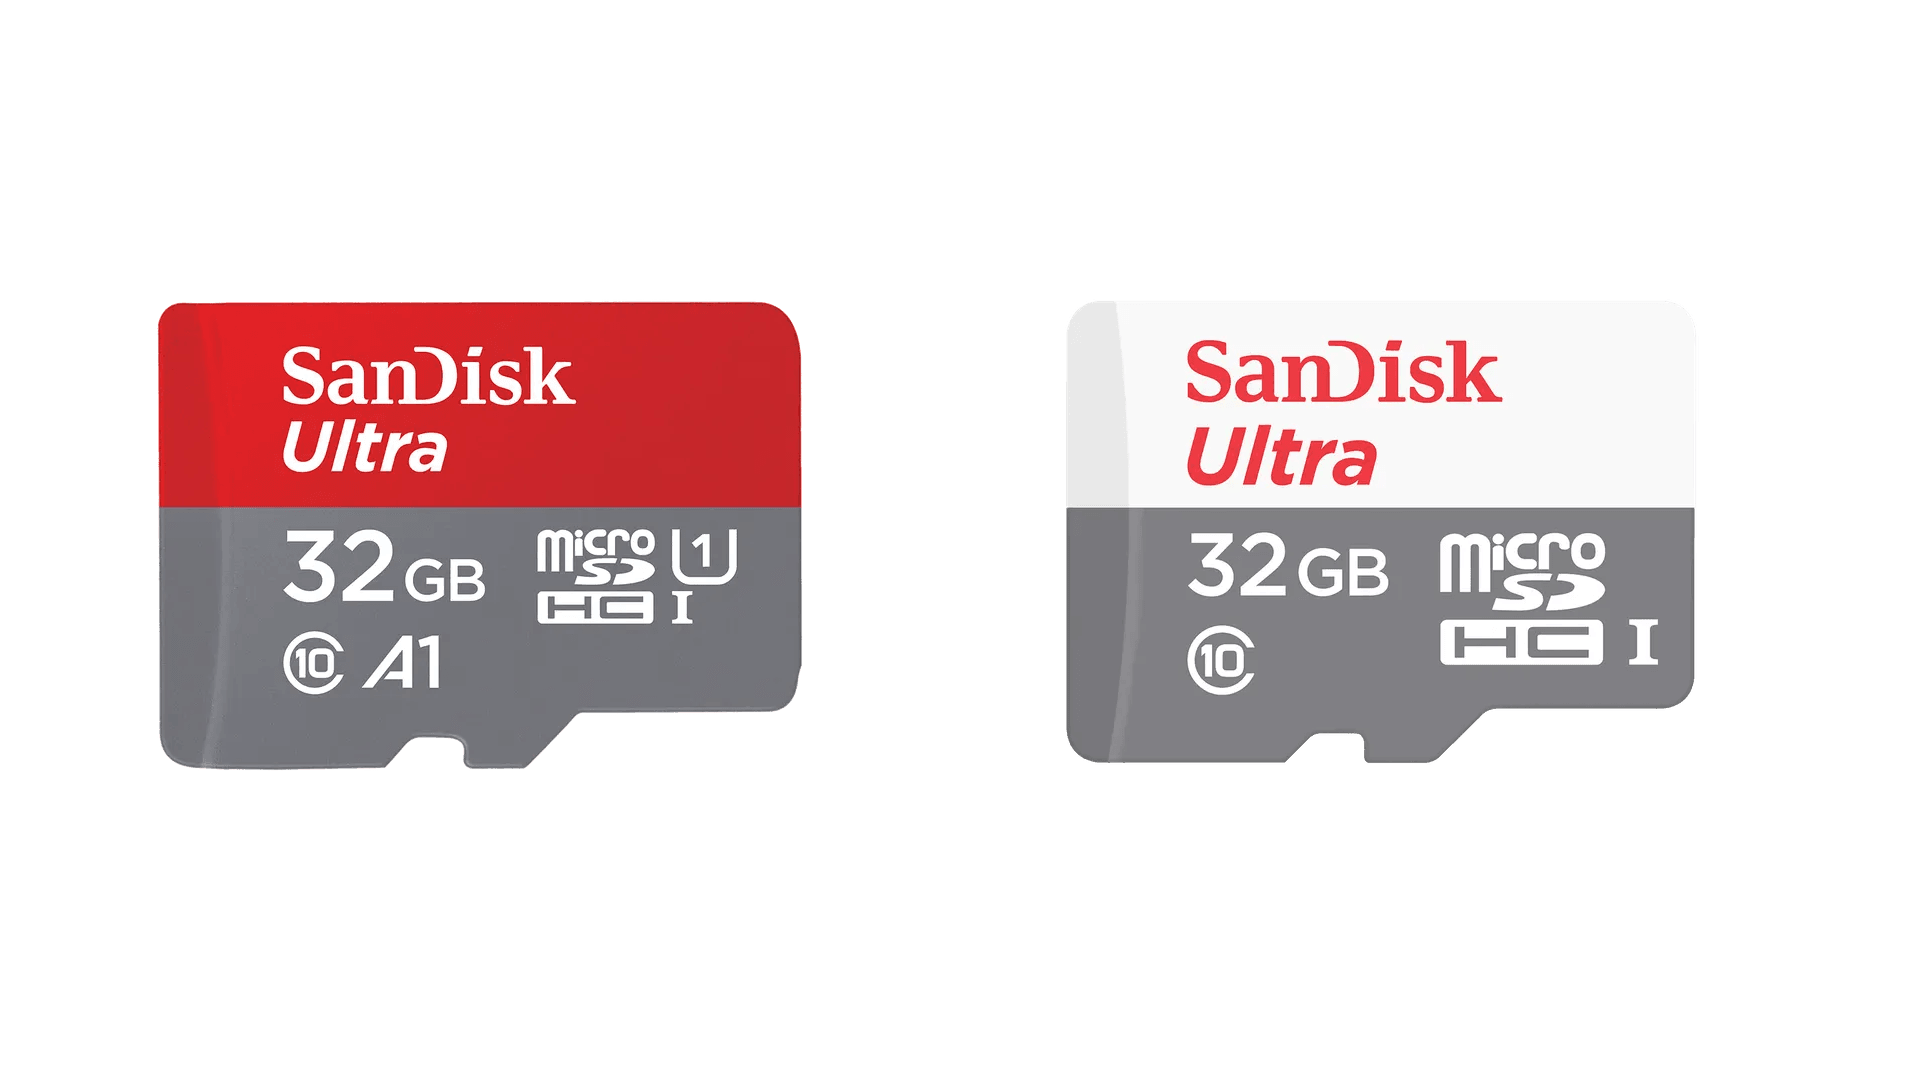
- ✅ SanDisk Ultra / Ultra A1
- ❌ Extreme / A2 cards (no real benefit here)
Recommended example:
- SanDisk Ultra 32GB Class 10 SDHC I
2. Download the Prebuilt Image
-
Go to the GitHub releases page:
-
Download the following files:
- The latest system image:
licheervnano_sd.img.xz - The corresponding checksum file:
licheervnano_sd.img.sha256sum
- The latest system image:
-
Decompress the image:
xz -d licheervnano_sd.img.xzThis will produce
licheervnano_sd.imgin the same directory. -
Verify the image checksum (important!):
sha256sum -c licheervnano_sd.img.sha256sumYou should see an output similar to:
licheervnano_sd.img: OKIf the check fails, do not flash the image. Re-download both files and verify again.
Do not skip checksum verification. A corrupted image can lead to boot failures or undefined behavior.
3. Flash the Image
Linux
Use dd (simple and reliable):
sudo dd if=/path/to/licheervnano_sd.img of=/dev/sdX bs=4M status=progress conv=fsyncDouble-check the target device (/dev/sdX).
Selecting the wrong device will erase your system disk.
After flashing, it is recommended to run:
syncThen safely remove the SD card.
Windows / macOS
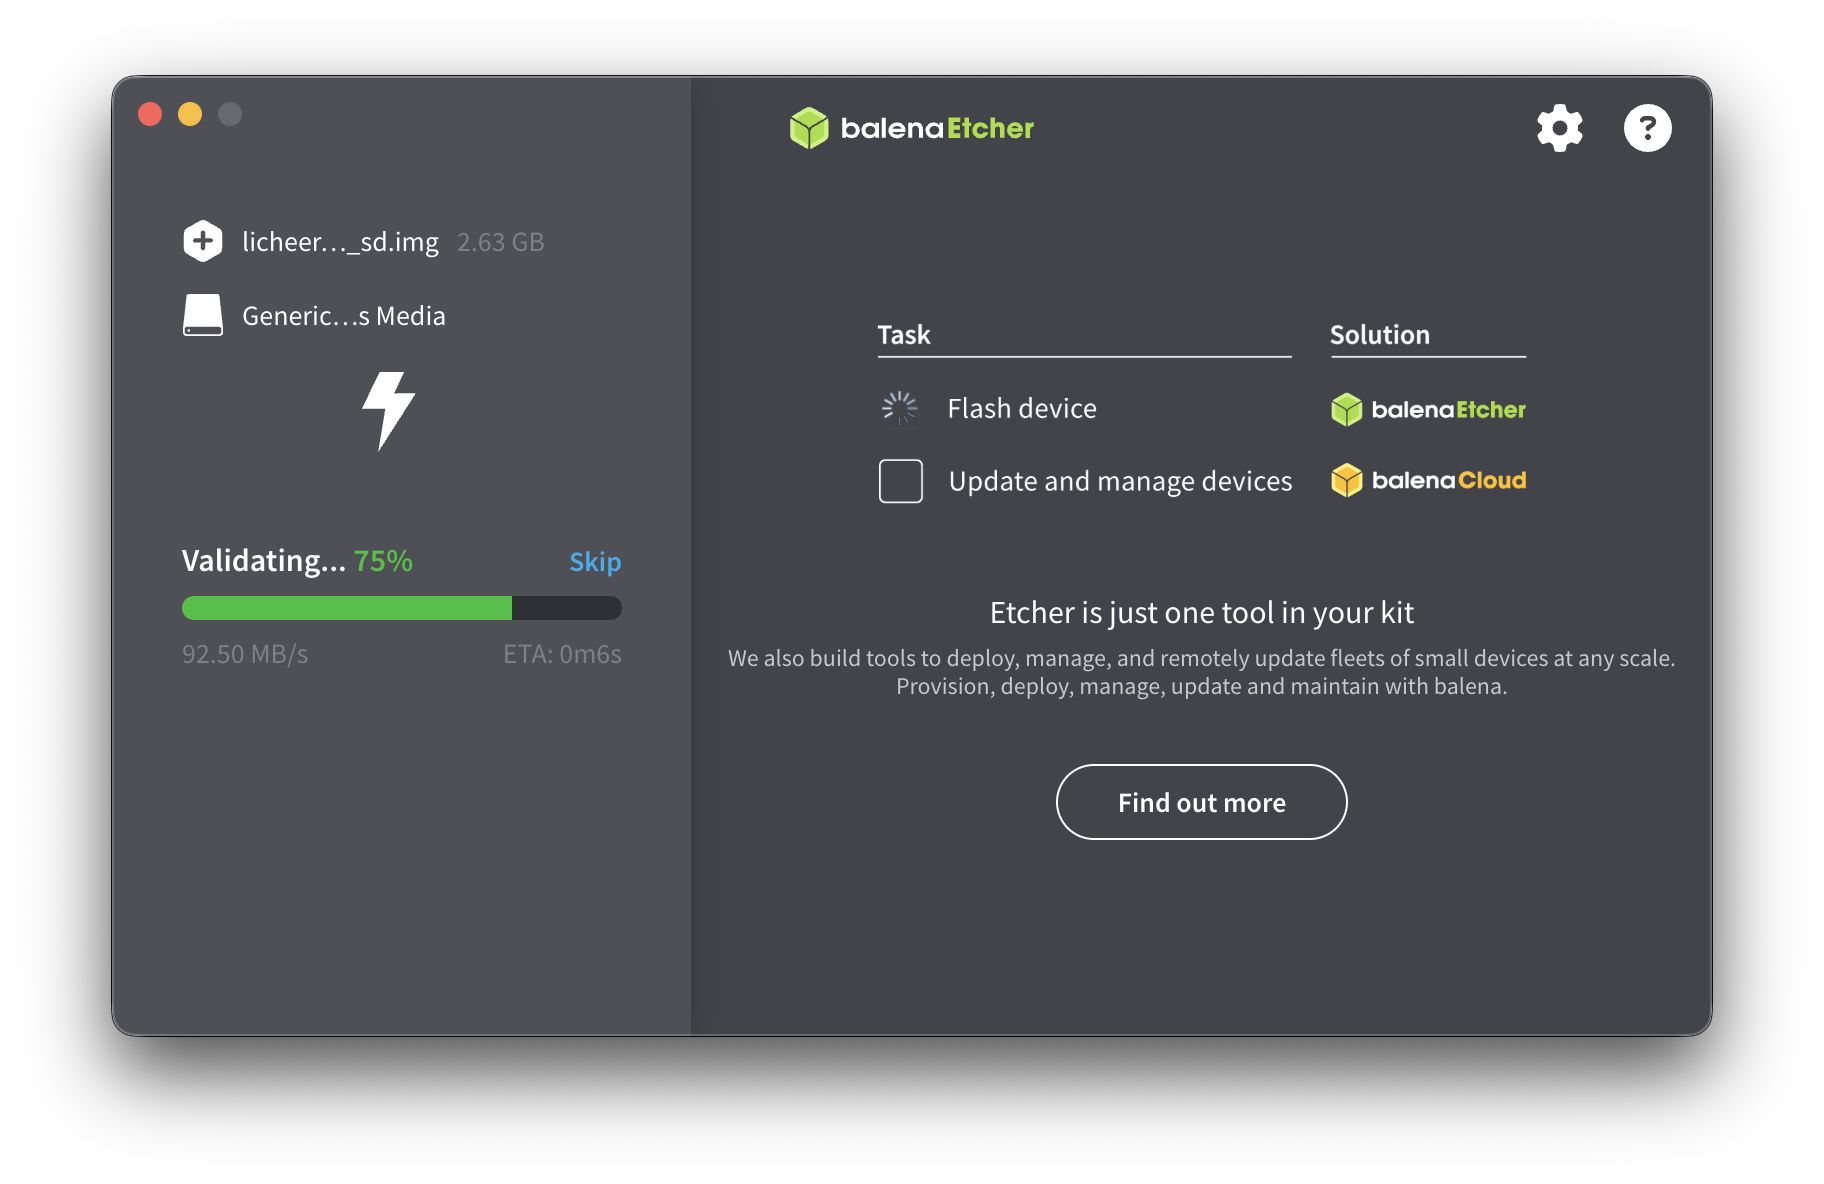
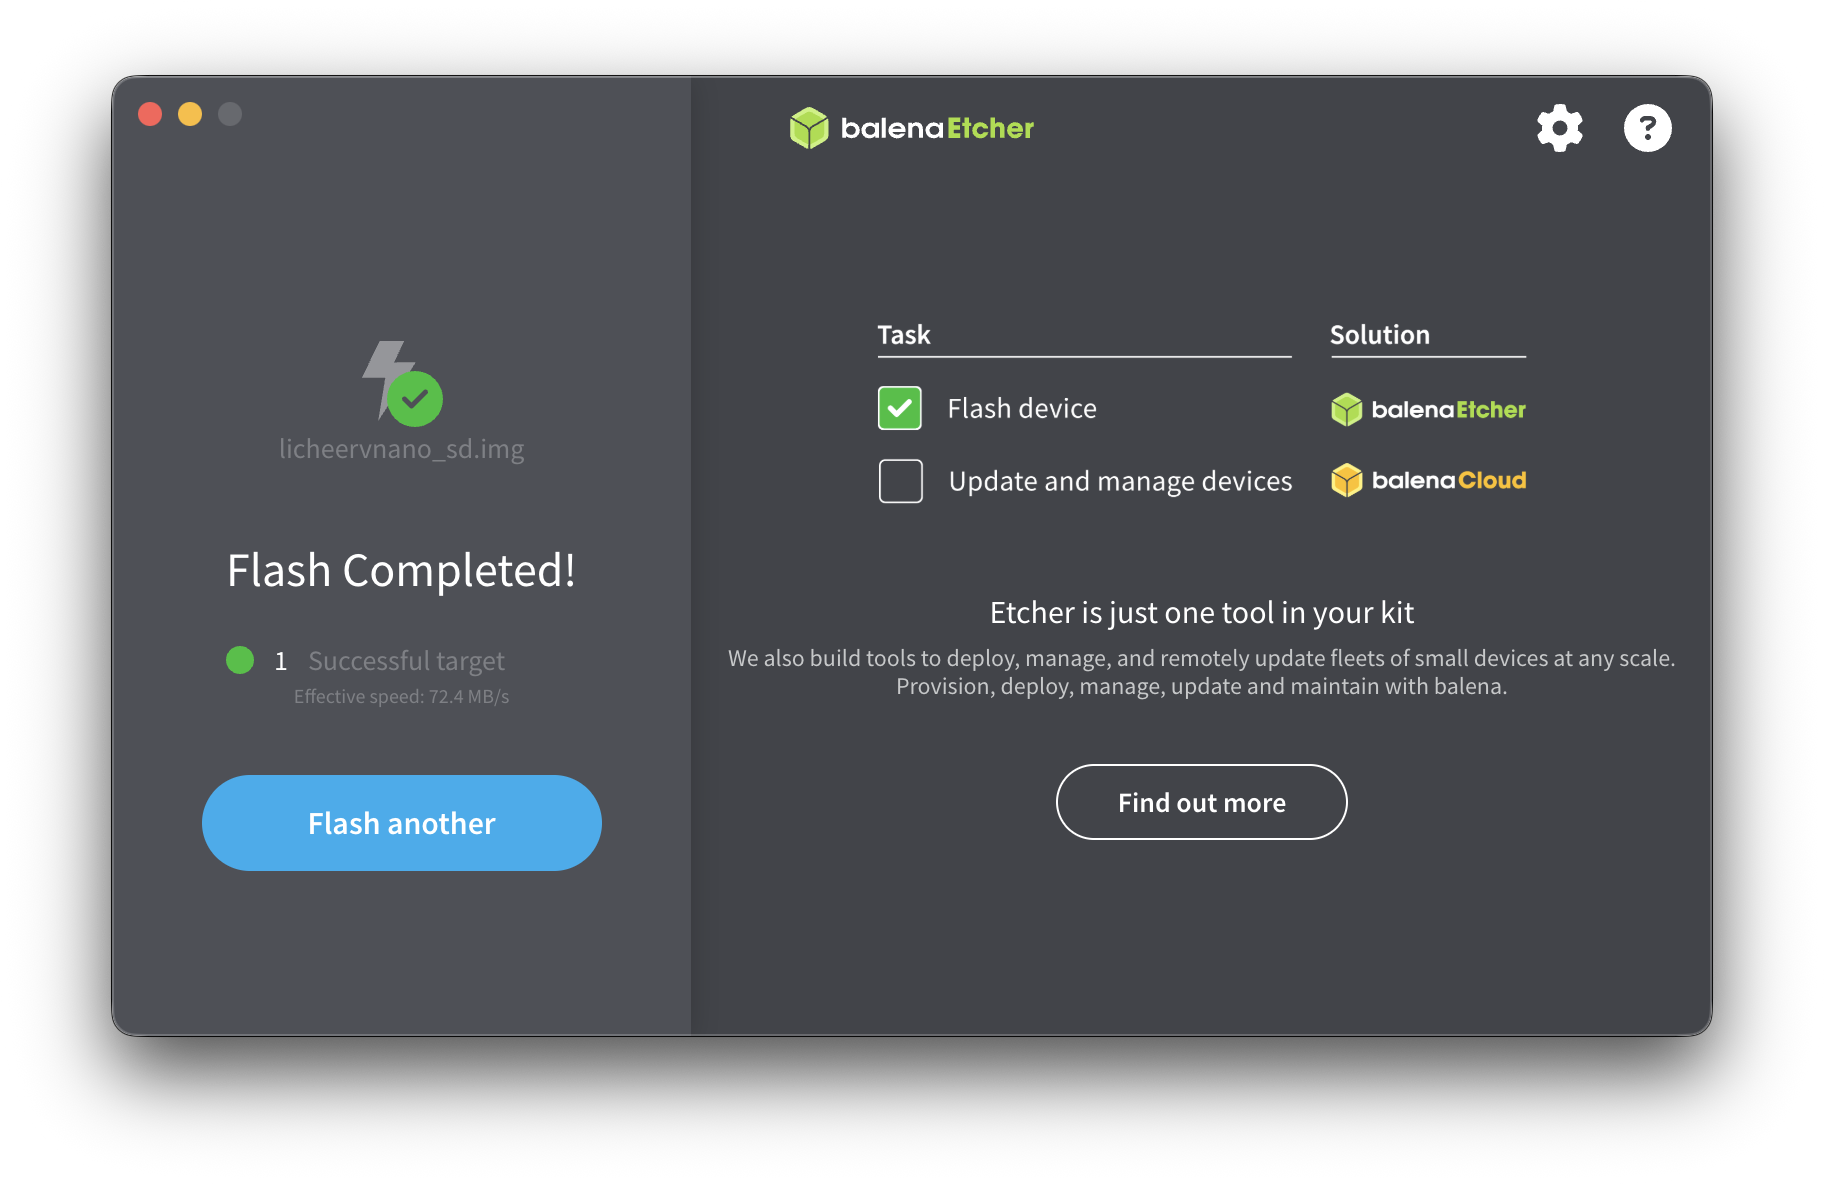
The easiest method is balenaEtcher.
-
Open balenaEtcher
-
Select the Lichee-Jack image file
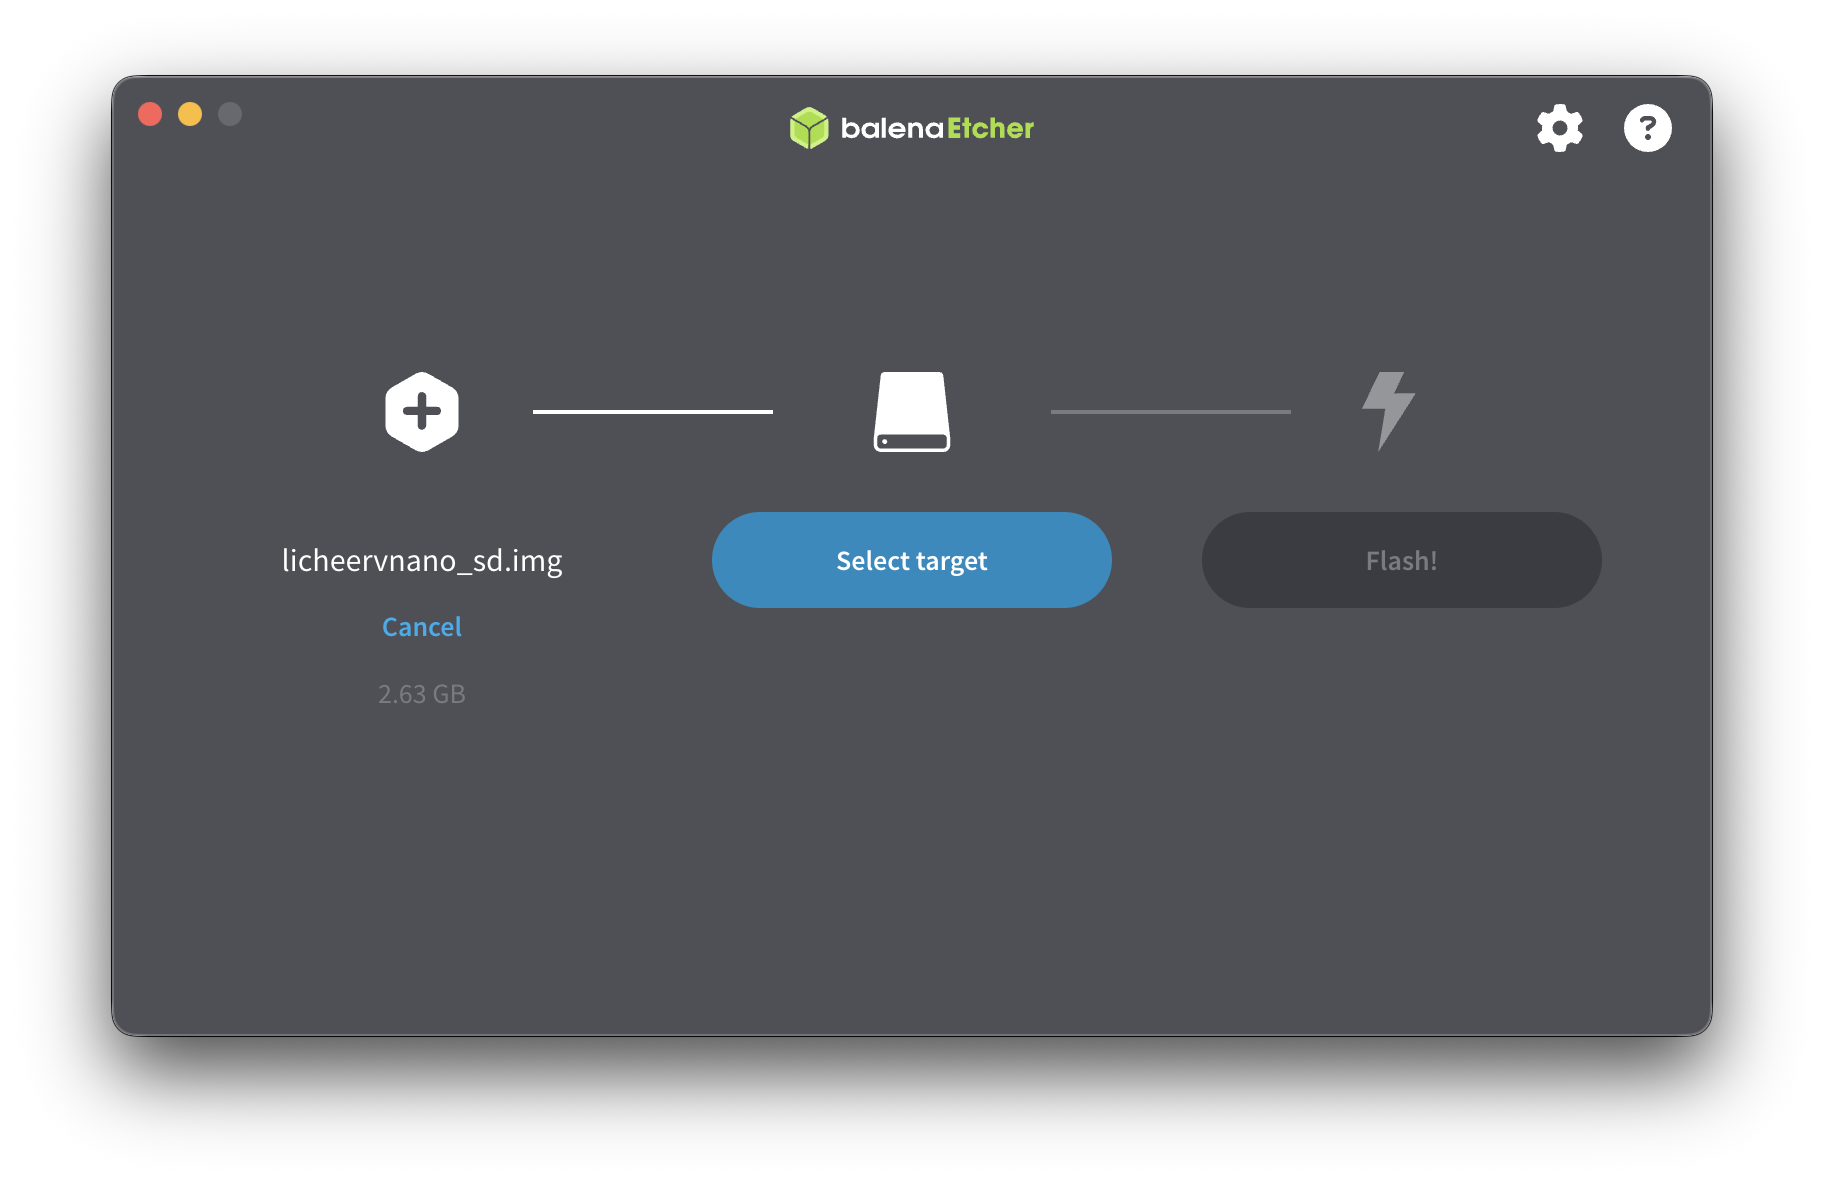
- Select the target SD card
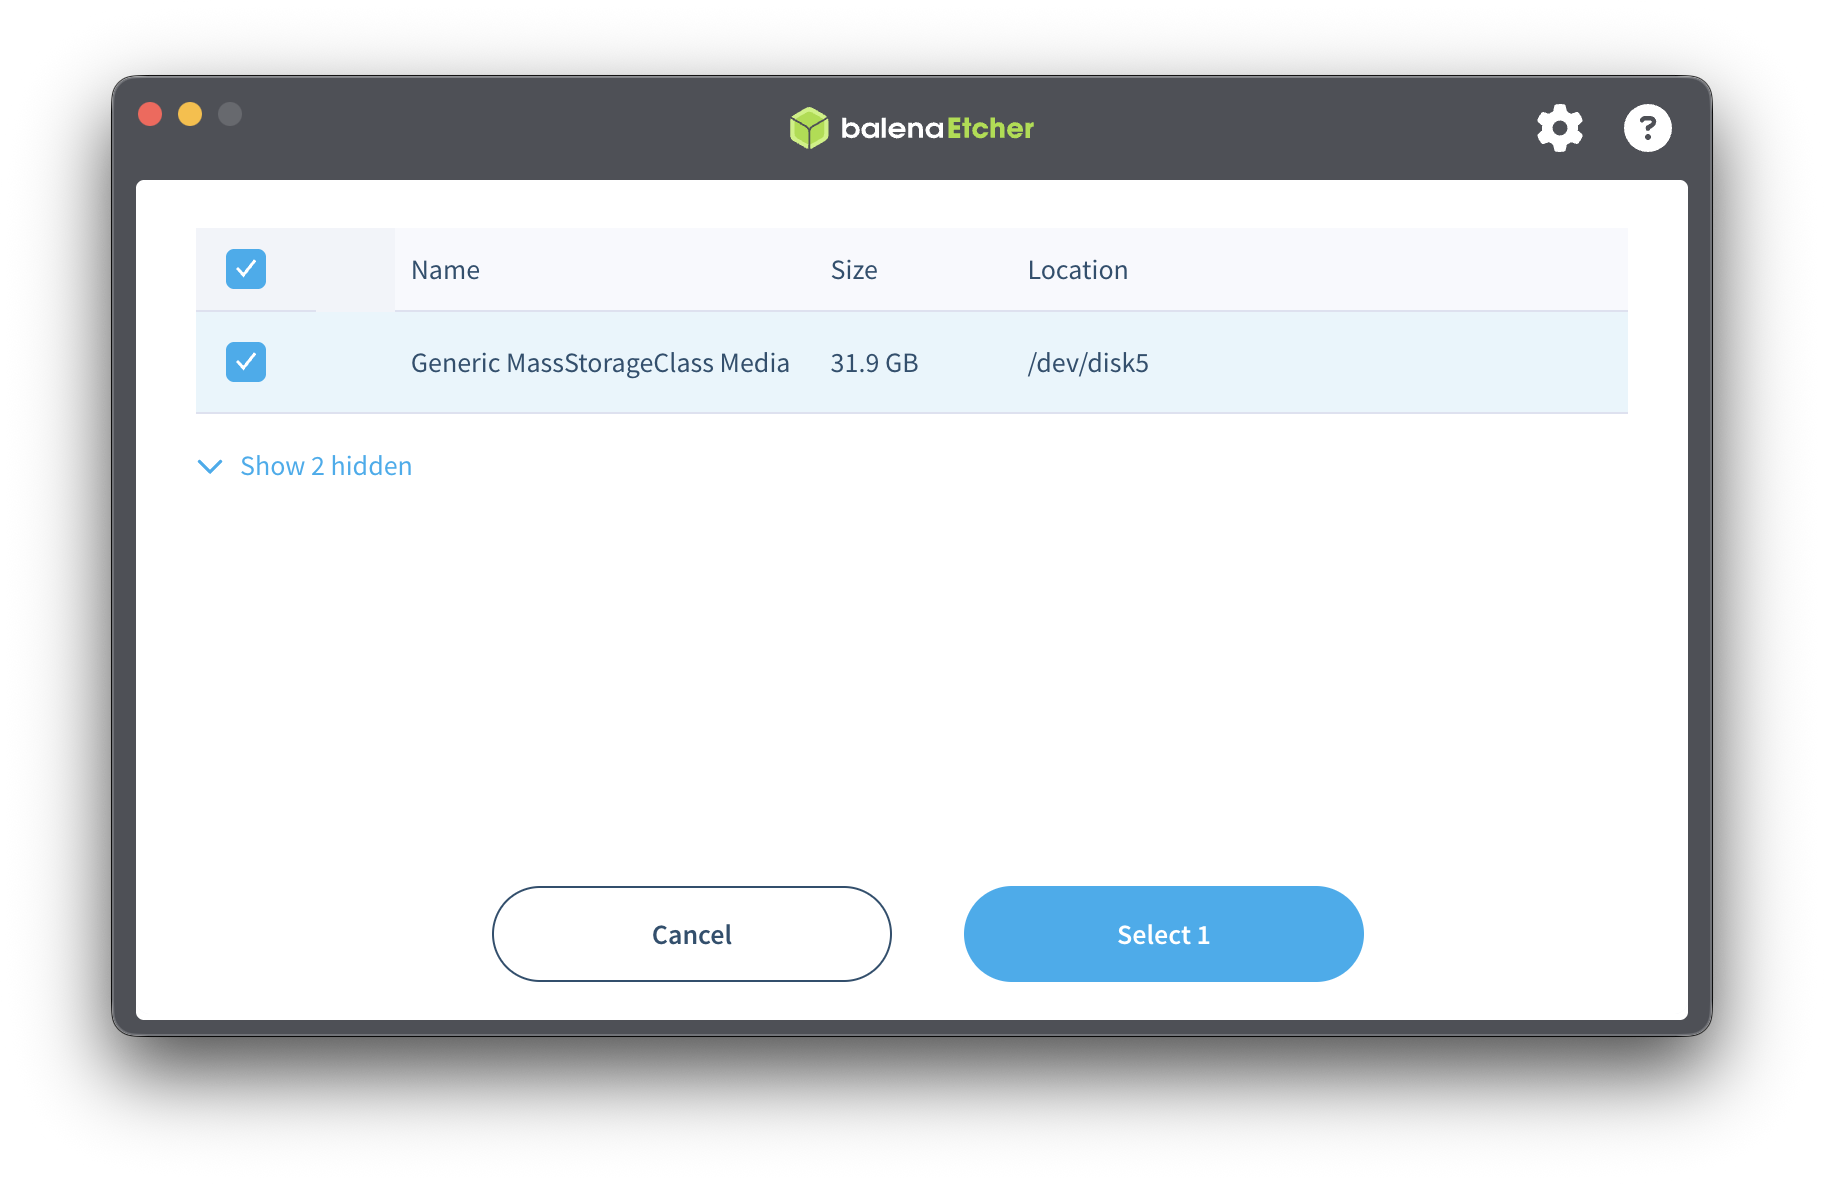
- Click Flash!
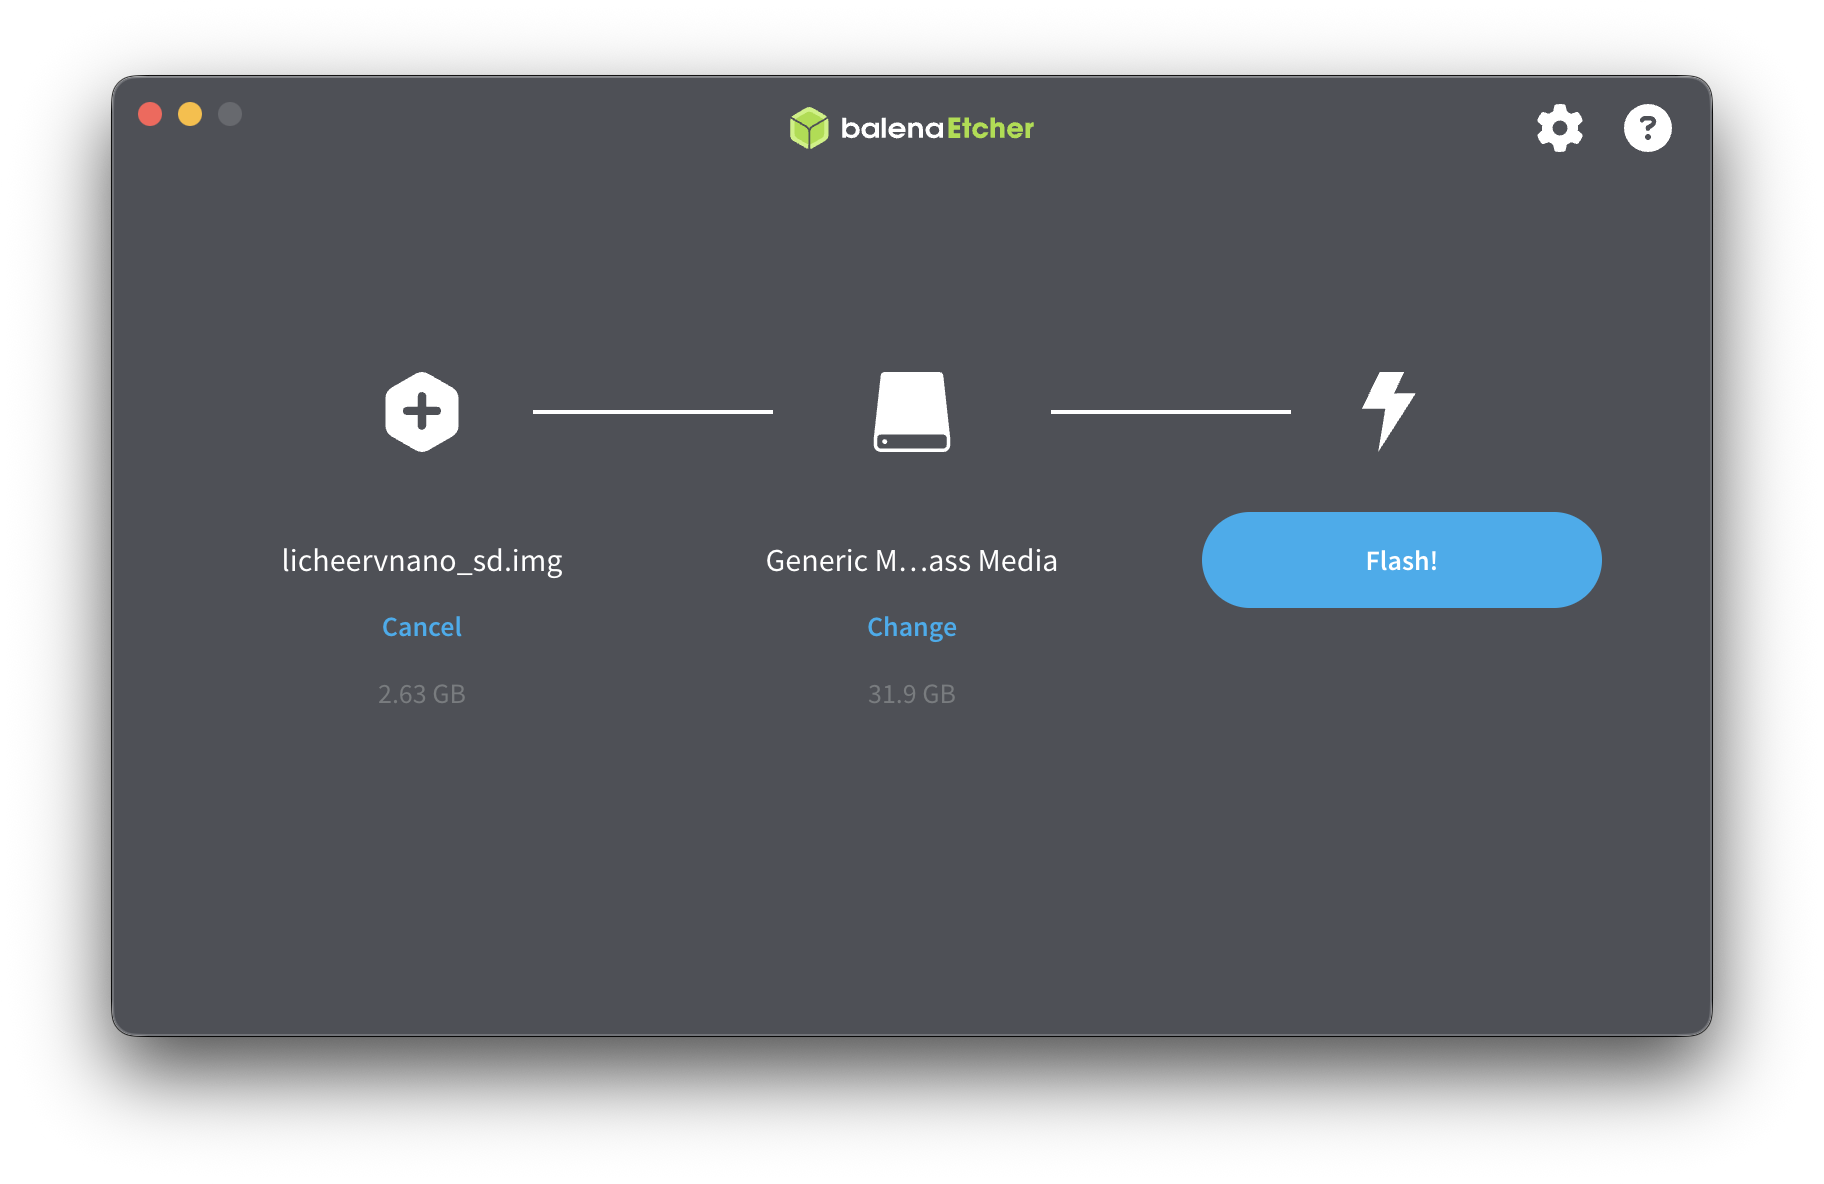
- Wait until flashing and validation are complete
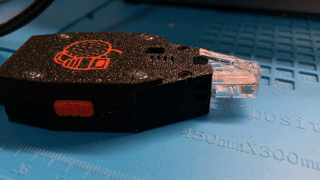
4. Boot the Device
- Insert the SD card into the Lichee-Jack
- Connect the device to your computer using a USB cable
- Set the mode switch to mode0 (debug mode)
- Power on / plug in the device
The system will:
-
Boot automatically from the SD card
-
Automatically resize the rootfs partition on first boot
-
Enter debug mode
- Blue fading RGB LED
- USB gadget enumerates as CDC / NCM network device
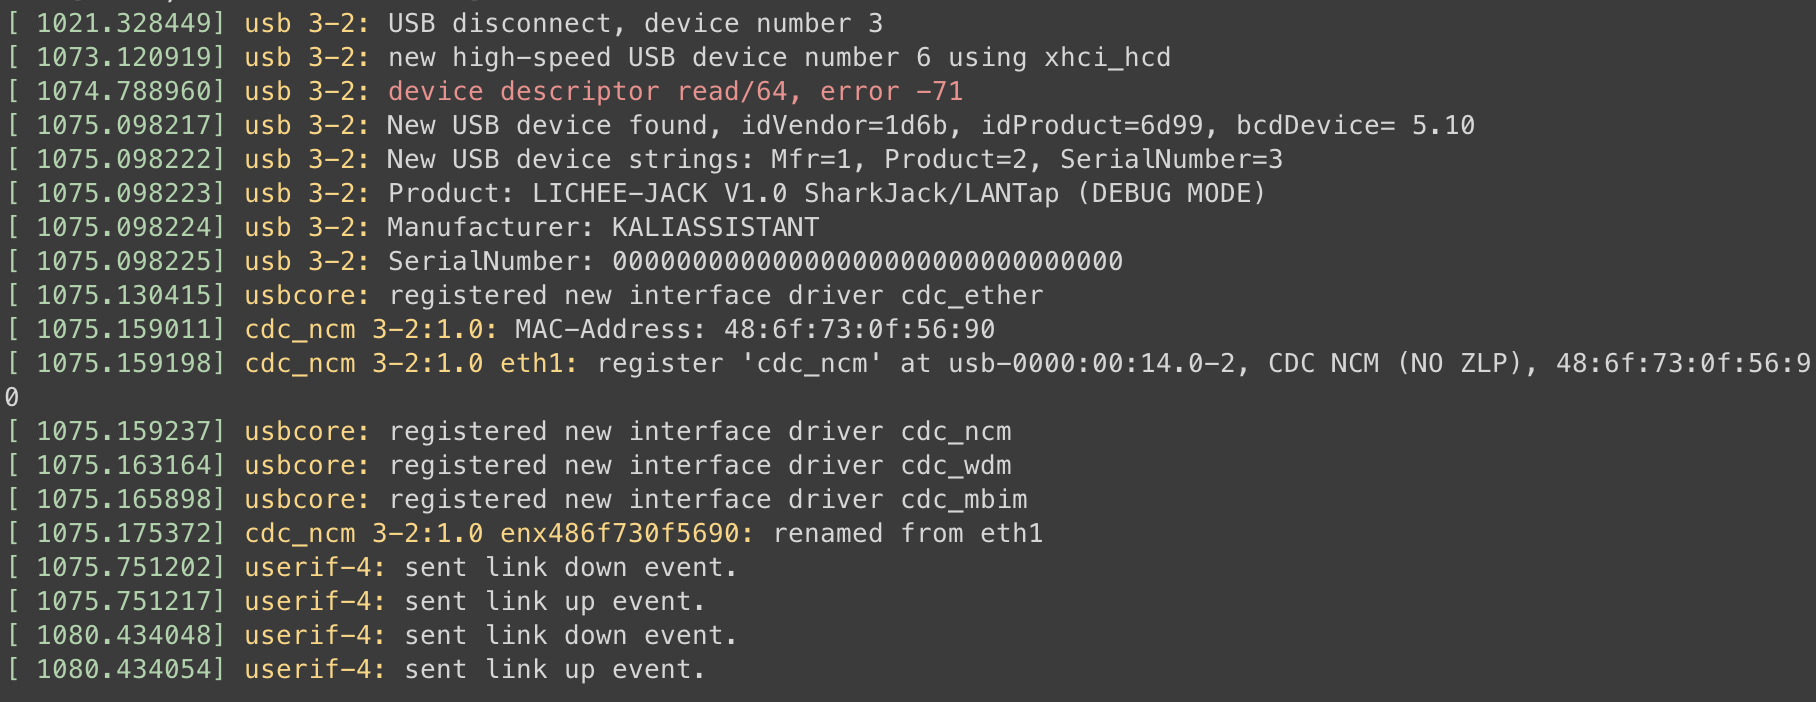
After boot completes:
- Your host will receive an IP address via DHCP
- Lichee-Jack default address:
10.42.0.1
You can now access the device through the USB network interface.
You are now ready to use Lichee-Jack 🚀